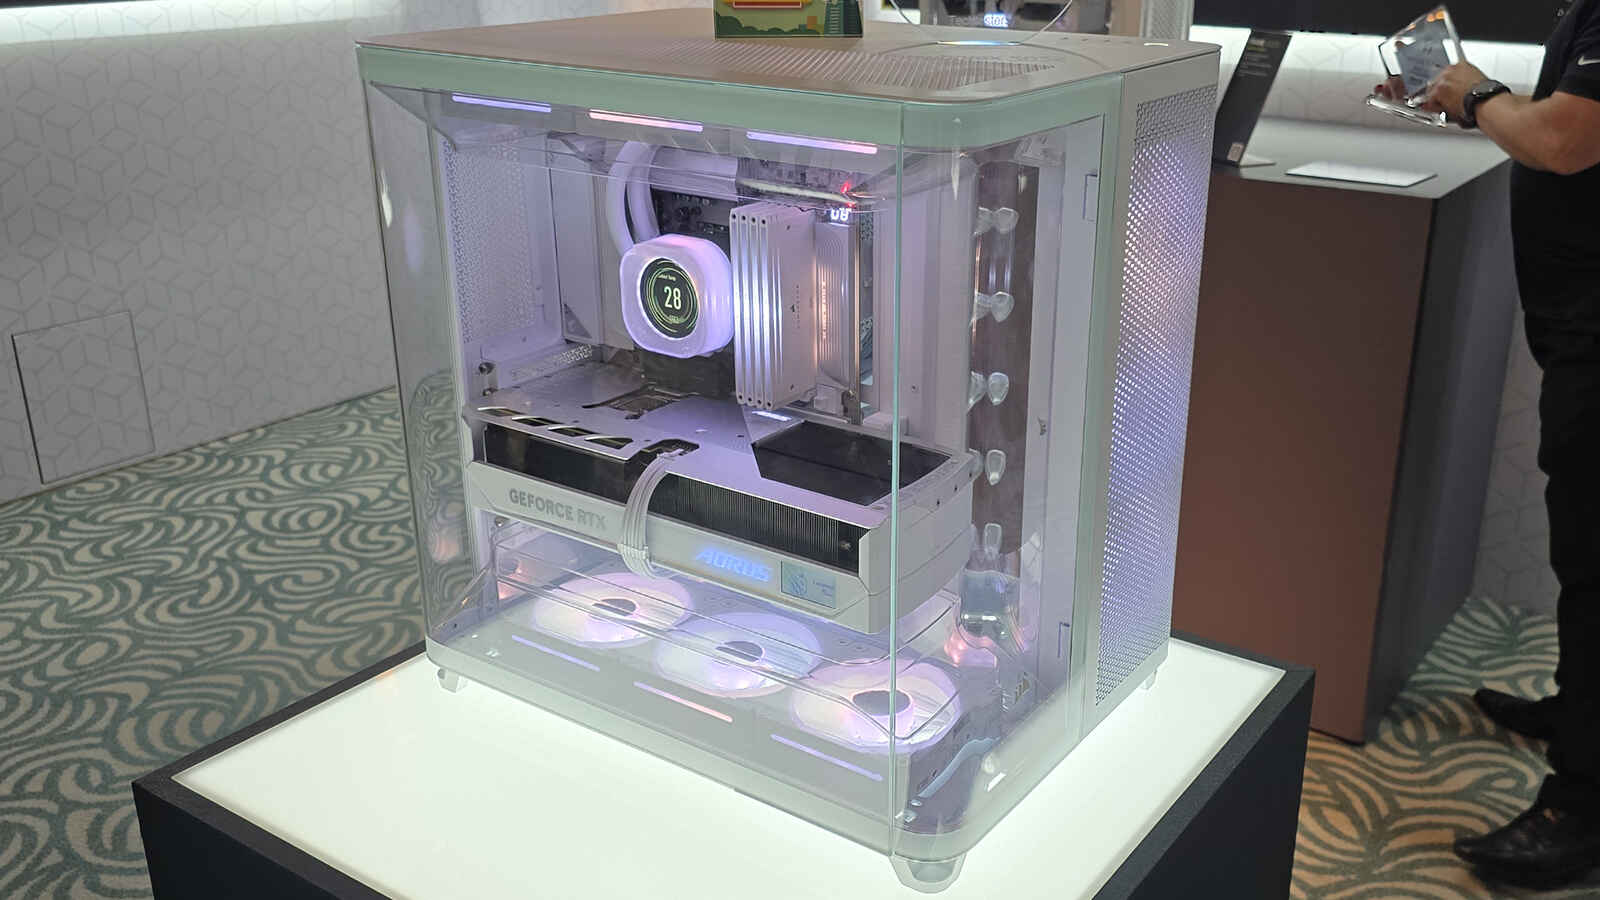
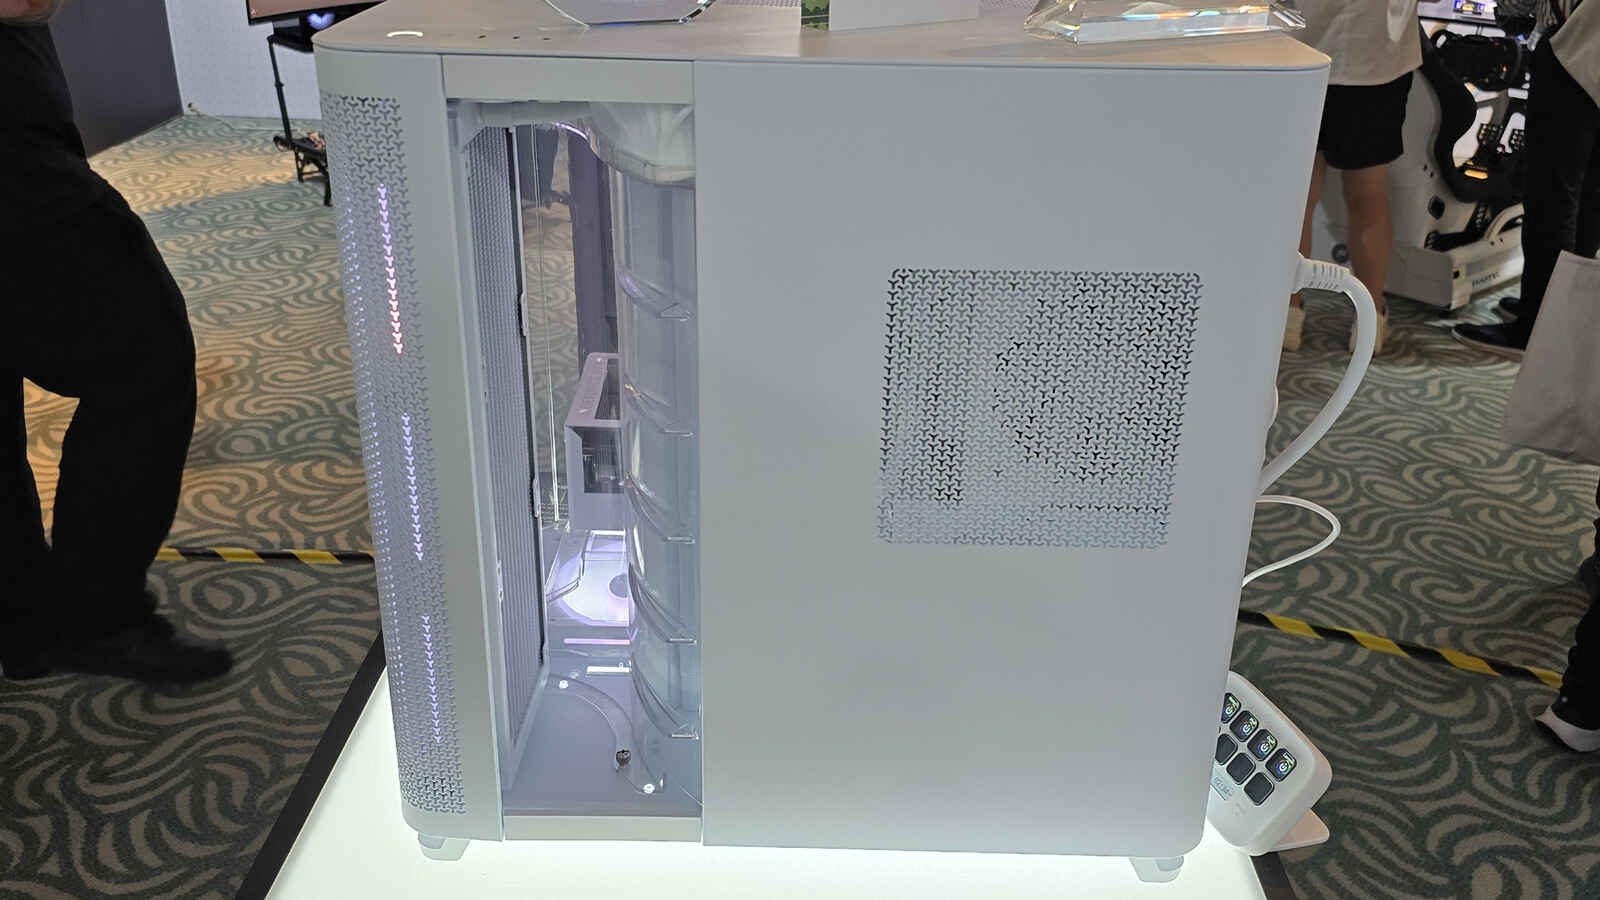
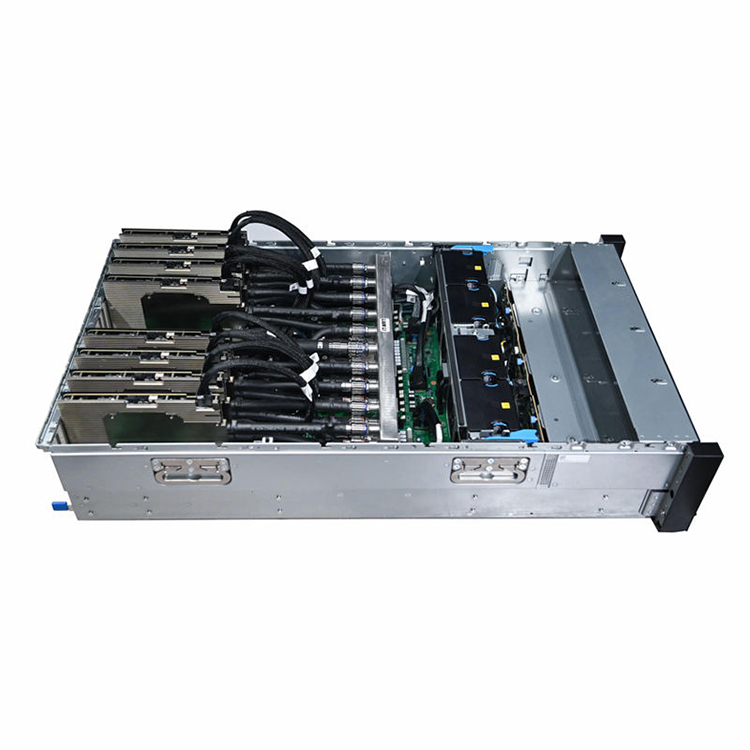
جيد تدفق الهواء من الأمام إلى الخلف is about controlling where air travels, not simply installing more fans.
Start with the real heat load, component arrangement, airflow resistance, and inlet conditions before selecting fan quantity or CFM.
Drives, backplanes, filters, cable bundles, GPUs, heatsinks, and restrictive front panels can consume much of a fan’s available static pressure.
Bypass air is wasted air. Seal easy paths that let cooling air avoid CPUs, memory, GPUs, storage controllers, and other hot components.
Match chassis airflow direction to the rack. Mixing front-to-rear and reverse-airflow devices can create localized recirculation loops.
Validate the completed production configuration under sustained load. An empty chassis, open side panel, or reduced-component prototype proves very little.
Fan redundancy matters, but adding more fans does not automatically fix a bad تصميم تدفق الهواء في هيكل الخادم.
A server can have twelve screaming fans and still have terrible cooling.
That sounds ridiculous until you look inside one.
Air enters through the front panel, takes the easiest route around the drive cage, sneaks through an unused opening beside the fan wall, circles around a cable bundle, and reaches the rear of the enclosure without doing much useful cooling at all. Meanwhile, the GPU, memory bank, RAID controller, or CPU heatsink sitting only a few centimeters away runs hot.
The airflow number looked great.
The temperatures did not.
That is the problem with treating تدفق الهواء من الأمام إلى الخلف as a fan specification instead of a system-design problem.
For B2B buyers developing rackmount servers, GPU platforms, storage systems, industrial computers, or custom appliances, the question should never be, “How many fans can we fit?”
Ask a harder question:
Can we force enough cool air through every component that actually needs it, under the worst configuration we intend to ship?
That changes everything.
What Is Front-to-Back Airflow?
Front-to-back airflow means cool air enters primarily through the front of the chassis, passes across heat-producing components, and exits through the rear.
Simple concept.
Hard execution.
At rack level, this architecture supports the familiar cold-aisle/hot-aisle arrangement. The front faces of servers receive cooler supply air while their rear exhausts discharge heated air into a separate return-air zone.
This is not an arbitrary convention. ASHRAE’s data-center guidance states that most datacom equipment uses a front-to-rear airflow protocol and warns that equipment using nonstandard directions may require special mounting arrangements or air deflectors.
ASHRAE also notes a particularly nasty rack-level failure mode: a top-of-rack switch mounted backward without the correct reverse-airflow configuration can draw hot server exhaust into itself and discharge even hotter air toward another device’s cold-air intake.
That is why chassis and rack design have to agree.
For engineers comparing broader cooling architectures, our guide to Front-to-Rear Airflow explains how enclosure geometry, fan pressure, heat density, and component placement affect the choice between air and liquid cooling.
Front-to-Back Airflow Starts With Heat, Not Fans
Before discussing vents, fan walls, baffles, or filters, establish what you are trying to cool.
Build a thermal inventory.
Include:
CPU power under sustained workload
GPU or accelerator power
DIMM population
VRMs
storage drives
NVMe devices
RAID/HBA cards
NICs
لوحات خلفية
power supplies
other PCIe cards
internal power-conversion hardware
Do not use only nameplate PSU capacity.
A 2,000 W power supply does not mean the system constantly dissipates 2,000 W. Equally, a processor’s headline power rating may fail to describe short or sustained boost behavior accurately.
Use the expected production configuration and workload.
Then ask where that heat enters the air stream.
An SSD close to the front intake sees cooler air than a card sitting downstream from a CPU heatsink. A rear-mounted component may receive air that has already gained 15°C, 20°C, or more as it crossed the machine.
ASHRAE notes that for servers operating with inlet temperatures in its recommended range, a 20–30°C temperature rise through the server is common.
That number should make chassis designers uncomfortable in a useful way.
A component near the exhaust end is not necessarily being cooled by “room temperature air.”
It is being cooled by whatever temperature remains after upstream devices have already heated it.
The Airflow Path Matters More Than the Fan Count
Here is the easiest mistake to make.
A buyer asks for six high-CFM fans.
The supplier installs six high-CFM fans.
Everyone checks the box marked “high airflow.”
Done?
Not even close.
Fan specifications are commonly published at free-air conditions or across a performance curve. Once that fan is installed behind a dense front grille, filter, hot-swap drive cage, backplane, heatsink, GPU bank, cable bundle, and rear grille, the operating airflow can look very different.
Resistance stacks up.
You therefore need to think in terms of system impedance and static pressure, not CFM alone.
A fan that moves huge volumes of unrestricted air may perform poorly against a dense server architecture. Another fan with a less impressive free-air number may maintain considerably more useful flow once resistance increases.
That distinction becomes especially important in 1U and 2U servers, where fan diameter and airflow cross-section are limited. If enclosure height is still open for discussion, our Rackmount Chassis Cooling comparison shows why 1U, 2U, and 4U formats give engineers very different fan, heatsink, GPU, and cooling options.
Think of Pressure as a Budget
Every restriction spends some of your pressure budget.
A rough design review might look like this:
Airflow Element
What It Does to Airflow
Common Design Failure
What Buyers Should Check
Front grille
Restricts intake area
Styling blocks too much open area
Effective open area, not outer panel size
Dust filter
Adds pressure drop
Filter selected after fan sizing
Clean and dirty filter resistance
Drive cage
Breaks up incoming air
Dense drive wall starves downstream CPU/GPU zone
Flow path around and through drives
اللوحة الخلفية
Can become a major obstruction
Small perforations behind drives
Actual open area and pressure loss
Cable bundles
Create local blockage and turbulence
Production cabling differs from prototype
Final cable routing
CPU heatsink
Requires directed velocity
Air flows around instead of through fins
Ducting and heatsink orientation
GPU bank
Adds high resistance and heat
Tight spacing creates hot pockets
Slot spacing and GPU flow direction
جدار المروحة
Generates pressure and flow
Gaps allow recirculation around fans
Sealing and redundancy behavior
Rear grille
Restricts exhaust
Intake is open but exhaust is choked
Rear-panel open area
Rack door/PDU
Adds external restriction
Chassis passes open-rack testing only
Production rack configuration
The practical lesson is simple.
Calculate the whole path.
Stop Air From Taking Shortcuts
Air is lazy.
It will take the path of least resistance.
That becomes a serious problem when the easiest route does not pass through your hottest hardware.
Imagine a fan wall behind the motherboard. There is a narrow, resistance-heavy path through a CPU heatsink and a large open gap beside it.
Where will the air go?
Through the gap.
Your airflow sensor may still report healthy volume. Your rear exhaust may feel like a hurricane. The CPU can still run hot.
That is bypass airflow.
And it fools people constantly.
Use baffles, ducts, foam seals, blanking plates, fan shrouds, and carefully positioned internal structures to make the desired route easier—or the unwanted route harder.
This is one of the strongest principles in Server Airflow Management.
A 2024 CFD study published in Frontiers in Built Environment makes the same point at data-center scale. For the underfloor precision-cooling configuration studied, air supply efficiency increased from 65.69% without containment to 85.57% with cold-aisle containment and 90.25% with hot-aisle containment. For an inter-column cooling arrangement, the reported values rose from 71.29% to roughly 92.16–92.17% after containment.
The experiment is at room level, not inside a chassis, so those percentages should not be copied onto a server enclosure.
The engineering principle transfers nicely, though.
Separating intended airflow from bypass and recirculated airflow can radically change how effectively available cooling air is used.
For dense accelerator systems, our discussion of Server Airflow Management looks at GPU spacing, airflow paths, rack power, service access, and high-density enclosure design together.
Design the Component Order
Front-to-back does not mean every internal arrangement is equally good.
Component sequence matters.
Consider two layouts.
Layout A
Front intake → storage drives → backplane → CPU → GPU → PSU/exhaust
Layout B
Front intake → split airflow zones → CPU and GPU receive dedicated cool-air paths → storage cooled separately → common exhaust
Both are technically front-to-back.
Their thermal behavior may be completely different.
Ask these questions during layout review:
Which component receives the coolest intake air?
Which components sit downstream from major heat sources?
Which component creates the largest pressure drop?
Can hot GPU exhaust enter a CPU heatsink?
Does the PSU draw air from the same zone as the CPUs?
Can one fan serve multiple thermal zones evenly?
Does the drive cage starve the motherboard area?
Are low-profile PCIe cards receiving enough local velocity?
Does one GPU block another GPU’s inlet?
What happens when every memory slot and drive bay is populated?
That last question catches many projects.
Prototype configurations are often sparse.
Production configurations are not.
Why Local Air Velocity Can Matter More Than Total CFM
This point gets overlooked in procurement discussions.
Components do not feel total chassis CFM.
They feel local airflow.
Intel’s technical specification for its R2000WFTF server family illustrates the difference. In one documented configuration, Intel lists 200 LFM airflow support for several upper and middle PCIe positions and 300 LFM for some lower positions. The same document notes that many PCIe cards may need up to about 100 LFM, while harder-to-cool cards can require airflow around 200 LFM.
This is why “the chassis has 800 CFM” tells me less than many buyers think.
Where is that air going?
At what velocity?
At what temperature?
Through what restriction?
Across which component?
Those questions are far more useful.
Fan Placement: Push, Pull, or Both?
In most rackmount chassis, a mid-chassis fan wall works well because it can draw front intake air through drive and front-panel restrictions, then push it toward CPUs, memory, PCIe cards, and rear exhaust openings.
But geometry decides.
A fan mounted too far from a restricted zone may allow air to spread into unwanted paths. A fan wall with unsealed gaps may pull air around itself. Rear-only fans can work in some systems but may struggle to distribute flow uniformly across a complicated internal layout.
Multiple fan stages can increase capability, but they can also increase power, noise, control complexity, and failure interactions.
More hardware is not automatically better.
Here Is the Opinion Buyers Usually Push Back On
Adding more fans is often the wrong answer to an overheating server.
There. I said it.
Fan count is easy to purchase. CFM is easy to compare. RGB aside, even consumer PC buyers have been trained to associate visible fan quantity with “better cooling.”
Server engineering is less forgiving.
If air is bypassing the GPU bank, four additional fans may simply push more air through the bypass path.
If the backplane is choking the intake, installing another rear exhaust fan does not magically remove that restriction.
If hot exhaust is returning toward the intake, higher fan speed can accelerate the same bad loop.
If the rear grille is too restrictive, pushing harder eventually means more noise, more fan power, and disappointing airflow gains.
I would rather approve a chassis with fewer properly selected pressure-capable fans, clean ducting, sealed bypass paths, intentional component zoning, and generous exhaust area than a box packed with fans whose only design logic is “more CFM.”
More air is not the target.
Useful air is.
A Real Rack Failure That Stuck With Me
Recently, I was browsing a sysadmin discussion and came across a rack-cooling situation that should make any infrastructure buyer uneasy.
The rack reportedly contained ten servers, three large SAN units, eight switches, and four UPS units in an approximately 8 × 10 ft room. Two portable air conditioners were running continuously—one blowing toward the front of the rack and another toward the back.
Then came the ugly part.
The administrator reported that if one AC unit tripped, the server-rack temperature climbed above 99°F in less than a minute.
People in the discussion quickly started questioning airflow orientation, exhaust-air removal, switch direction, blanking, cooling capacity, and hot-air recirculation.
That is exactly why the story matters.
The room already had two cooling machines working around the clock.
The problem was not simply “buy more cold air.”
It was an airflow system that needed to be understood as a whole.
That is a lesson chassis buyers should bring directly into supplier discussions. A high-performance fan cannot compensate indefinitely for poor component orientation, wrong-direction devices, restricted exhaust, uncontrolled bypass, or a rack that feeds hot discharge back toward the intake.
Match the Chassis to the Rack
A server does not operate on a laboratory table.
Eventually, someone slides it into a rack.
That rack may have:
perforated doors;
cable-management arms;
rear PDUs;
dense power cables;
blanking panels;
neighboring servers;
top-of-rack switches;
reduced rear clearance;
containment;
filters;
facility airflow constraints.
All of these can change cooling behavior.
One recurring mistake is validating a chassis with the rear completely open and then deploying it behind a restrictive cabinet door with thick cable bundles hanging directly behind its exhaust.
The fan curve did not change.
The system resistance did.
Our guide to Server Cooling Airflow covers chassis depth, cable-management arms, PDUs, doors, service clearance, and airflow space because mechanical rack fit and thermal fit are inseparable.
Keep Rack Intake Temperature in Context
ASHRAE’s current handbook lists a recommended dry-bulb temperature range of 18–27°C for A1 through A4 classes of datacom equipment.
That does not mean every chassis should merely be tested at 27°C and declared finished.
Your actual equipment specifications still matter.
So does altitude.
So does workload.
So does fan redundancy.
And so does temperature uniformity across the entire intake face.
A chassis whose left intake sees 22°C while its right intake receives recycled 34°C exhaust does not have a “22°C inlet condition” in any meaningful engineering sense.
Measure multiple points.
Do Not Let Cable Routing Become Thermal Engineering by Accident
CAD models tend to show beautiful cable paths.
Production units often look different.
Power cables bend.
SAS cables stack.
GPU power connectors need service loops.
Front-panel harnesses drift into openings.
Cable ties get moved during assembly.
Then airflow changes.
This is why cable routing should be frozen as part of thermal validation.
Use tie-down points deliberately. Keep thick harnesses away from high-velocity channels. Avoid placing excess cable directly behind fan inlets or upstream of heatsinks.
And test the ugly configuration.
Fully populate it.
Plan for One Fan to Fail
Normal-operation temperatures are only half the story.
What happens after a fan fails?
In a multi-fan wall, a dead fan can become a low-resistance opening. Healthy neighboring fans may pull or push air backward through the failed position instead of through the chassis.
That can be surprisingly destructive to effective cooling.
Depending on system requirements, designers may use:
backdraft prevention;
fan shutters;
pressure-aware control;
higher emergency fan speeds;
redundant airflow zones;
temperature-based throttling;
shutdown logic.
You need to test it.
“Six redundant fans” is not evidence of redundancy.
Show me the temperatures with five.
Thermal Validation Should Use the Machine You Will Actually Ship
This is where procurement teams can save themselves months of pain.
Do not approve the cooling system from an empty chassis.
Do not approve it because someone put tissue paper near the rear fan and watched it flap.
Do not approve it from an open-side-panel test.
Do not approve a four-GPU system using a two-GPU prototype.
Build the intended production configuration.
Install:
production motherboard;
maximum planned DIMM population;
actual CPUs and heatsinks;
intended GPUs;
all storage devices;
backplane;
PSU configuration;
final fans;
filters;
production front panel;
actual cables;
rack rails;
expected rack door or equivalent restriction.
Then run sustained workloads.
This is where a disciplined How to Design Server Airflow process should connect mechanical design inputs with prototype validation before the chassis is released for volume production.
Record More Than CPU Temperature
A useful validation report should include:
Measurement
ما أهمية ذلك
Front inlet temperature
Establishes actual cooling condition
CPU package temperature
Confirms processor thermal margin
GPU temperature
Detects accelerator restriction or recirculation
Memory temperature
Finds stagnant DIMM zones
NVMe/drive temperature
Checks storage airflow
VRM temperature
Finds local motherboard hot spots
PCIe card temperature
Detects insufficient local velocity
Fan RPM
Shows control response
Fan duty/PWM
Reveals how much margin remains
Exhaust temperature
Helps evaluate system heat pickup
Pressure differential
Useful for diagnosing restrictions
Throttling flags
Shows performance impact
Fan-failure temperatures
Tests redundancy rather than assuming it
Run long enough to reach thermal equilibrium.
A five-minute benchmark can hide a slow heat-soak problem.
A Practical Front-to-Back Airflow Design Workflow
If I were reviewing a new server chassis project, I would use this order.
1. Freeze the Hardware Configuration
Get actual part numbers.
Not “ATX motherboard.”
Not “four GPUs.”
Not “high-power CPU.”
Real hardware.
2. Calculate the Heat Load
Estimate sustained operating power by zone and identify the highest heat-density components.
3. Map the Intended Air Path
Draw it.
Literally.
Front intake → restriction → heat source → fan → heat source → exhaust.
If the diagram gets confusing, the physical airflow probably will too.
4. Identify Pressure Restrictions
Review filters, perforations, drive cages, backplanes, heatsinks, GPUs, cable bundles, fan guards, and rear-panel geometry.
5. Select Fans From Their Curves
Do not select only from maximum CFM.
Estimate the operating point against expected resistance.
6. Divide the Chassis Into Thermal Zones
CPU, GPU, storage, memory, and PCIe regions may need different airflow allocation.
7. Seal Bypass Paths
Make useful airflow easier than useless airflow.
8. Check Component Orientation
Verify heatsink fin direction, GPU airflow, PSU airflow, switch direction, and fan direction.
One reversed component can create a local thermal loop.
9. Validate the Rack Interface
Include doors, PDUs, cabling, blanking, rack depth, neighboring equipment, and facility airflow assumptions.
10. Test Worst-Case Population
Maximum drives.
Maximum memory.
Maximum accelerator load.
Warm inlet.
One fan failed.
That is the machine I want to see pass.
What Should Go Into the RFQ?
If you are sourcing a custom rackmount chassis, avoid writing:
Cooling: High airflow.
That specification is almost meaningless.
Instead provide:
total expected system power;
CPU and GPU models;
sustained workload profile;
maximum DIMM population;
storage configuration;
PCIe-card list;
fan redundancy target;
allowable inlet conditions;
altitude;
acoustic requirements if applicable;
filter requirement;
airflow direction;
rack-door restrictions;
expected production configuration;
temperature limits;
throttling limits;
failure-mode requirements;
validation method.
Then ask the supplier to show how the airflow design addresses those conditions.
A serious تصميم تدفق الهواء في هيكل الخادم review should produce questions.
That is a good sign.
The Standard I Would Use Before Production
I do not care how impressive the fan wall looks.
I care whether every thermally sensitive component remains inside its specified limit with the final BOM installed, at sustained load, under the agreed inlet condition, while the server sits inside the rack configuration it was designed for.
Then I want margin.
Then I want to see what happens when a fan fails.
That is front-to-back airflow engineering.
Not fans pointing in the same direction.
Not a CFM number.
Not a marketing phrase.
A controlled path from cold intake to hot exhaust, with the hardware in between receiving the air it actually needs.
Get that right and the fans can do their job.
Get it wrong and adding another fan may only make the mistake louder.
الأسئلة الشائعة
ما المقصود بالتدفق الهوائي من الأمام إلى الخلف في هيكل الخادم؟
Front-to-back airflow draws cool air through the chassis front, moves it across internal components, and exhausts heated air through the rear.
This direction matches common rack hot-aisle/cold-aisle arrangements and helps prevent hot server exhaust from returning directly into equipment intakes.
كيف يمكن تصميم تدفق هواء فعال في الخادم؟
Start with heat load and component layout, then map restrictions, select pressure-capable fans, control bypass paths, and validate the complete system under sustained load.
Fan selection comes after the airflow path is understood. Drives, backplanes, heatsinks, GPUs, filters, and cables all affect the final operating point.
هل زيادة معدل تدفق الهواء (CFM) تعني دائمًا تحسين تبريد الخادم؟
No. High CFM is useful only if the air reaches the components that need cooling.
A chassis can move large volumes of air while still overheating components if airflow bypasses heatsinks, encounters excessive resistance, or recirculates internally.
ما أهمية الضغط الساكن في هيكل الخادم؟
Static pressure determines how well a fan maintains airflow against restrictions.
Dense drive cages, filters, backplanes, heatsinks, GPUs, grilles, and cables create resistance. Server fans therefore need to be evaluated against the actual system pressure curve, not only their maximum free-air CFM.
هل يجب أن يكون تدفق الهواء في الخادم بضغط موجب أم سالب؟
There is no universal pressure target; airflow should be controlled around the system’s thermal, filtration, leakage, and cooling requirements.
The more important question is whether sufficient air reaches every thermal zone without excessive bypass or recirculation.
كيف يمكنني منع تدفق الهواء عبر الممر الجانبي؟
Seal unintended low-resistance paths and direct air through hot components using baffles, ducts, shrouds, blanking plates, and controlled fan-wall geometry.
The goal is not to seal every opening. It is to make the intended thermal path more favorable than the shortcut.
كيف ينبغي لخوادم GPU أن تتعامل مع تدفق الهواء من الأمام إلى الخلف؟
GPU servers need sufficient front intake area, pressure-capable fans, appropriate GPU spacing, controlled bypass paths, and unrestricted rear exhaust.
Designers should also verify GPU airflow direction, neighboring-card interference, power-cable obstruction, and temperatures under full accelerator load.
How should front-to-back airflow be tested before production?
Test the final hardware configuration under sustained load at the intended inlet condition and record component temperatures, fan behavior, throttling, and failure response.
Use production cables, drives, filters, front panels, GPUs, memory, PSUs, and realistic rack restrictions. Also test at least one fan-failure condition where redundancy is required.
Mark Lee - Founder & Server Chassis OEM/ODM Specialist
Mark Lee is the founder of ISTONECASE, with 20 years of experience in the server chassis industry. He specializes in OEM/ODM solutions for GPU and AI, rackmount, industrial, wallmount, NAS, Mini-ITX and multi-node chassis. His expertise supports customized hardware projects for data centers, AI computing, enterprise storage, edge computing, networking and industrial applications.