No se atornilla un servidor o chasis mural a una pared y esperar lo mejor. Se diseña la trayectoria de la carga, se eligen los anclajes adecuados y se instalan correctamente para que el equipo permanezca en su sitio las 24 horas del día, los 7 días de la semana. A continuación se ofrece una visión directa, basada en situaciones reales, que combina hábitos de campo con conceptos de código. Lo mantendré humano, un poco hablador y, sí, útil para proyectos reales.
Capacidad de carga y base de diseño (carga admisible = carga límite × 25%)
Establezcamos las reglas básicas. En la práctica, tratamos carga admisible (de trabajo) ≈ 25% del valor último de ensayo de un producto.. Esa mentalidad de 4:1 incorpora incógnitas: variabilidad de la pared, distancia del borde, calidad de la perforación, cargas de impacto, etc. Es conservador, es aburrido, mantiene el engranaje fuera del suelo.
- Arranque vs. cizallamiento: La tensión intenta arrancar el anclaje en línea recta. El cizallamiento lo desliza lateralmente a lo largo de la pared. Muchos fallos son mixtos, por lo que no hay que limitarse a un solo modo.
- Dinámica y choque (portazos, carretillas elevadoras, sismo leve, servicio): actúa como un multiplicador. Utiliza más anclajes, reparte la carga y evita los voladizos si puedes.
Fuentes (sin enlaces): Fichas técnicas del fabricante; informes de evaluación ICC-ES; resumen del código residencial para antepechos (IRC R403.1.6).
Distancia entre bordes y distancia entre anclajes (hormigón/mampostería)
La distancia al borde y el espaciado no son “buenos para tener”; son capacidad. Si están demasiado cerca de un borde, el cono de hormigón puede reventar; si están demasiado separados, los conos se solapan y se reducen mutuamente su resistencia. Regla de oro: mantenga distancia entre bordes ≥ 10× diámetro del anclaje cuando puedas, y respeta la tabla de productos si dice más.
Profundidad de empotramiento para anclajes en cuña (≈ 4,5×d Regla general)
Para anclajes de cuña en sonido concreto, una rápida comprobación mental es empotramiento efectivo ≈ 4,5 × diámetro del anclaje mínimo (por ejemplo, anclaje de 1/2 pulg → empotramiento efectivo de ~2,25 pulg). Un empotramiento más profundo suele aumentar la extracción, pero hay que vigilar el grosor de la fijación y la precisión de la perforación.
Instalación de anclajes de cuña en hormigón (paso a paso)
- Marcar y perforar: Usa el tamaño de bit que dice la hoja de datos, no “lo suficientemente cerca”.”
- Limpiar el agujero: Blow-brush-blow. El polvo mata la capacidad, como, realmente.
- Ajustar y apretar: Apriete a fondo, apriete según las especificaciones. Nada de “sólo vibraciones” con el impactador.”
- Comprobar borde/espacio: Respeta el dibujo.
- Reapriete después de 24h (si es necesario): Algunos accesorios se asientan; es normal.
Anclaje de manguito en mampostería de ladrillo (macizo > hueco)
El ladrillo y el bloque no son hormigón. Los huecos y las almas débiles reducen la resistencia. Anclajes de manguito distribuyen mejor la carga en la mampostería. Si la unidad es hueca o quebradiza, considere la posibilidad de anclajes adhesivos (epoxi) con pantallas adecuadas. Procure siempre secciones sólidas de ladrillo, no huecos de mortero.
Capacidades de carga de los anclajes de tabiquería seca (golpear primero los montantes)
Los paneles de yeso no son estructuras. Si usted puede golpear tacos, hágalo. Si no, utilice anclajes diseñados para paredes huecas (toggle, molly, autoperforantes metálicos). Espere ~10-200 lb por ancla en tensión en función del tipo y el grosor de la tabla, luego reduzca la potencia para los amortiguadores o los brazos de palanca. Para marchas pesadas, añada un placa base en los montantes para repartir la carga y, a continuación, fije el chasis al soporte.
IRC R403.1.6 Anclaje de la placa de umbral (Resumen)
Un ejemplo limpio de intención de código: soleras de madera para hormigón a menudo requieren Anclajes de 1/2 pulg. de diámetro, empotramiento ≥ 7 in, separación ≤ 6 piesy anclajes a menos de 12 pulgadas de los extremos de la placa (compruebe siempre su jurisdicción). ¿Por qué mencionarlo? Demuestra cómo el diámetro, el empotramiento, la separación y la distancia entre los extremos se conjugan en normas reales, no sólo teóricas.
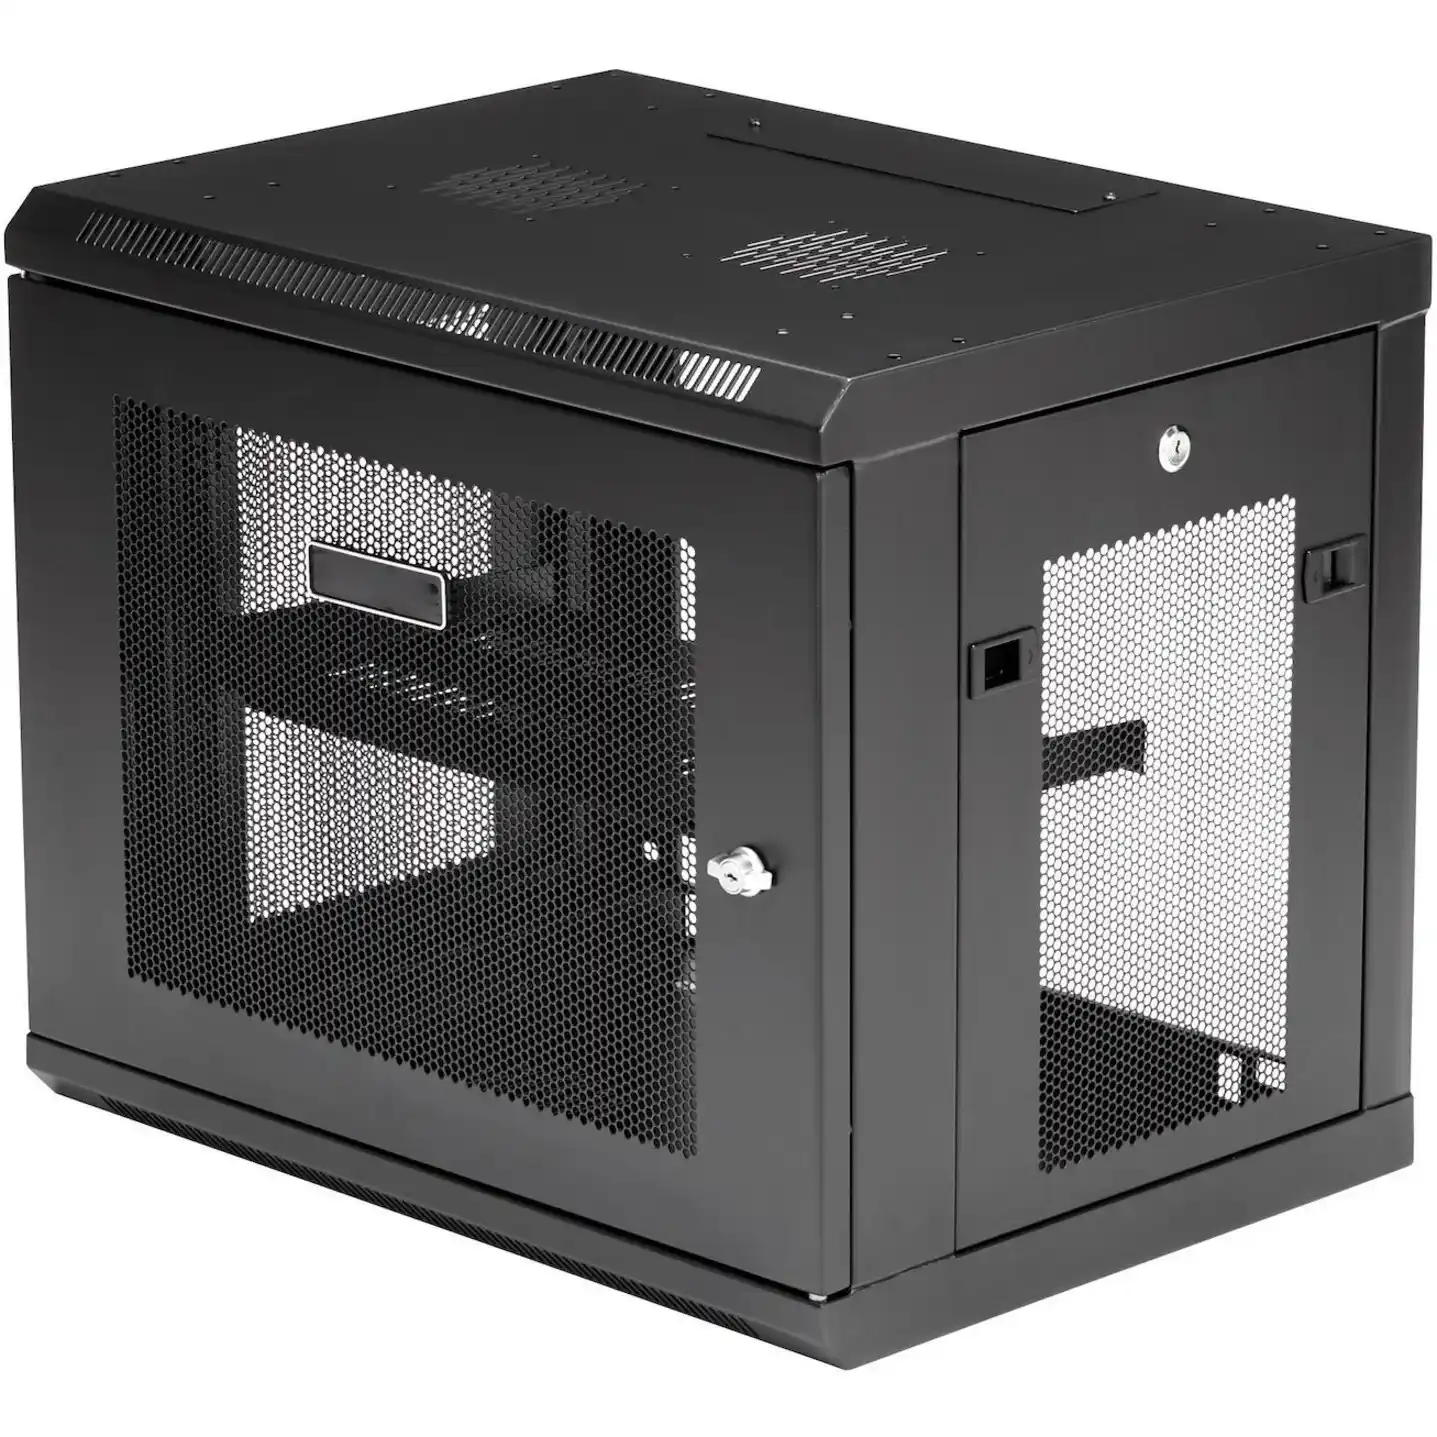
Tabla de referencia rápida (Pared × Anclaje × Instalación × Permisos típicos)
Las cifras que figuran a continuación son indicativas permitido rangos después de los factores de seguridad; confirmar siempre con las tablas de productos y el código/ingeniero.
| Material de la pared | Ancla común | Lista de comprobación de la instalación | Típico admisible (por anclaje) | Notas |
|---|---|---|---|---|
| Hormigón (≥ C25/3000 psi) | Ancla de cuña | Broca correcta, agujero limpio, incrustación ≈4,5d, par de apriete. | ~400-700 lb de tensión, ~500-900 lb de cizallamiento (1/2 en clase) | La distancia y el espaciado de los bordes impulsan la capacidad; evitan el desprendimiento en los bordes |
| Ladrillo macizo / bloque inyectado | Manguito o anclaje adhesivo | Encontrar sólido, broca correcta, agujero limpio, ajustar según IFU. | ~150-400 lb de tensión, ~200-500 lb de cizallamiento | Las unidades huecas reducen el número; manguitos > cuña en mampostería variable |
| Bloque hueco / teja | Adhesivo + pantalla | Incrustación adherida, tiempo de curado, ventana temporal | ~120-300 lb de tensión, ~150-400 lb de cizallamiento | La técnica del instalador lo es todo; haz pruebas simuladas. |
| Tablero de yeso (sin montantes) | Toggle / molly / autoperforante metálico | Utilice el tamaño de orificio correcto; ajustado, no aplaste la placa | ~10-50 lb de tensión típico; toggles pesados más altos | Prefiero el soporte a los tacos para cualquier cosa “pesada para el servidor”.” |
| Umbral de madera a hormigón | Pernos colados / postinstalados | 1/2 pulg. de diámetro, ≥7 pulg. de empotramiento, espaciado según código | Código | El ejemplo del IRC muestra la disciplina de la ruta de carga |
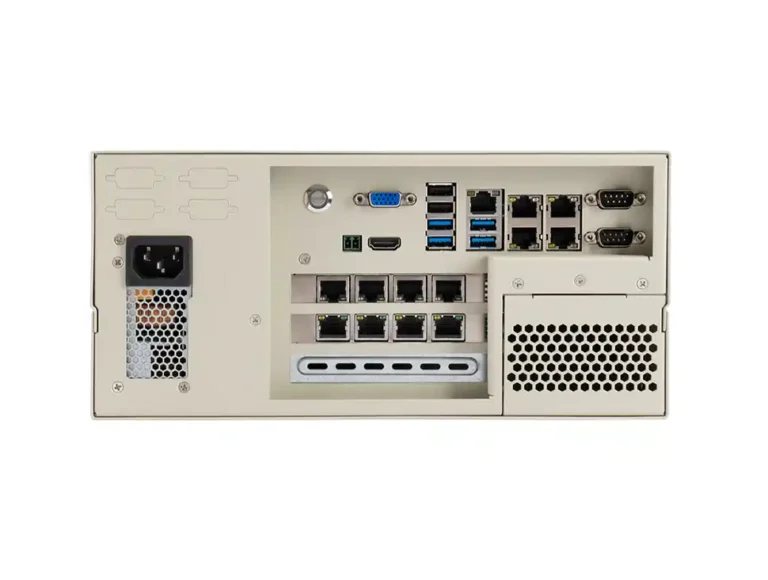
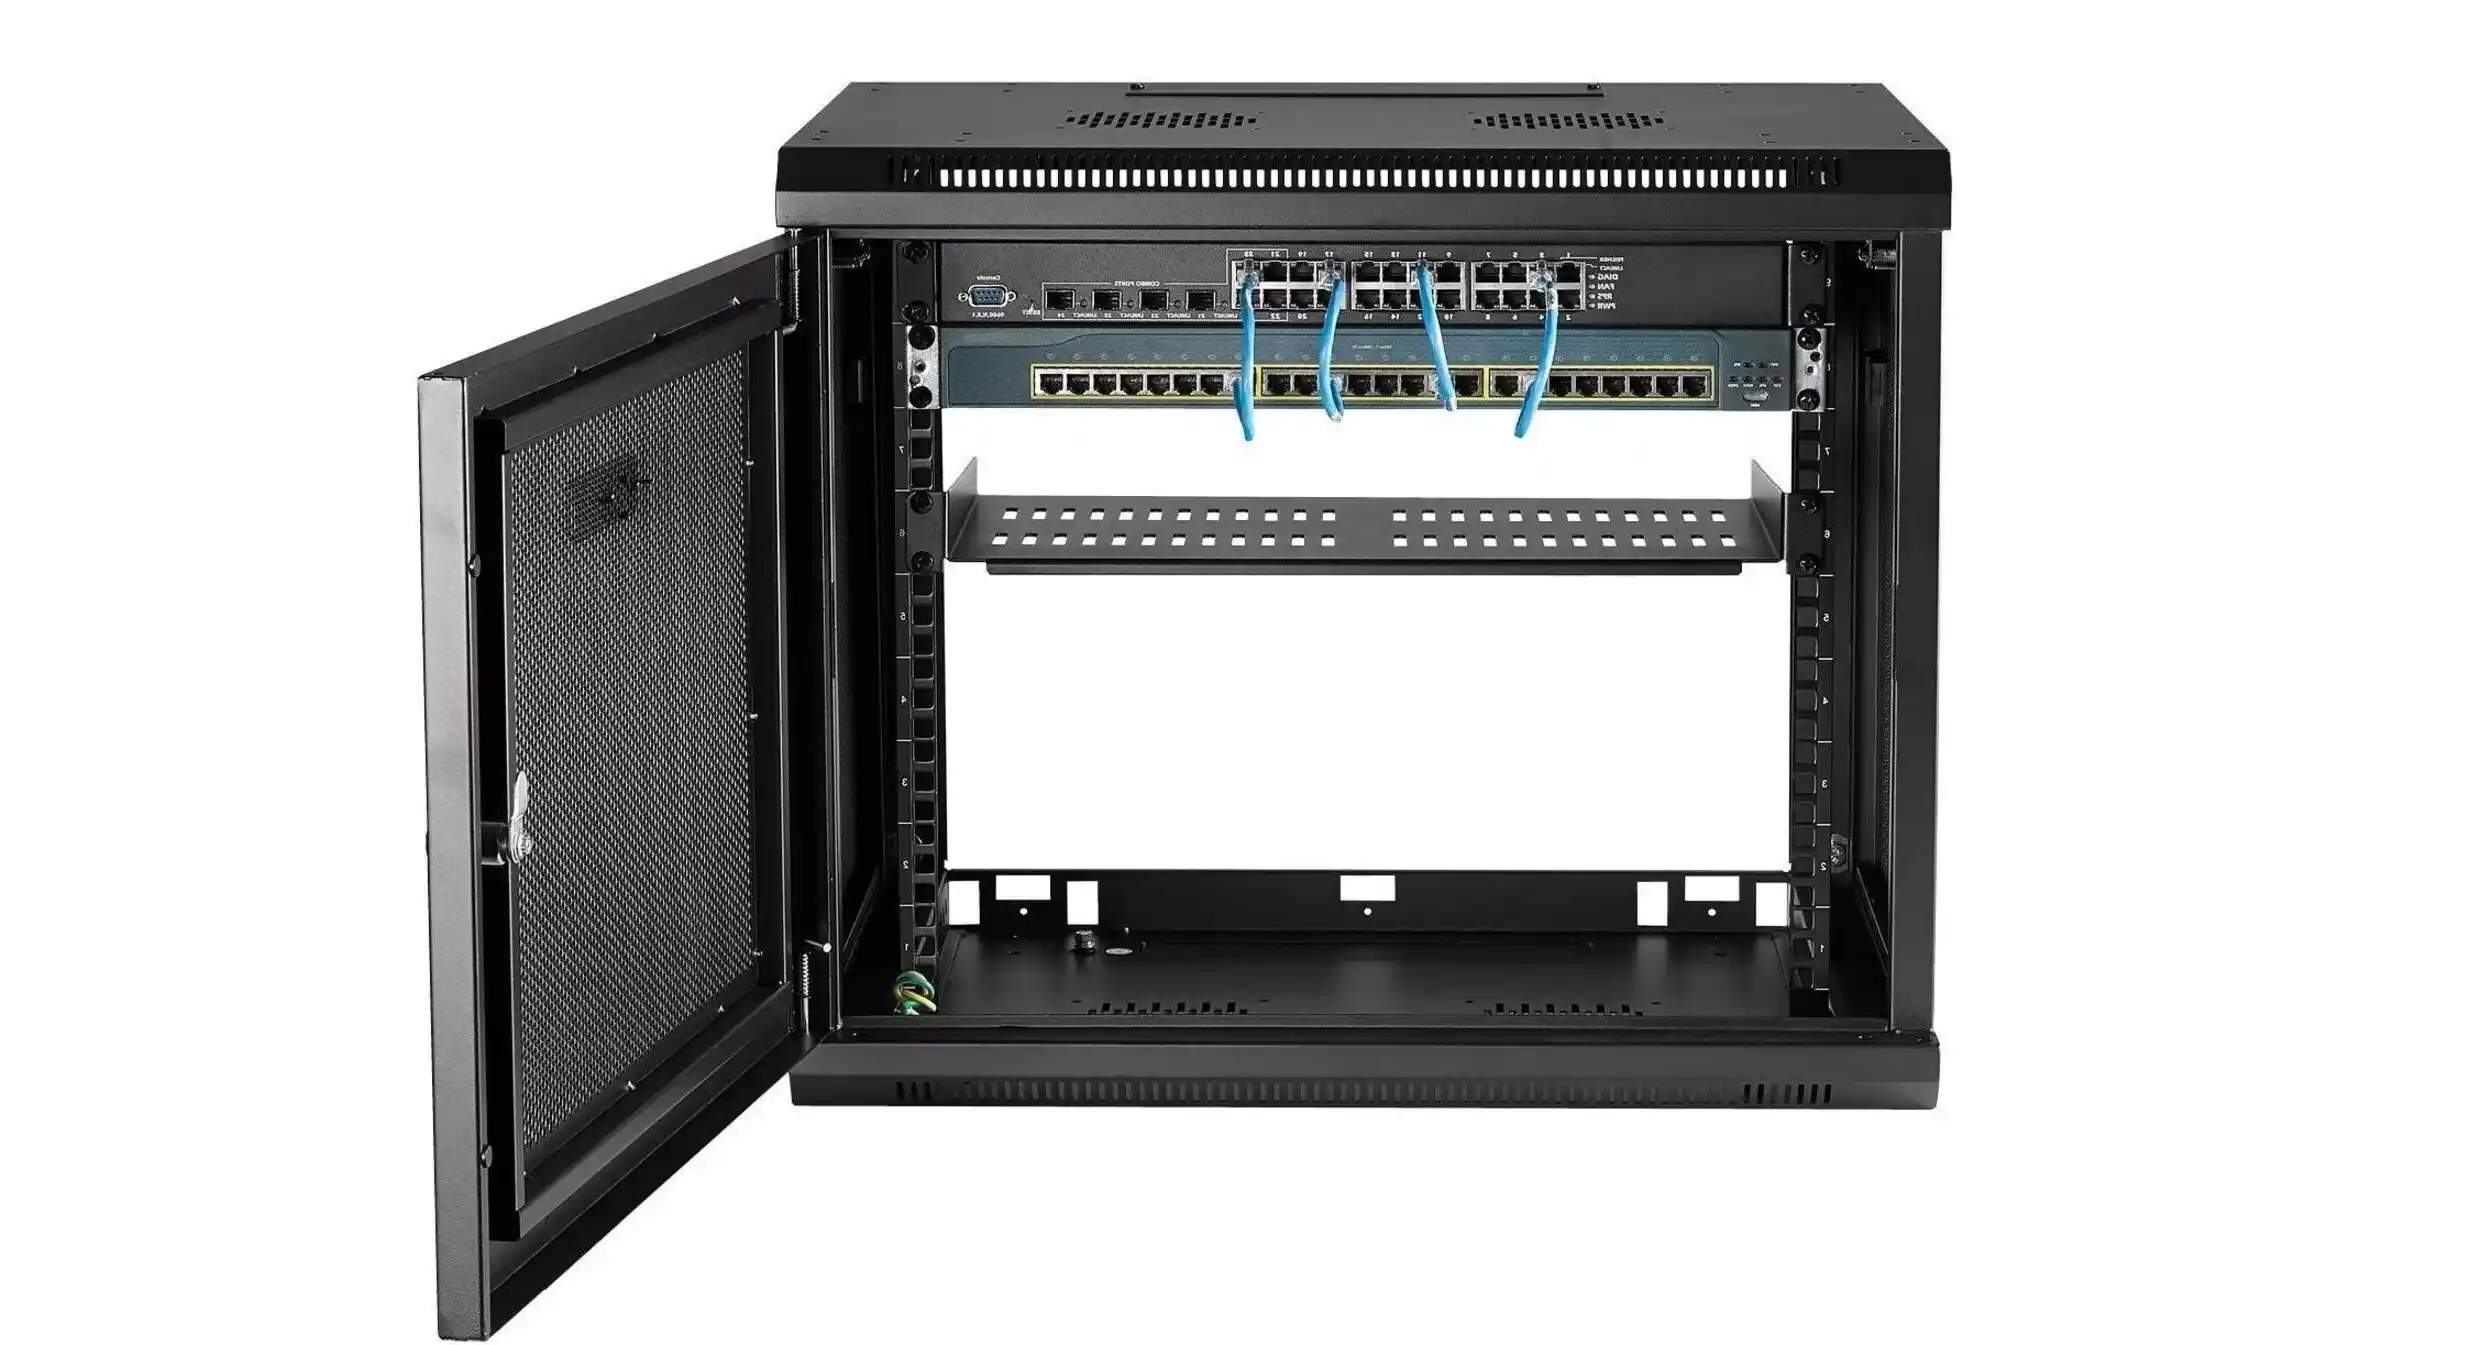
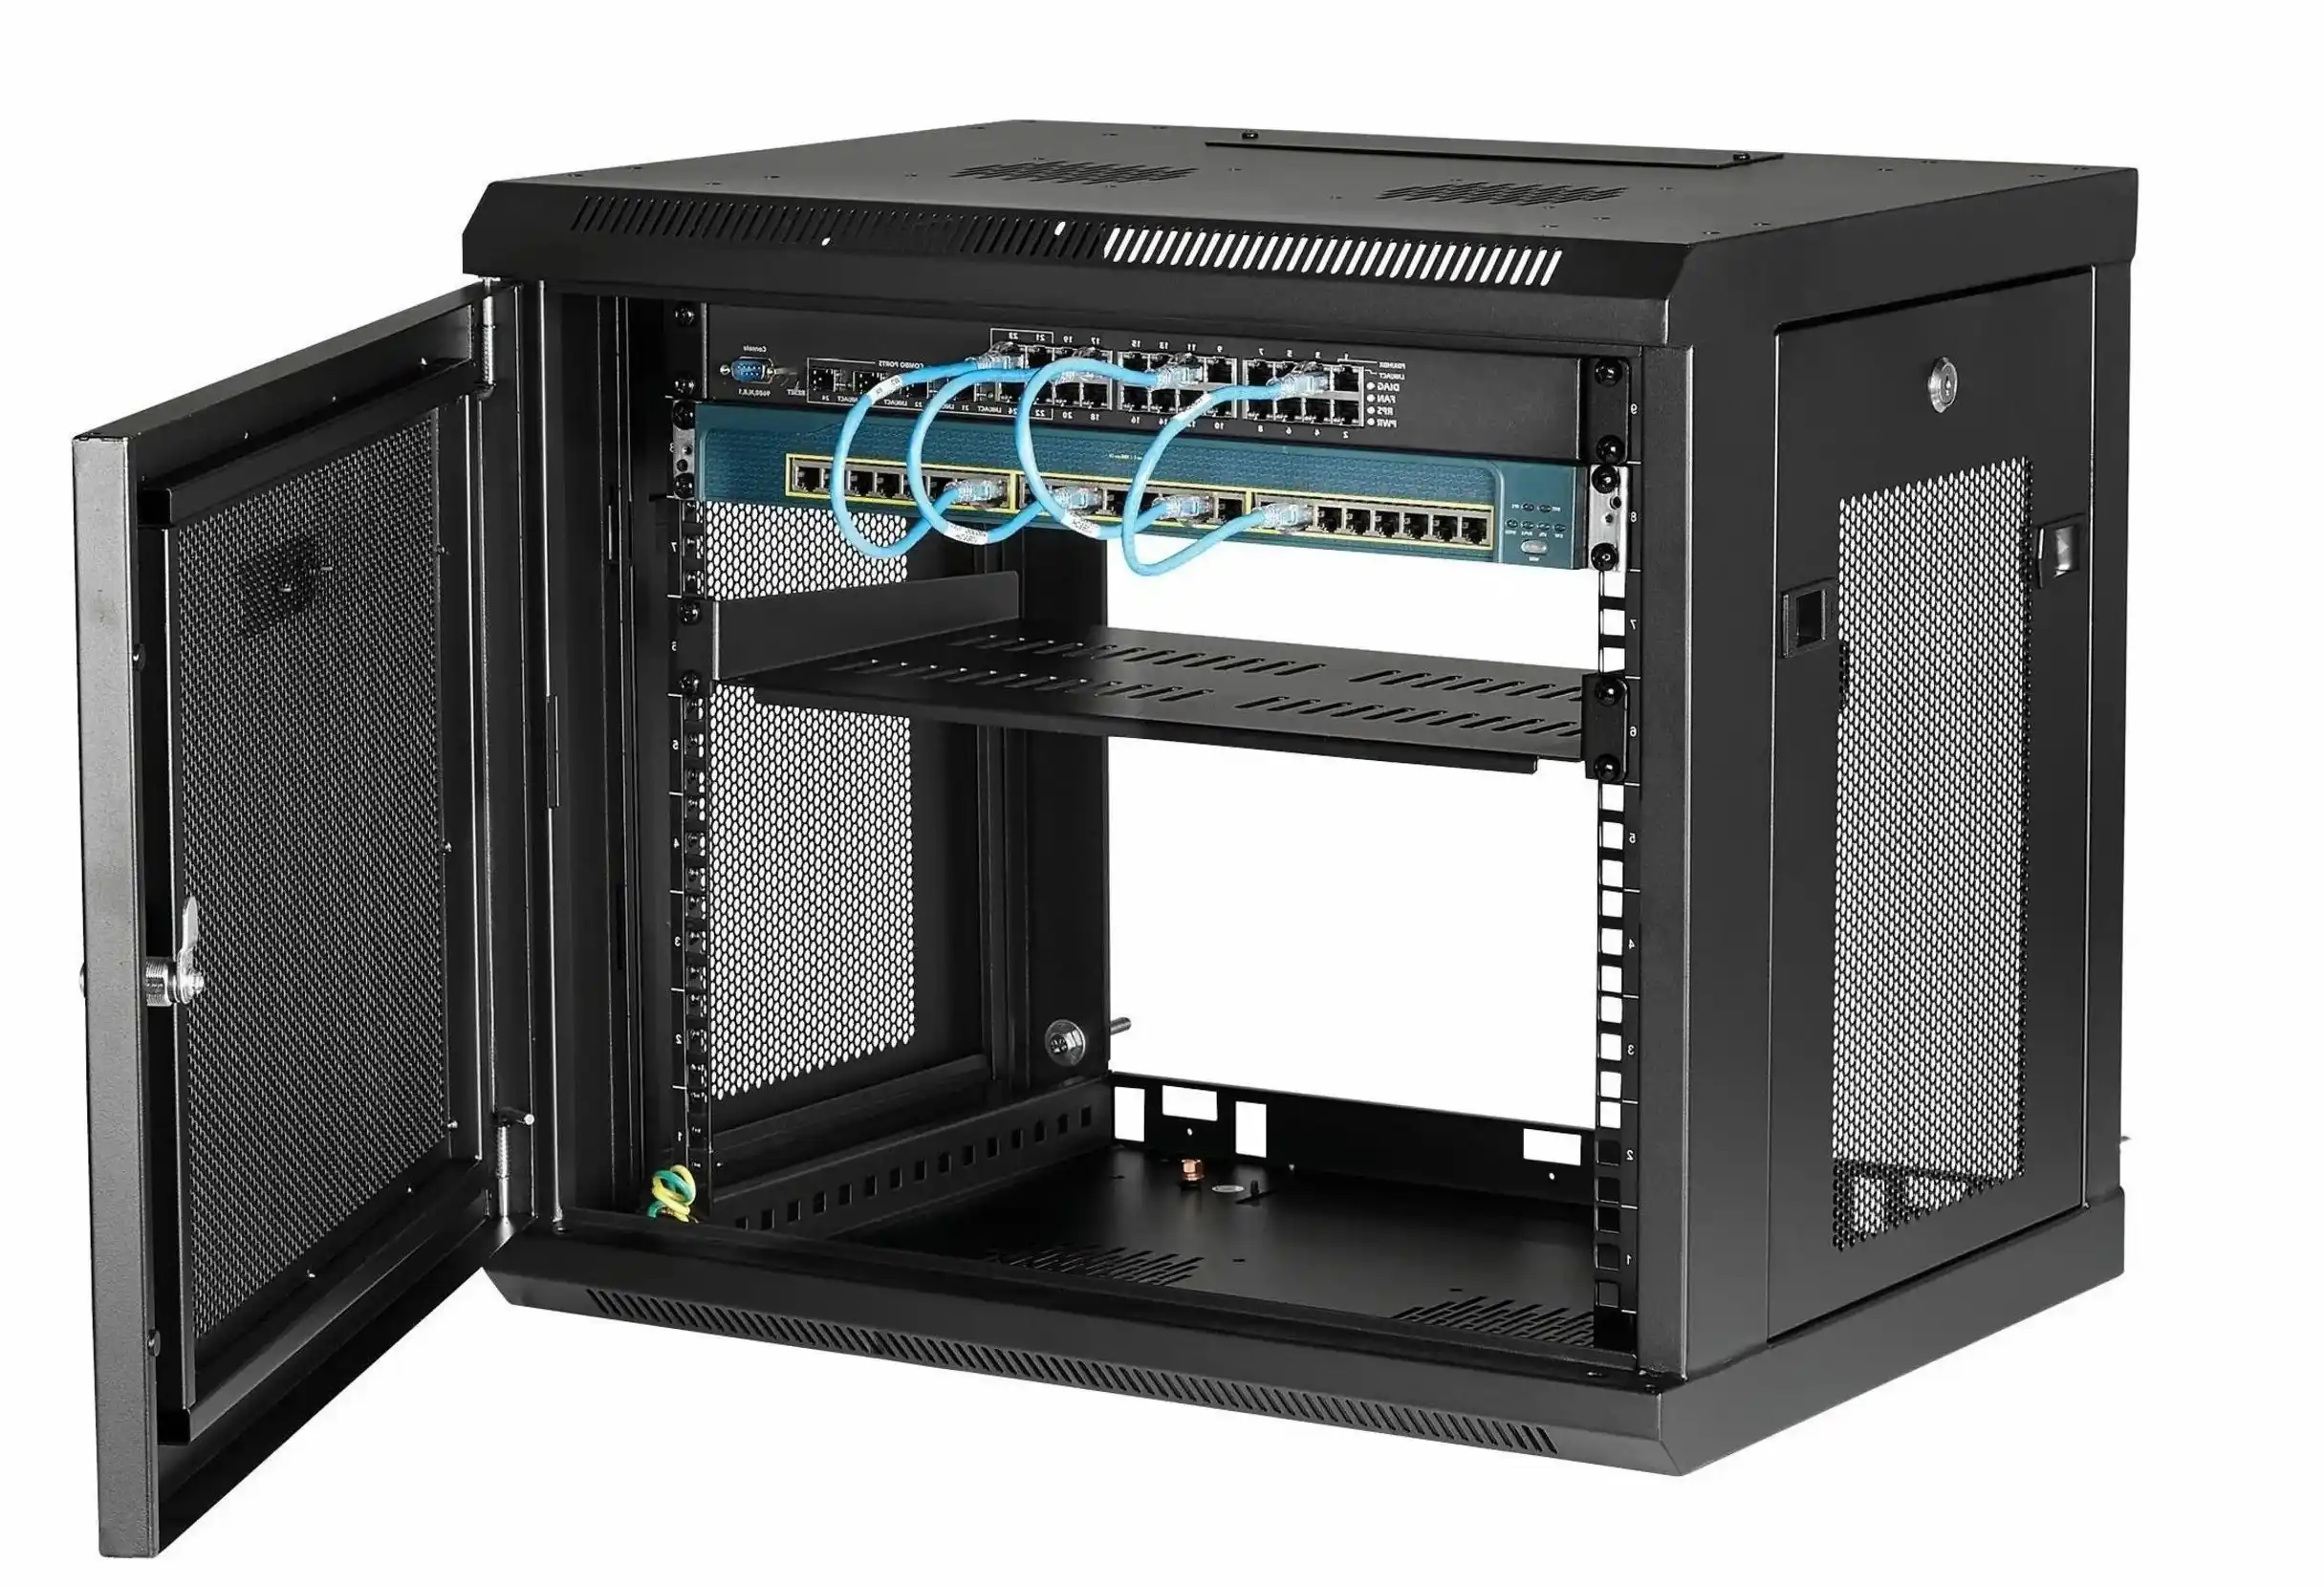
Escenario de campo: Montaje mural de un chasis de servidor sin complicaciones
Caso: Estás colgando un caja mural para la IA de borde. La caja de acero vacía es ligera, la GPU y las transmisiones añaden masa real, y el centro de gravedad se sitúa un poco más adelante. He aquí un plan sensato:
- Identificar el muro: ¿Hormigón? ¿Ladrillo? ¿Pared de yeso sobre montantes?
- Elija el ancla:
- Hormigón → anclajes de cuña (1/2 en clase es habitual).
- Ladrillo/bloque → manguito o adhesivo anclajes en sólido zonas.
- Tablero de yeso → montantes + placa de soporte; Evitar el cartón yeso puro para unidades pesadas.
- Repartir la carga: Utilice cuatro anclajes mínimo, patrón ancho. Reducir las cargas puntuales, reducir la flexión en las bridas del chasis.
- Cuidado con el brazo de palanca: Un chasis profundo convierte los pequeños golpes en grandes momentos. Mantén los módulos pesados bajos y cerca de la pared.
- Apriete y vuelva a comprobar: Apriete según las especificaciones; vuelva a comprobar después de ciclos térmicos o la primera semana de servicio.
- Opcional: Añadir correas antivuelco/sísmicas si el lugar tiene vibraciones o acceso frecuente.
Por qué es importante para los compradores de carcasas de PC para rack de servidor
La fuerza de montaje no es “hablar de accesorios”. Es tiempo de funcionamiento. Si su nodo de borde se cae, pierdes datos y te enfrentas a vuelcos de camión. Por eso diseñamos el interfaz mecánica y el patrón de anclaje juntos.
IStoneCase construye hacia esa realidad. Como IStoneCase - Fabricante líder mundial de soluciones OEM/ODM para chasis de almacenamiento y carcasas de GPU/servidor, de los metales, la geometría de las bridas y el interior. esparcidores de carga para que sus anclajes vean cargas limpias y predecibles. ¿Necesita una puerta más pesada con espuma acústica? Ajustaremos las placas de las bisagras y los resaltes de montaje. ¿Necesita raíles para pilas de suelo? Ajustamos los carril guía del chasis a los postes del bastidor y establece las clasificaciones estáticas/dinámicas que realmente necesitas.
Explore nuestras líneas y díganos cuál es la situación de su pared/estante:
- caja pc rack servidor - Diseños respetuosos con los RU, aptos para pasillos fríos, marcos rígidos.
- caja pc servidor - Desde chasis compactos hasta chasis profundos, orejas de montaje personalizadas.
- caja del ordenador servidor - Soportes OEM/ODM, placas de apoyo y plantillas de anclaje.
- servidor atx caso - Soporte para placas ATX con separadores y anclajes reforzados.
- Caja para montaje en bastidor - Kits de raíles con capacidades de carga estática/dinámica adecuadas.
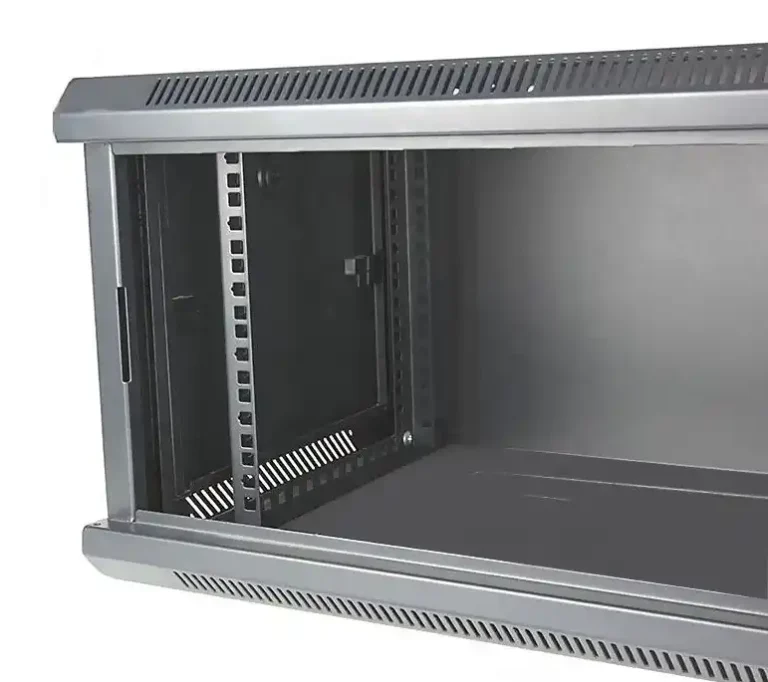
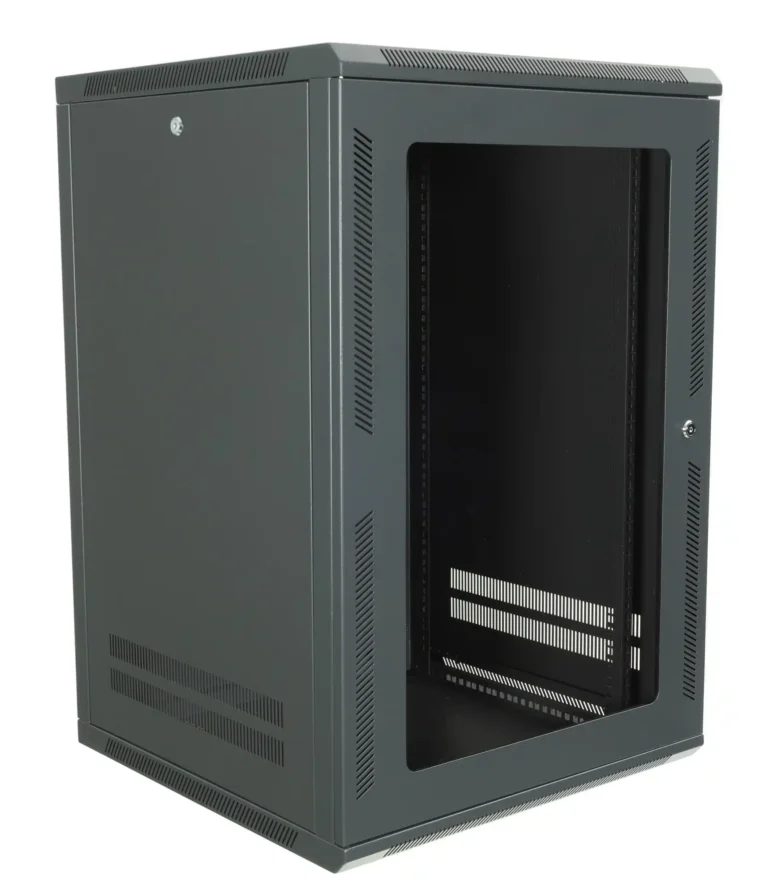
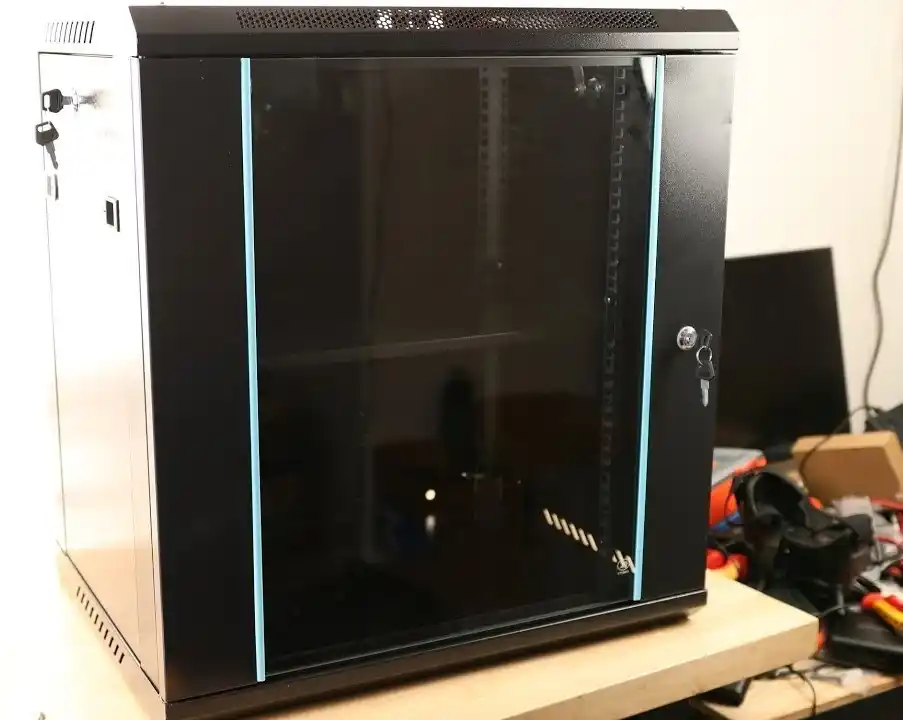
- Caja de pared - Amplios patrones de anclaje para reducir la tensión en la pared; opciones de giro de la puerta.
- Dispositivos NAS - Bandejas antivibraciones; gestión de cables que no se resiste.
(También suministramos Cajas ITX y carriles guía; mismo espíritu OEM/ODM, misma durabilidad).
Selección de anclajes para formatos de chasis
- Cajas murales poco profundas (<300 mm de profundidad): Mantenga el CG cerca, cuatro anclajes en las esquinas. ¿Hormigón? Anclajes de cuña de 1/2 pulgada, empotrados según tabla.
- Carcasas profundas para GPU: Añadir un ledger/backer fijada a montantes u hormigón primero; luego monte la caja. Esto baja el brazo de palanca y detiene esa lenta “inclinación”.”
- Postes de estantería a losa de hormigón (para estanterías murales pequeñas): Utilizar anclajes de cuña o adhesivos según el espesor de la losa; respetar la distancia de los bordes a los peldaños, zanjas y juntas de la losa.
- Retrofit sobre ladrillo: Piloto primero, boroscopio si puede; si las unidades son huecas, vaya adhesivo con pantallas.
- Sólo paneles de yeso: No para equipo pesado de servidor. Si es necesario, construya un soporte de contrachapado en los montantes, luego fije el chasis a la madera contrachapada.
Errores comunes (los he visto, los he corregido)
- Tamaño de bit incorrecto → El ancla gira o no se fija.
- Agujeros polvorientos → caída masiva de la capacidad, incluso si todo “se siente apretado”.”
- Borde demasiado cerca → grietas en el cono de hormigón con carga de servicio.
- Sobrepar → aplasta los manguitos o pela las roscas; un par de apriete insuficiente → se desliza.
- Sin distribución de la carga → dos anclajes superiores hacen todo el trabajo, los inferiores solo vibran.
Una pequeña nota: si su equipo es nuevo en los anclajes adhesivos, ejecute una prueba de tracción sobre el terreno. Tarda minutos, dice la verdad.
Minitabla: Clase de peso del chasis frente a estrategia de montaje
| Clase de chasis | Montaje típico | Patrón de anclaje | Notas adicionales |
|---|---|---|---|
| ITX ligero / NAS | Montantes u hormigón | 4 puntos, CG ajustado | Añada alivio de tensión al cable |
| Servidor medio / AI edge | Panel de hormigón o con montantes | 4-6 puntos, postura amplia | Considerar la correa antivuelco |
| Carcasa profunda para GPU | Hormigón o mampostería + base | 6-8 puntos, ancho + bajo | La ayuda de un riel o un estante de base |