If you run a data center (or even a “server room that grew up too fast”), you already know the usual story: chillers, CRACs, airflow, PUE. But here’s the part people skip—your server chassis decides how hard your fans fight, how messy your airflow gets, and how much cooling headroom you really have.
In other words, the metal box isn’t passive. A good computer case server behaves like a clean wind tunnel. A bad one turns your rack into a heat soup, then your fans panic and spin like crazy.
Let’s break it down in real terms, with real rack scenes you’ve probably seen.
Server chassis airflow resistance and fan power
Lower airflow resistance cuts fan power
Airflow is like traffic. If you put a bunch of roadblocks in the lane (tight grilles, cramped drive cages, sharp turns), you force the fans to push harder. That means higher RPM, more noise, and more watts burned just to move air.
What creates “airflow resistance” in a server pc case?
- Overly restrictive front panels and dust filters that choke intake
- Crowded mid-plane layouts (drive cages + cables + adapters = airflow brick wall)
- Bad internal ducting (air takes the easiest path, not the useful path)
- Unplanned gaps that cause short-circuits (air loops inside instead of crossing hot parts)
Real rack scene:
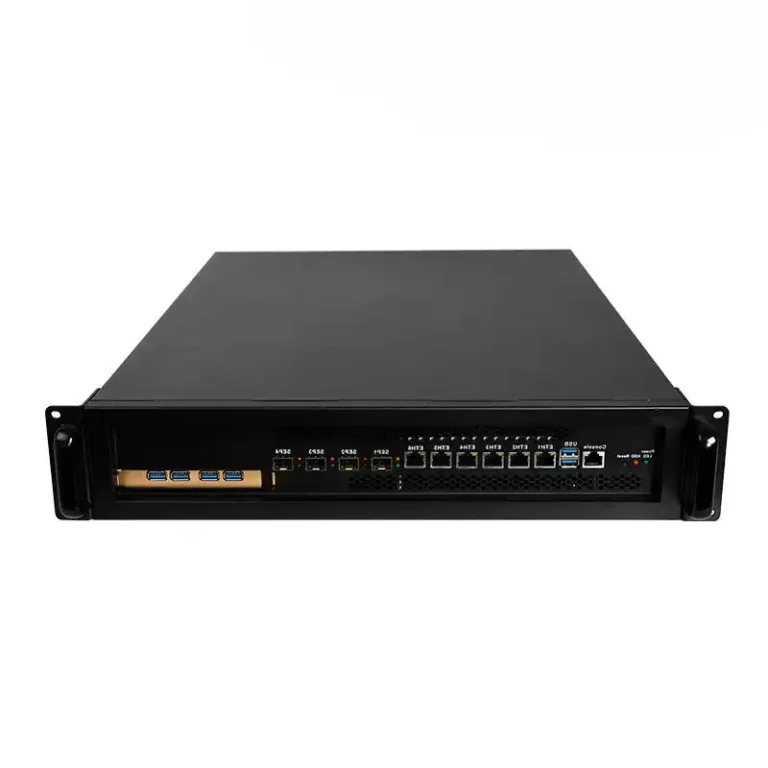
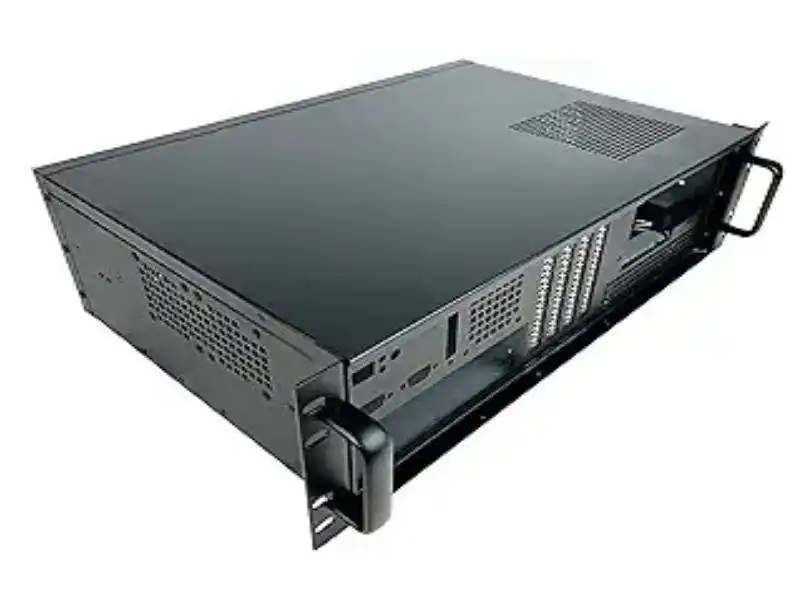
You deploy a 2U node in a dense row. On paper it’s fine. In reality, the fans ramp whenever the rack doors close, because the chassis can’t breathe. So you drop your inlet temp “just to be safe.” Now the whole row eats more cooling for a problem that started inside the box.
If you’re speccing a server rack pc case, start asking a simple question: How clean is the front-to-back flow path, and how much junk sits in the middle of it?
For standard rack builds, start here: Rackmount Case
Air leakage and recirculation inside a server pc case
Stop air leakage and recirculation
Air leakage sounds small, but it’s a silent killer. Hot exhaust sneaks into places it shouldn’t. Cool intake air escapes before it touches your CPUs, RAM, NVMe, or GPUs. Your sensors see “warm inlet,” then your BMC bumps fan speed. It’s a loop you don’t want.
Common leak / recirc spots:
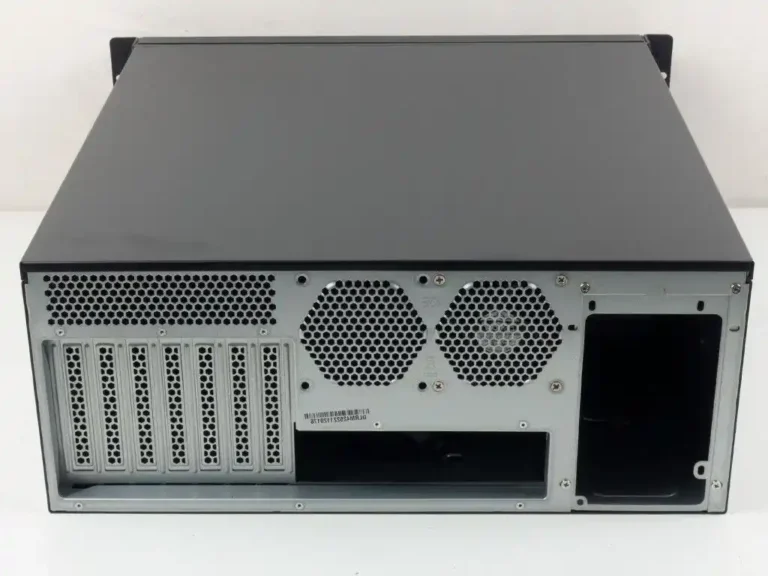
- Unused PCIe slots without proper covers
- Gaps around drive bays and backplanes
- Loose side panels, bad seams, no gaskets
- Cable cutouts that turn into open vents
Real rack scene:
You’ve got an AI rack with mixed nodes. One chassis has little gaps everywhere. That server always runs louder. You swap PSUs, you tweak BIOS, you blame the workload. But the real issue is airflow is cheating. It’s pulling hot air from inside the chassis like a straw.
When you buy in bulk, this is where OEM/ODM customization actually matters. You can specify sealing, baffles, and internal airflow guides instead of just picking “more fans.”
Need GPU-focused airflow planning? This category is built for it: 6U GPU Server Case
Front-to-back airflow and hot aisle/cold aisle containment
Front-to-back airflow keeps hot aisle/cold aisle clean
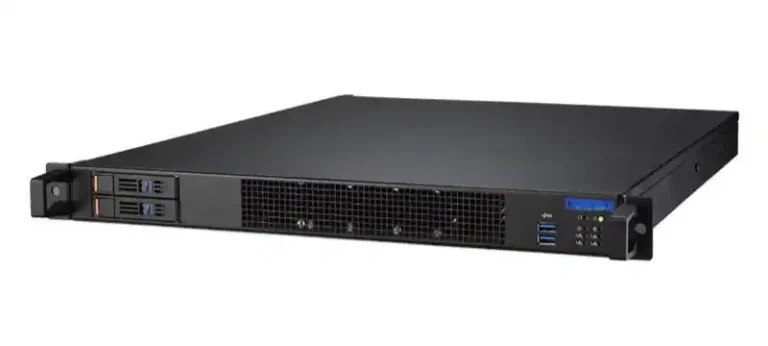
Data centers love simple rules because simple rules scale. Front intake, rear exhaust is one of those rules. When every chassis follows it, hot aisle/cold aisle containment works better, and your facility airflow stops looking like a broken aquarium filter.
When chassis airflow doesn’t match the room design, you get:
- Hot air bleeding into the cold aisle
- Higher return temps in the wrong places
- More bypass air (cold air that never touches IT gear)
- Fans + room cooling both working harder than they should
Real rack scene:
You install a few weird exhaust-direction boxes in an otherwise clean row. Suddenly the cold aisle feels warm in one section. Your team starts adding floor tiles, then adding fan speed, then lowering supply temp. That’s a lot of effort for “wrong airflow direction.”
If you’re deploying edge or closet setups where a full aisle layout isn’t possible, wallmount can still keep flow predictable: Wallmount Case
Server inlet temperature and ASHRAE recommended range
Better chassis design gives you more inlet temperature headroom
Most operators want to run warmer supply air (within recommended guidelines) because it usually makes cooling easier. The catch: your chassis must deliver stable inlet temps at the component level, not just at the rack front.
Two chassis can see the same rack inlet temperature and behave totally different:
- One keeps a clean path across hot parts, so fans stay calm
- The other recirculates hot air internally, so fans spike and parts throttle
Real rack scene:
You try raising supply temperature by a small step. Half the rack is fine. A few servers start screaming (fan alarms, thermal warnings, or random throttling). The facility team blames “bad airflow in the room.” Sometimes it’s not the room. It’s the chassis internal flow and sensor placement.
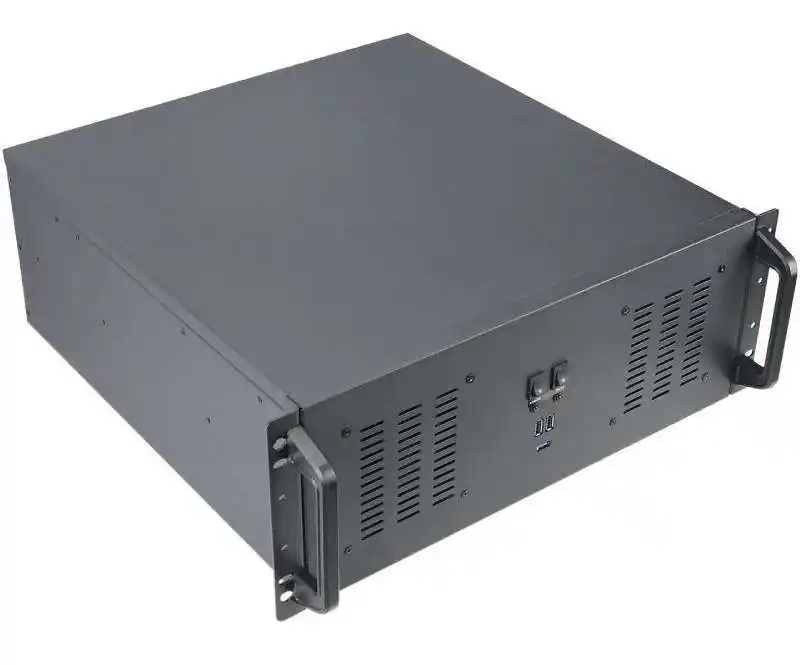
This is where an atx server case can be a practical move for smaller rooms: bigger fans, lower RPM, and more flexible internal spacing—if the layout is done right. Here’s a good starting point: ATX server case
High-density GPU servers and liquid cooling readiness
High-density GPU nodes push air cooling to the edge
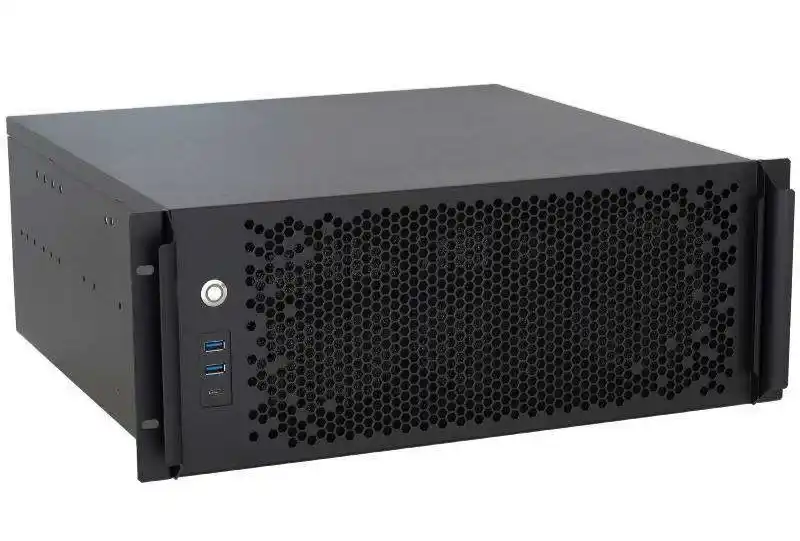
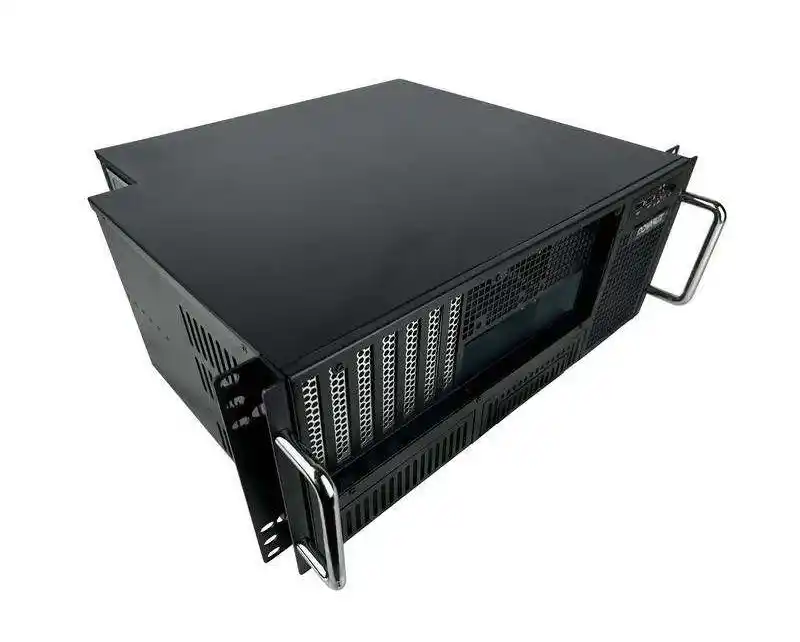
GPUs changed the math. When you pack accelerators into a chassis, you don’t just need “more airflow.” You need airflow that hits the right places, plus mechanical support, sane cable routing, and serviceable layouts.
If you don’t plan for thermals early, you’ll see:
- Hot GPU hotspots even when rack inlet looks fine
- Fan walls pinned at high speed
- Performance swings because cards throttle under sustained load
Real rack scene:
Your AI workload is steady. The room is stable. Yet GPU temps bounce. Why? The chassis airflow splits weirdly around risers, power cables, and drive cages. Air goes where it’s easiest, not where the heat is.
If your roadmap includes liquid cooling or hybrid options, pick chassis that can support that direction without drama. Example: 4U GPU Server Case (Water Cooling)
Practical checks and metrics for your computer case server rollout
Below is a “no-nonsense” table you can use during pilot, burn-in, or post-deploy. It’s not fancy, but it catches the problems fast.
| What to check (field-friendly) | What it usually means | What you measure in ops | What you want to see |
|---|---|---|---|
| Fans ramp hard when rack doors close | Intake restriction or internal airflow blockage | Fan RPM, server power trend, inlet temp | Minimal RPM jump |
| One node is always louder than “same model” | Air leakage / recirculation / assembly variance | RPM spread across fleet | Tight RPM spread |
| Hotspot GPUs even with normal inlet temp | Air not reaching heat sources | GPU hotspot temp, throttling flags | Stable temps, no throttle |
| High inlet sensor readings but cool aisle is fine | Sensor placement + internal recirc | Inlet sensor vs component temps | Inlet aligns with reality |
| You need extra perforated tiles “just for one rack” | Chassis airflow mismatch or bad impedance | Rack delta-T, airflow complaints | Normal tiles work |
| Service team keeps leaving panels open | Maintenance friction and bad rails | Time-to-service, “door-open time” | Fast swaps, panels closed |
One underrated detail: rails and serviceability. Faster maintenance means less “open rack, open door, hot air mixing” time. If you deploy at scale, it matters. See: Chassis Guide Rail
Where IStoneCase fits in real deployments
IStoneCase isn’t selling a single “one-size box.” The product mix maps to how people actually build infrastructure:
- Dense compute and AI nodes: 6U GPU Server Case
- Standard 19-inch deployments from 1U–4U: Rackmount Case
- Storage-heavy builds for backup, media, or private cloud: NAS Case
- Tight-space installs, edge closets, and industrial rooms: Wallmount Case
- Compact dev boxes, lab nodes, and small-footprint builds: ITX Case
And if you’re buying for a fleet (integrators, wholesalers, platform teams), the real win is OEM/ODM. You can tune things that hit energy and uptime directly: fan wall layout, vent pattern, baffles, backplane placement, cable routing, even how drive bays sit in the airflow stream. It’s not glamour. It just work, and your ops team will feel it.