A normal ITX case is built for a desk. Put it on a factory line, inside a moving vehicle, or in a dusty telecom hut and it’ll start acting weird. Fans clog. Screws back out. EMI gremlins show up and your NIC starts “link flap” at the worst time.
Here’s the thesis: you can make an ITX system survive harsh sites, but you have to design the enclosure like compact industrial gear, not like a pretty PC shell. And yeah, the chassis choice matters as much as the motherboard.
I’ll walk you through dust, vibration, and EMI with real-world “this is where it fails” logic. I’ll also show a spec table you can copy into a PRD.
Dust: IP rating, airflow, filters
Argument: Define the target IP rating first
If you say “dustproof,” you’ll argue forever. Say IP5X or IP6X (IEC 60529) and the team can stop guessing. Then you can align design, test, and acceptance. Otherwise, somebody will cut extra vents “for cooling” and you’ll ship a sand collector.
Common harsh-site reality: the dust isn’t soft. It’s metal fines, cement powder, wood chips, carbon, even oily grit. That stuff doesn’t just sit there. It packs into heatsinks like concrete.
Argument: Dust protection fights cooling
You don’t get free wins here. Filters and tight vents raise restriction. Fan RPM goes up. Noise climbs. Bearings wear faster. Thermal headroom disappears.
Pick the approach based on the site:
- Airflow-first approach: use removable filters + keep the case slightly positive pressure so air leaks out, not in.
- Seal-first approach: reduce openings and lean on conduction (heatsinks, heat spreaders, thick panels, external fins) so you’re not depending on huge airflow.
If your customer wants “no service visits,” you should assume filters won’t be cleaned on time. Design like that. People forget, then they blame you.
Argument: Make maintenance simple or it won’t happen
A filter that needs tools will not get cleaned. A filter that slides out in 10 seconds will get cleaned… sometimes. That “sometimes” is already a big upgrade.
Also, don’t hide the intake behind cables, racks, or a wall. A blocked intake looks like a random reboot to ops, and ops hates random.
Vibration: resonance, fasteners, mounting
Argument: Resonance beats “thicker metal”
Vibration kills you through resonance. A stiff-looking case can still ring if you leave big flat spans. So break up panels with bends, ribs, beads, and shorter unsupported lengths. Keep heavy parts (PSU, heatsink mass, drive cages) close to strong mounting points.
A simple mental check: if you can flick a panel with your finger and it goes “boing,” it’s gonna sing on a truck too.
Argument: Lock connectors and cables like you mean it
Most “vibe failures” are not fancy. They’re dumb:
- SATA/USB headers wiggle loose
- front I/O harness rubs a sharp edge
- GPU power lead tugs on the connector
- a fan cable slowly walks into a blade
Fix it with basic discipline:
- add tie points and strain relief
- choose locking connectors where possible
- keep cables short and secured (no spaghetti)
- avoid “connector-as-structure” designs (that’s just asking for it)
Argument: Control the mount, not just the box
Harsh installs often bolt the case to something nasty: a vibrating cabinet, a machine frame, a vehicle chassis. If you control the mount, you control the energy path.
Use isolation where it makes sense: grommets, elastomer mounts, isolation rails. But don’t blindly add “soft rubber” and call it done. If the mount is too soft, the system can bounce and smack, then things fail anyway. You want a tuned setup, not vibes roulette.
EMI: shielding, seams, and I/O
Argument: Gaps leak, not metal thickness
EMI doesn’t care that your case is metal. It cares about the gaps. Seams, vent holes, lid joints, I/O cutouts—those are the leak paths.
Think of EMI like water pressure. One tiny crack still leaks. Make the crack long and skinny and it leaks less. Make it wide and short and it leaks a lot.
Argument: Grounding and continuity are non-negotiable
Paint and powder coat look great, but they can block contact. If you don’t plan bonding points, you’ll get intermittent noise and you’ll waste weeks blaming firmware.
Do this instead:
- plan metal-to-metal contact points (bonding studs, star washers)
- control coatings around those points (keep-outs)
- keep ground paths short and consistent
- avoid “floating panels” that touch only through paint
Argument: Treat I/O as the leak path
Cables are antennas. Your Ethernet, USB, HDMI, and antenna leads are common entry/exit paths for noise.
Practical moves that actually help:
- use shielded I/O with solid chassis bonding
- clamp or tie down cable exits (stop micro-motion)
- keep internal runs short and routed away from hot switching zones
- add ferrites only when you need them (don’t carpet-bomb it)
EMI debugging is brutal because it feels random. Good enclosure design makes it boring, and boring is good.
Design checklist and spec table
Requirements matrix
Here’s a table you can hand to engineering and sourcing. It avoids fluff and focuses on what breaks first.
| Environment risk | What fails in the field | Enclosure design lever | What “good” looks like (no cost numbers) | Verification reference |
|---|---|---|---|---|
| Dust | clogged heatsink, fan wear, connector grit | IP target + filter strategy | IP5X/IP6X target defined; filter is tool-less; airflow path stays clear | IEC 60529 (IP Code) |
| Dust vs cooling | thermal throttle, random reset | venting + fan curve + conduction | balanced venting; positive pressure option; thermal margin under load | thermal validation plan |
| Vibration | loose cables, backed-out screws | fastener + strain relief | locking hardware; tie points; no free-hanging harness | MIL-STD-810H (vibration method) |
| Mount vibration | cracked PCB, port damage | mounting system | mounting points reinforced; isolation where needed; no “thin ear” brackets | installation test + vibe run |
| EMI | link drops, sensor noise, weird freezes | seams + bonding + I/O shielding | seam control; bonding points; shielded I/O and cable control | MIL-STD-461 (EMC) |
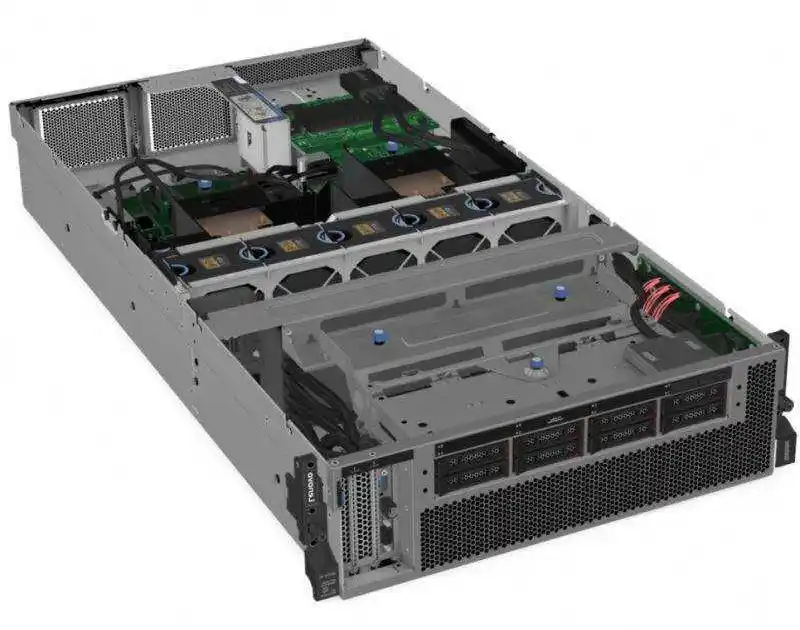
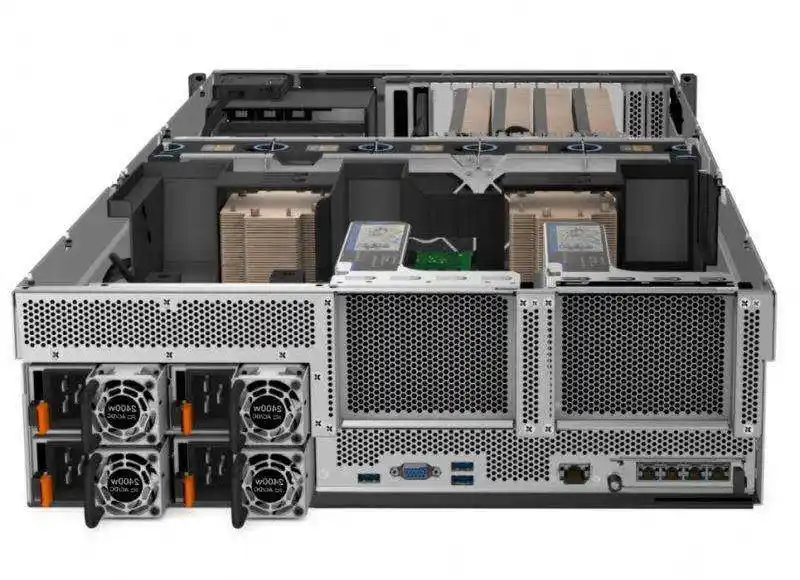
ITX vs server rack pc case vs atx server case
Here’s the honest part: ITX is great, but it’s not magic. Sometimes you should step up the chassis class because serviceability and airflow win in harsh deployments.
- If you need compact edge compute, start with an ITX case and build around dust service and secure mounting.
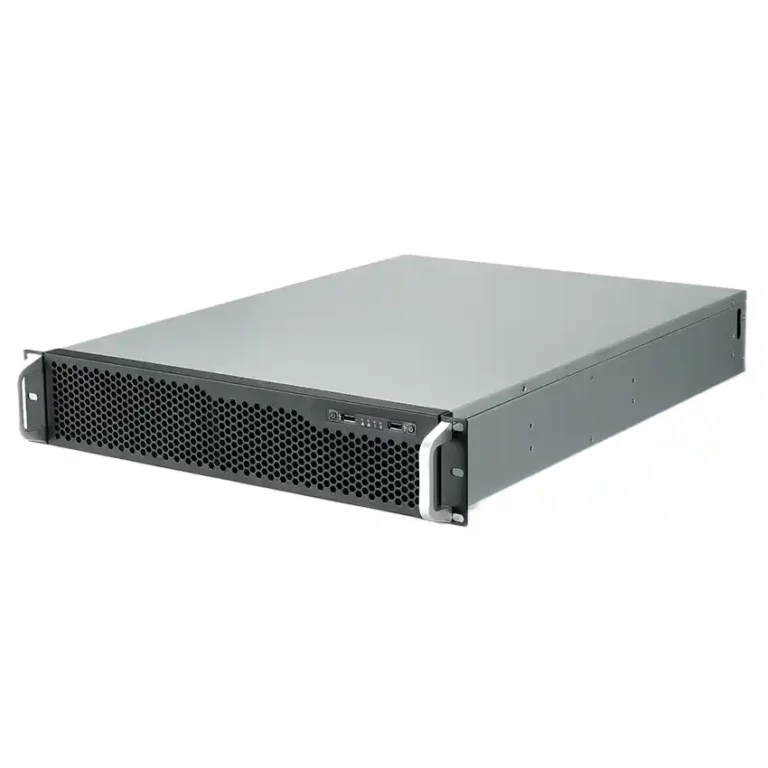
- If you’re living in cabinets, choose a server rack pc case so RU layout, airflow direction, and swap speed don’t turn into chaos.
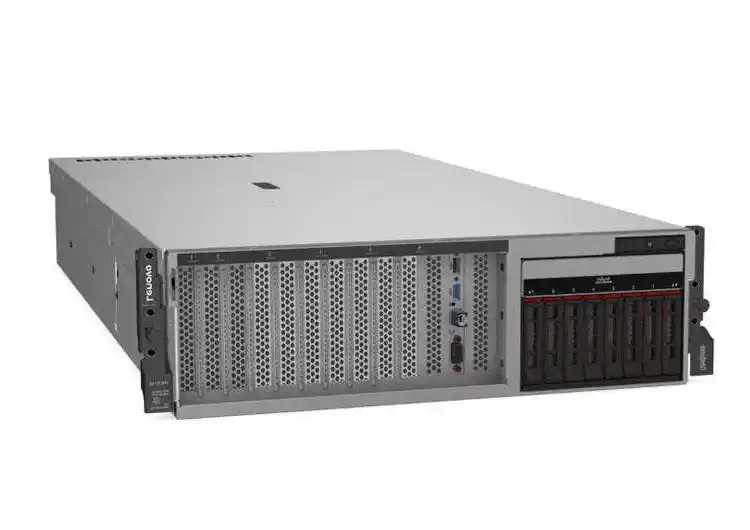
- For general deployments, a server pc case gives you more space for cable control, better cooling options, and cleaner grounding.
- If your buyer literally searches “computer case server,” point them to the same server case category and spec the harsh-site options in the RFQ.
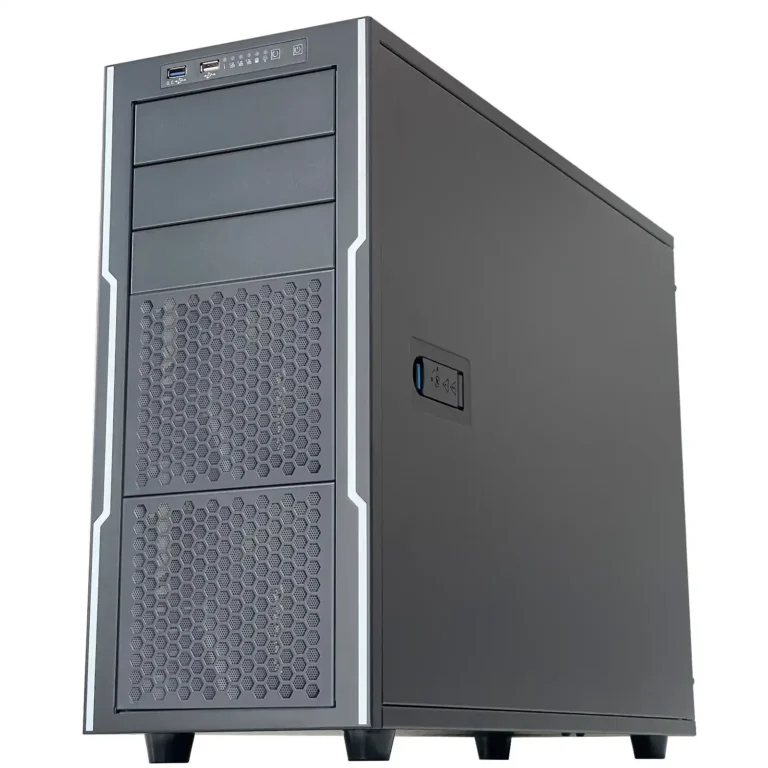
- If the build needs more expansion and standard layouts, an atx server case usually makes ops happier (more room, easier service).
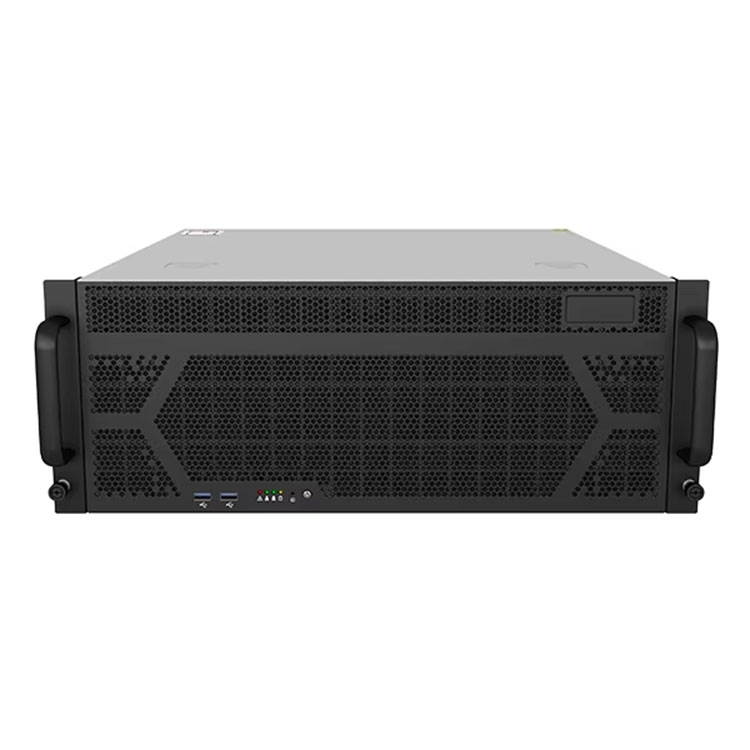
- If it’s GPU-heavy, don’t fight physics. Start with a GPU server case and design for airflow and power routing from day one.
- For tight installs on walls or inside kiosks, a wallmount case can reduce cable strain and keep intakes away from floor dust.
- If you plan frequent swaps, rails save your back and your uptime. Use a chassis guide rail plan so your tech can slide, service, and go.
OEM/ODM for harsh environments
If you’re rolling out batches, you don’t want “close enough.” You want repeatable build quality, stable supply, and a chassis that matches the site playbook. That’s where OEM/ODM pays off: custom filters, gasket design, vent geometry, port locking, cable tie points, grounding keep-outs, and mounting ears that don’t bend like a soda can.
IStoneCase focuses on server and storage chassis (GPU, rackmount, wallmount, ITX, NAS) and supports customization plus bulk purchase workflows. If you need a harsh-site ITX enclosure that doesn’t act fragile, talk OEM/ODM early so you don’t redesign after field failures. This stuff is easier before production, trust me.
And yeah, sometimes the best design choice is admitting: “ITX is too tight for this job.” That’s not failure. That’s shipping something that just works.