If you’ve ever rolled out GPU servers at scale, you already know the ugly truth: a chassis that looks fine in a lab can melt down (or quietly throttle) in a real rack. Fans scream, clocks drop, nodes flap, and your ops team starts tagging everything “sus” at 2 a.m.
So here’s the argument: you don’t validate “a box.” You validate a whole airflow system—rack, cabling, fan curves, heat load, and the way your team actually deploys it. Get that right before you go wide, and you derisk the rollout hard.
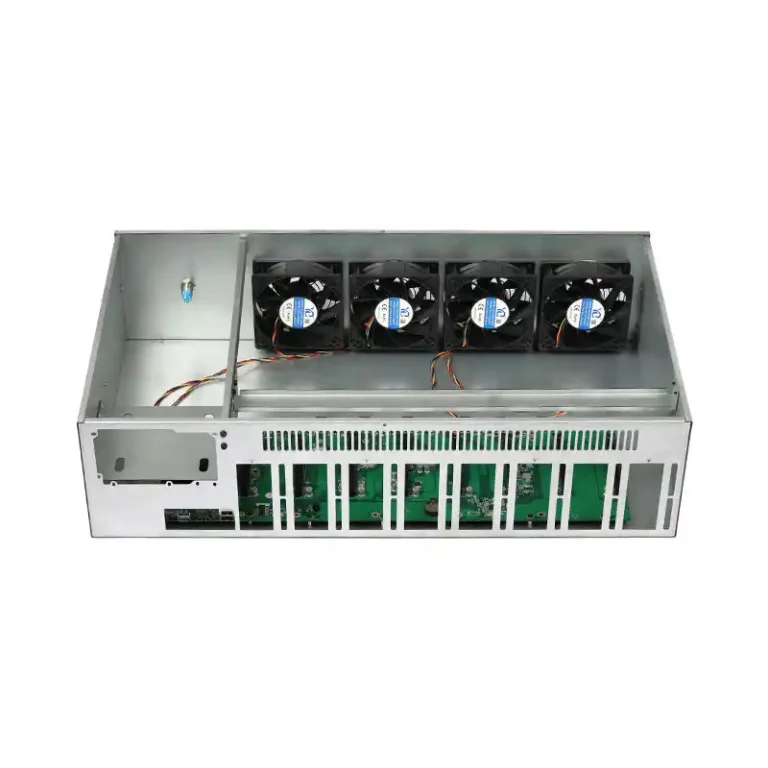
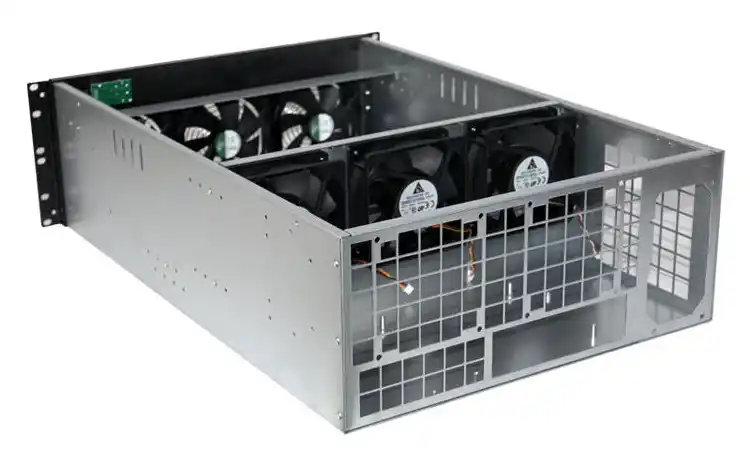
And yeah, the chassis matters a lot. A purpose-built GPU server case gives you way more thermal headroom than a random “works-on-paper” build. If you’re sourcing at volume, you want a manufacturer who does OEM/ODM cleanly, not just a catalog. That’s basically the lane IStoneCase lives in: “IStoneCase – The World’s Leading GPU/Server Case and Storage Chassis OEM/ODM Solution Manufacturer.”
Thermal validation before mass deployment: what you’re proving
Before you ship pallets, you need proof on three levels:
- The GPUs hold clocks under sustained load (no sneaky throttling).
- Non-GPU parts stay sane (NIC/HBA/NVMe/backplane are where surprises hide).
- Your rack setup doesn’t sabotage airflow (blanking panels, cable mess, rail position, all that).
That’s the big idea. Now let’s get practical.
Real-world conditions: rack airflow, cable chaos, and pressure drop
Real-World Conditions: rack, hot aisle/cold aisle, front-to-back airflow
Start with the same physical reality your fleet will live in:
- Same cabinet depth and rail position
- Same PDUs and cable routes (don’t “lab tidy” it)
- Same neighbor gear (top-of-rack switch, storage sleds, whatever)
If you validate in open air, you’re basically testing a different machine. In a rack, pressure drop becomes the boss. Your fans don’t move “air,” they move air against resistance.
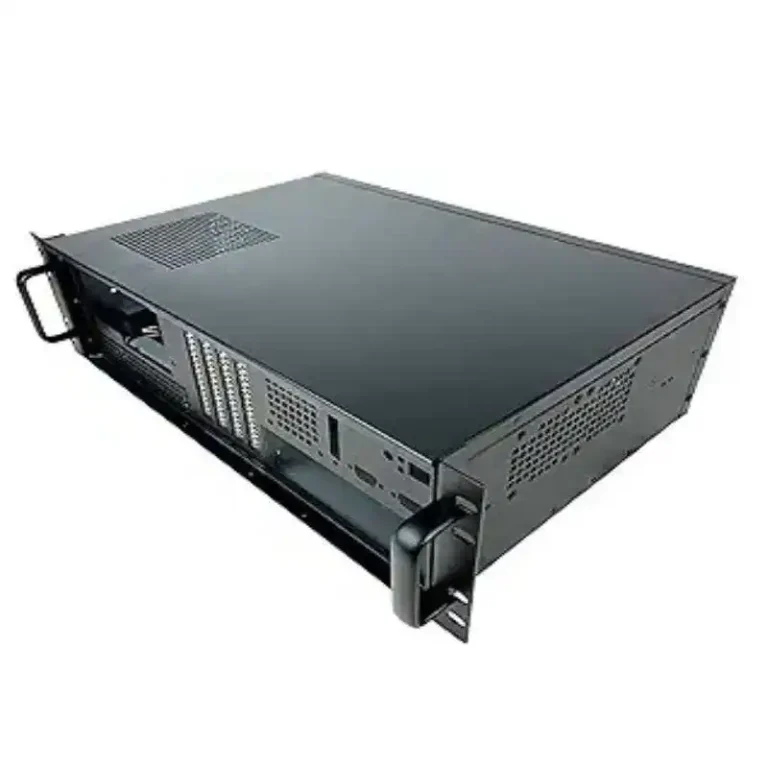
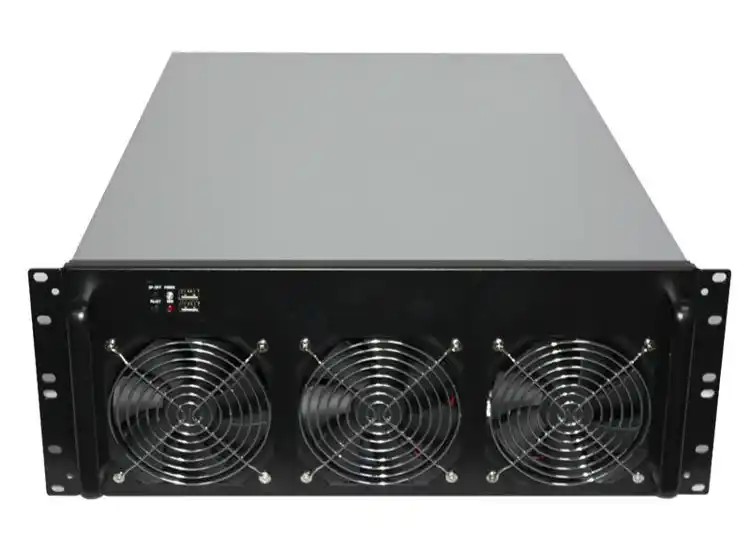
If you’re shopping for a rack build, your server rack pc case choice is not cosmetic. It decides your airflow path, fan wall layout, and service access.
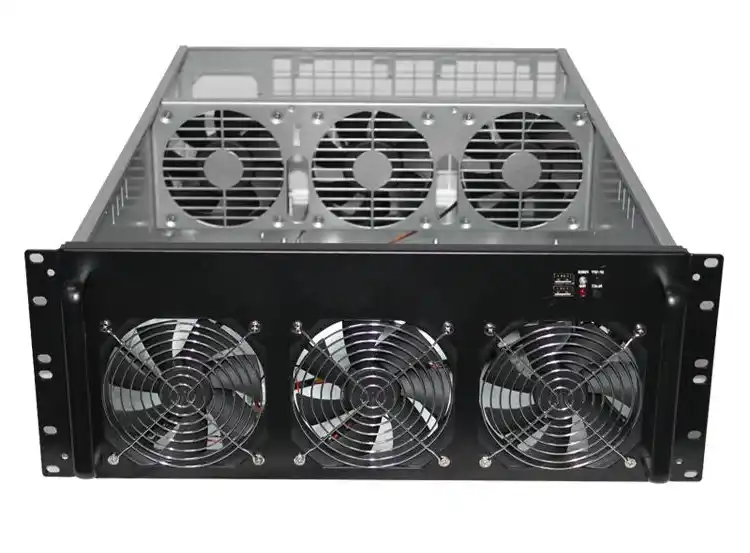
Pressure drop, fan curves, and “why is GPU #6 always hot?”
Here’s the pattern I see a lot: GPU #1–#4 look fine, #5–#8 run hotter, and someone blames the card vendor. Nah. Usually it’s one of these:
- Cable bundles blocking intake
- PCIe riser/retimer area trapping hot air
- Wrong blanking strategy causing recirculation
- Fan curve too gentle until it’s already late
You fix this by testing like ops will deploy, not like engineers wish ops would deploy. (Ops is busy. They’ll do what they can.)
Repeatable stress test: thermal steady state and throttling checks
Repeatable Stress Test: thermal steady state with sustained GPU load
Short runs lie. You want thermal steady state, where temps stop creeping and the system settles.
A simple approach that works:
- Run a sustained GPU workload long enough to plateau
- Keep ambient conditions steady (same aisle, same door position, same fan policy)
- Log everything, every time
You’re not chasing a perfect number. You’re proving repeatability: the same config behaves the same way across units.
DCGM Diagnostics, gpu-burn style loads, and failure signatures
For fleet-style validation, operators often use tooling like DCGM diagnostics and burn-in workloads because they’re consistent and brutal. The point is not elegance, it’s signal.
What “bad” looks like:
- GPU clocks wobble even though utilization is steady
- Fan RPM pegs but temps still climb
- One node fails only when neighbors are loaded (classic rack interaction)
If you’re building for scale, a proper server pc case line should support this kind of repeat testing without you doing weird hacks.
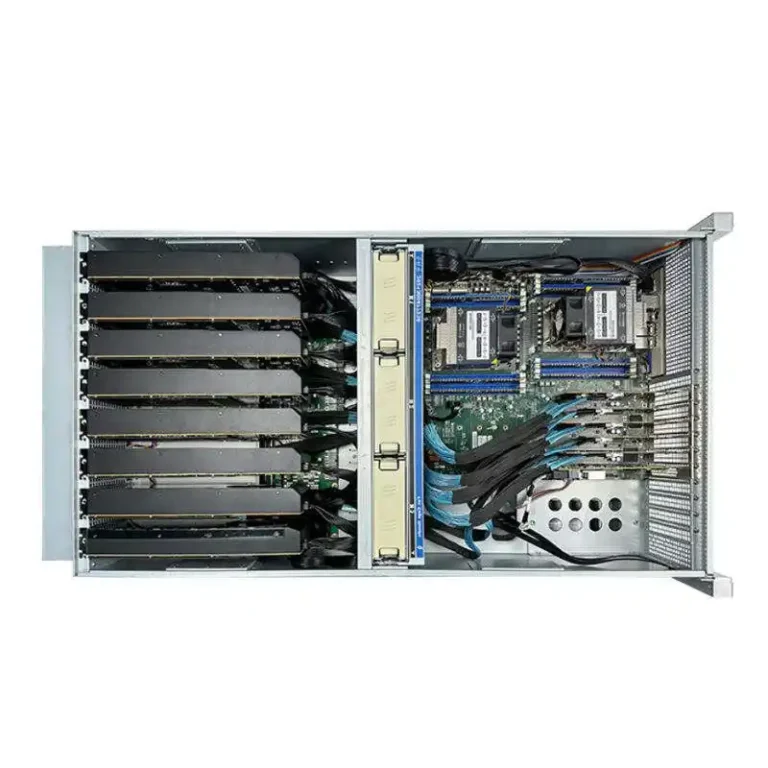
System view: hotspots beyond the GPU die
System View: NIC, HBA/RAID, NVMe, backplane, and VRM hotspots
Most teams stare at GPU temp and call it done. Then the cluster falls over because the NIC cooked, or the HBA started throwing errors.
So validate the whole thermal map:
- GPU core and memory temps (whatever your stack exposes)
- VRM zones (board sensors if available)
- NIC temperature (especially high-speed NICs)
- NVMe drive temps (front bays can get spicy)
- Backplane zones and PSU exhaust behavior
This is why a “computer box” mindset fails. A computer case server build is an airflow design problem, not just metal + fans.
Thermal and power violations: treat telemetry as a hard gate
If your validation doesn’t produce logs you can hand to ops, it’s not validation. It’s vibes.
Here’s what to capture, every run:
- GPU temperature trend (not just peak)
- GPU clocks and throttle reasons
- Power draw trend (relative is fine)
- Fan RPM and duty cycle
- BMC/IPMI sensor snapshots (inlet/exhaust if you have them)
- Event logs (correctable errors, link retrains, etc.)
And yeah… sometimes the log will look “fine” but user complain the job is slow. That’s when you dig into clocks. Thermal throttling is quiet, like a bad roommate.
Long burn-in: 24–48 hours to flush out gremlins
Long Burn-In: 24–48 hour soak test for stability
If you want confidence before mass deployment, do a real soak. A 24–48 hour burn-in is common because it catches the stuff that only appears after heat soak, fan wear-in, or a slightly weak PSU rail.
During burn-in, watch for:
- Gradual thermal creep
- Random node drops
- “Only fails overnight” behavior (the worst kind)
This is also where chassis build quality shows up. Rattles, loose fan brackets, weird vibration—those are not “small.” They’re early warnings.
A practical validation matrix for GPU server case thermal performance
| Phase | Goal | Setup | Typical duration | Data you must collect | Pass signal (simple) |
|---|---|---|---|---|---|
| Rack-reality setup | Match deployment physics | Real rack, real cabling, neighbors installed | A few hours | Inlet/exhaust, fan RPM, GPU stats | Temps stabilize, no weird hotspot |
| Thermal steady-state load | Prove repeatable plateau | Sustained GPU load, fixed fan policy | Hours | Temp trend + clocks + throttle flags | Clocks stay stable, no throttle spam |
| System hotspot scan | Catch non-GPU failures | Add NVMe + NIC traffic + storage IO | Hours | NIC/NVMe temps + logs | No thermal-related errors |
| Soak / burn-in | Catch edge failures | Same config, no babysitting | 24–48 hours | Full telemetry + event logs | No drops, no creeping instability |
| Multi-unit sampling | Prove manufacturing consistency | Several units across batch | Repeat above | Compare run-to-run deltas | Same behavior across units |
What to do when validation fails (because it will)
| Symptom | Usual root cause | Fast debug move | Fix direction |
|---|---|---|---|
| One GPU always hotter | Local recirculation / blockage | Swap card position, re-route cables | Add ducting, adjust fan wall, baffle |
| Clocks dip but temps look “ok” | Power or hidden throttle reason | Log throttle reasons, check limits | Tune power policy, airflow margin |
| NIC errors under heat | Poor crossflow near PCIe | Add NIC load test + temp logging | Slot spacing, airflow guide, relocate |
| NVMe temps spike | Front bay airflow weak | Measure inlet near drive cages | Change cage venting, fan placement |
| Rack-only failures | Pressure drop + neighbor exhaust | Load adjacent nodes too | Blanking panels, sealing, better chassis airflow |
Small note: don’t “fix” it by just cranking fans to max forever. That’s how you end up with noisy racks and angry people. It’s a band-aid, not design.
Picking the right chassis class: GPU server case vs ATX server case vs small form factor
If you’re pushing dense GPUs, you usually want a chassis designed for it. A general-purpose atx server case can work for lighter GPU counts, but once you stack multiple high-TDP cards, airflow design becomes unforgiving.
For bulk builds, it’s normal to mix platforms:
- GPU compute nodes in dedicated GPU server case chassis
- Storage nodes using NAS devices style enclosures
- Serviceability upgrades using Chassis Guide Rail so swaps don’t turn into a wrestling match
And if you need weird constraints (custom I/O cutouts, fan layout tweaks, dust filters, branding), that’s where OEM/ODM solutions matter. You don’t want to “DIY” airflow baffles with foam tape in a production rack. It looks cheap becasue it is.