Вы не прикрутите сервер или настенное шасси к стене и надеяться на лучшее. Вы проектируете путь нагрузки, выбираете правильные анкеры, а затем устанавливаете их правильно, чтобы оборудование оставалось на месте 24 часа в сутки 7 дней в неделю. Ниже мы расскажем о том, что такое прямой разговор, что такое сценарий, который сочетает в себе полевые привычки и кодовые понятия. Я буду вести себя по-человечески, немного болтать, и да, это будет полезно для реальных проектов.
Номинальные нагрузки и основы проектирования (Допустимая нагрузка = Ultimate × 25%)
Давайте определимся с основным правилом. На практике мы относимся к допустимая (рабочая) нагрузка ≈ 25% предельного испытательного значения изделия. Это мышление 4:1 запекает неизвестные: изменчивость стенок, расстояние между кромками, качество сверления, ударные нагрузки и т.д. Это консервативно, это скучно, это не позволяет убирать оборудование с пола.
- Выдвижение против сдвига: Натяжение пытается выдернуть анкер прямо. Сдвиг сдвигает его в сторону вдоль стены. Многие случаи разрушения смешанные, поэтому не стоит ориентироваться только на один способ.
- Динамика и удар (хлопанье дверей, вилочные погрузчики, слабая сейсмика, обслуживание): действуйте как мультипликатор. Используйте больше анкеров, распределяйте нагрузку и избегайте консолей, если можете.
Источники (без ссылок): Технические паспорта производителей; отчеты об оценке ICC-ES; сводка жилищных норм для подоконных плит (IRC R403.1.6).
Расстояние между краями и расстояние между анкерами (бетон/каменная кладка)
Расстояние между краями и расстояние между ними - это не “приятно иметь”, это потенциал. Слишком близкое расстояние до края может привести к выдуванию бетонного конуса; слишком узкое расстояние - к перекрытию конусов и снижению прочности друг друга. Правило: соблюдайте расстояние между краями ≥ 10× диаметр якоря когда можете, и уважайте таблицу продуктов, если в ней написано больше.
Глубина заделки для клиновых анкеров (правило ≈ 4,5×d)
Для клиновые анкеры в звуковой бетон, быстрая мысленная проверка эффективное заглубление ≈ 4,5 × диаметр анкера минимум (например, анкер 1/2 дюйма → ~2,25 дюйма эффективного заглубления). Более глубокое заглубление обычно увеличивает выдергивание, но при этом необходимо следить за толщиной крепежа и точностью сверления.
Установка клинового анкера в бетон (шаг за шагом)
- Марк и дрель: Используйте размер бита, указанный в спецификации, а не “достаточно близко”.”
- Очистите отверстие: Вдувание-выдувание. Пыль убивает работоспособность, правда.
- Установите и затяните: Забивайте на глубину, закручивайте с точностью до деталей. Никакой ударной дрели “только вибрация”.”
- Проверьте кромку/расстояние: Уважайте рисунок.
- Повторное затягивание через 24 часа (если требуется): Некоторые светильники оседают, это нормально.
Втулочный анкер в кирпичной кладке (сплошной > пустотелый)
Кирпич и блок - это не бетон. Пустоты и слабые перегородки снижают прочность. Втулочные анкеры В каменной кладке нагрузка распределяется лучше. Если блок пустотелый или рассыпчатый, подумайте о том. клеевые (эпоксидные) анкеры с соответствующими экранами. Всегда стремитесь к сплошные секции кирпича, а не пустоты в растворе.
Номинальные нагрузки на гипсокартонные анкеры (сначала забейте в шпильки)
Гипсокартон - это не конструкция. Если вы можете ударные шпильки, сделайте это. Если нет, используйте анкеры, предназначенные для полых стен (тогл, молли, металлические саморезы). Ожидайте ~10-200 фунтов на якорь в напряжении в зависимости от типа и толщины доски - затем уменьшите жесткость для амортизаторов или рычагов. Для тяжелого снаряжения добавьте опорная плита Вставьте шпильки, чтобы распределить нагрузку, затем прикрепите шасси к подложке.
IRC R403.1.6 Крепление подоконной плиты (Резюме)
Чистый пример намерения кода: деревянные подоконные доски для бетона часто требуют Анкеры диаметром 1/2 дюйма, заделка ≥ 7 дюймов, расстояние между ними ≤ 6 футов, и анкеры в пределах 12 дюймов от концов пластин (всегда проверяйте свою юрисдикцию). Зачем это упоминать? Это показывает, как диаметр, заделка, расстояние между ними и торцевое расстояние сочетаются в реальных правилах, а не только в теории.
Краткая справочная таблица (стена × анкер × установка × типичные допустимые значения)
Приведенные ниже цифры являются ориентировочными допустимый диапазоны с учетом коэффициентов безопасности; всегда проверяйте по таблицам продуктов и коду/инженеру.
| Материал стен | Общий якорь | Контрольный список установки | Типовое допустимое значение (на один анкер) | Примечания |
|---|---|---|---|---|
| Бетон (≥ C25/3000 psi) | Клиновой анкер | Правильное сверло, чистое отверстие, заглубление ≈4,5d, крутящий момент | Натяжение ~400-700 фунтов, ~500-900 фунтов на сдвиг (1/2 в классе) | Расстояние между кромками и расстояние между ними определяют производительность; избегайте сколов на кромках |
| Полнотелый кирпич / цементный блок | Втулка или клейкий анкер | Найдите прочное, правильное сверло, очистите отверстие, установите в соответствии с IFU | Натяжение ~150-400 фунтов, ~200-500 фунтов на сдвиг | Пустотелые блоки уменьшают количество; гильзы > клин в переменной кладке |
| Пустотелый блок / плитка | Клей + экран | Вклеивание, время отверждения, температурное окно | Натяжение ~120-300 фунтов, ~150-400 фунтов на сдвиг | Техника установки - это все; проведите пробные испытания |
| Гипсокартон (без шипов) | Тумблер / молли / саморез по металлу | Используйте отверстия правильного размера; плотно прилегайте, не сминайте плату | Натяжение ~10-50 фунтов типичный; тяжелый переключается выше | Предпочтительнее шпильки для всех “тяжелых серверов”.” |
| Деревянный подоконник к бетону | Болты для литья/после установки | 1/2 дюйма, заделка ≥7 дюймов, расстояние по коду | Управляемый кодексом | Пример из IRC показывает дисциплину пути нагрузки |
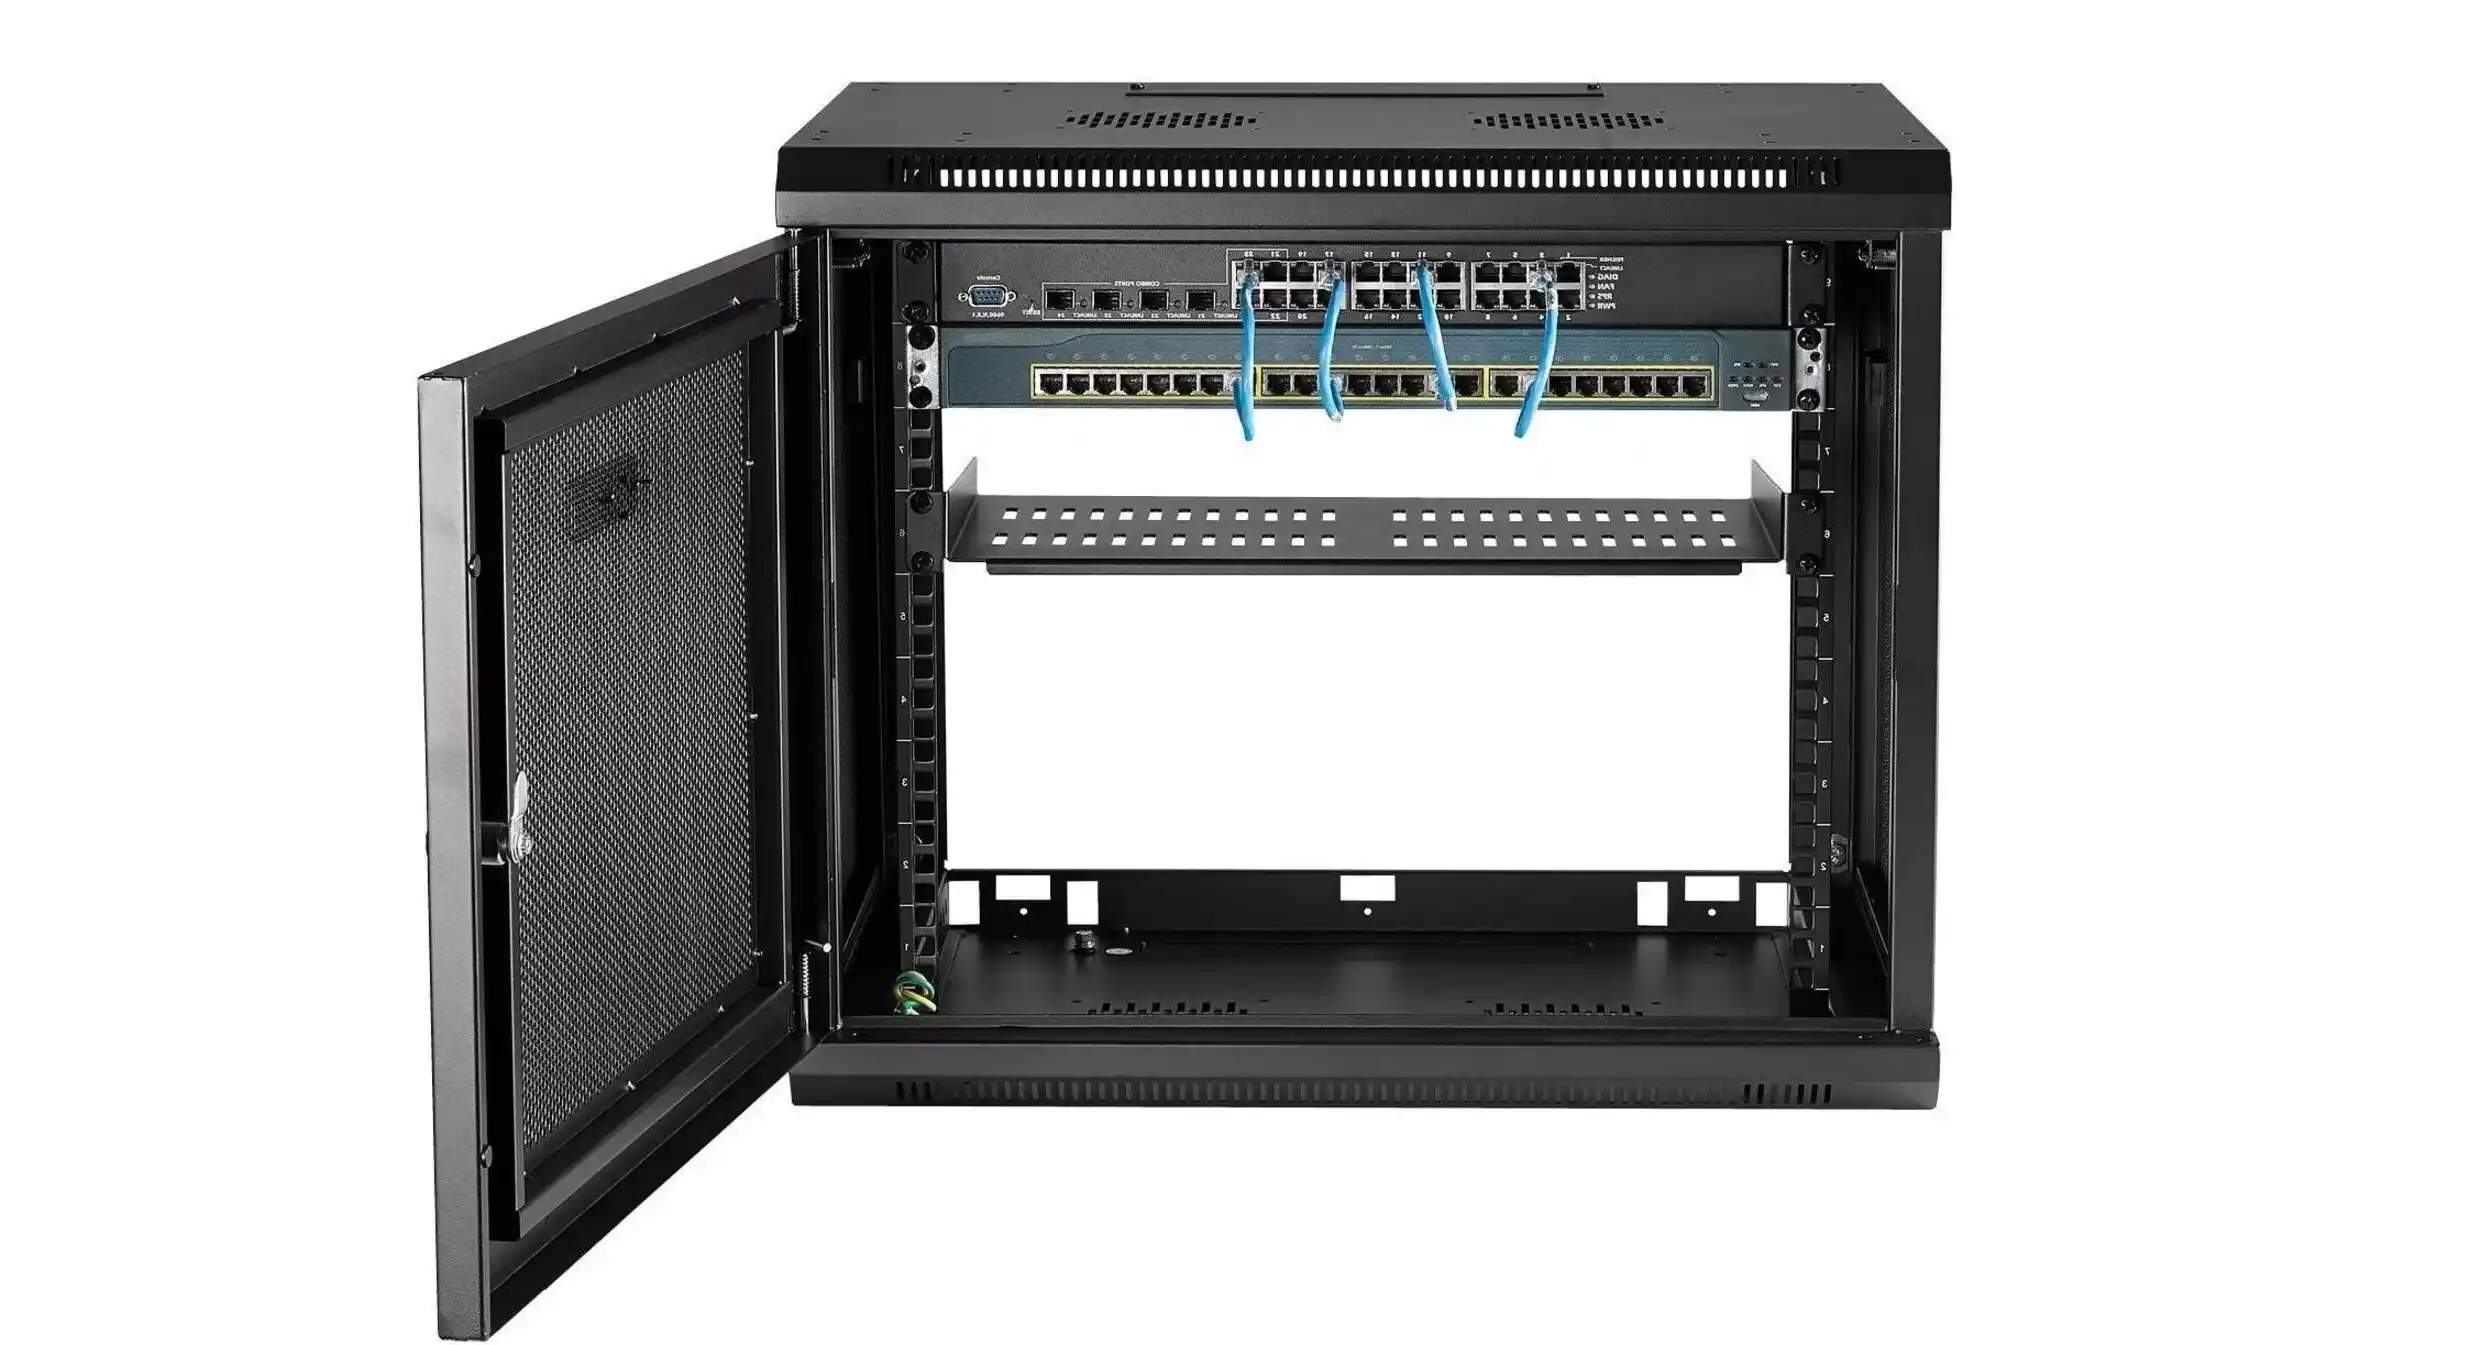
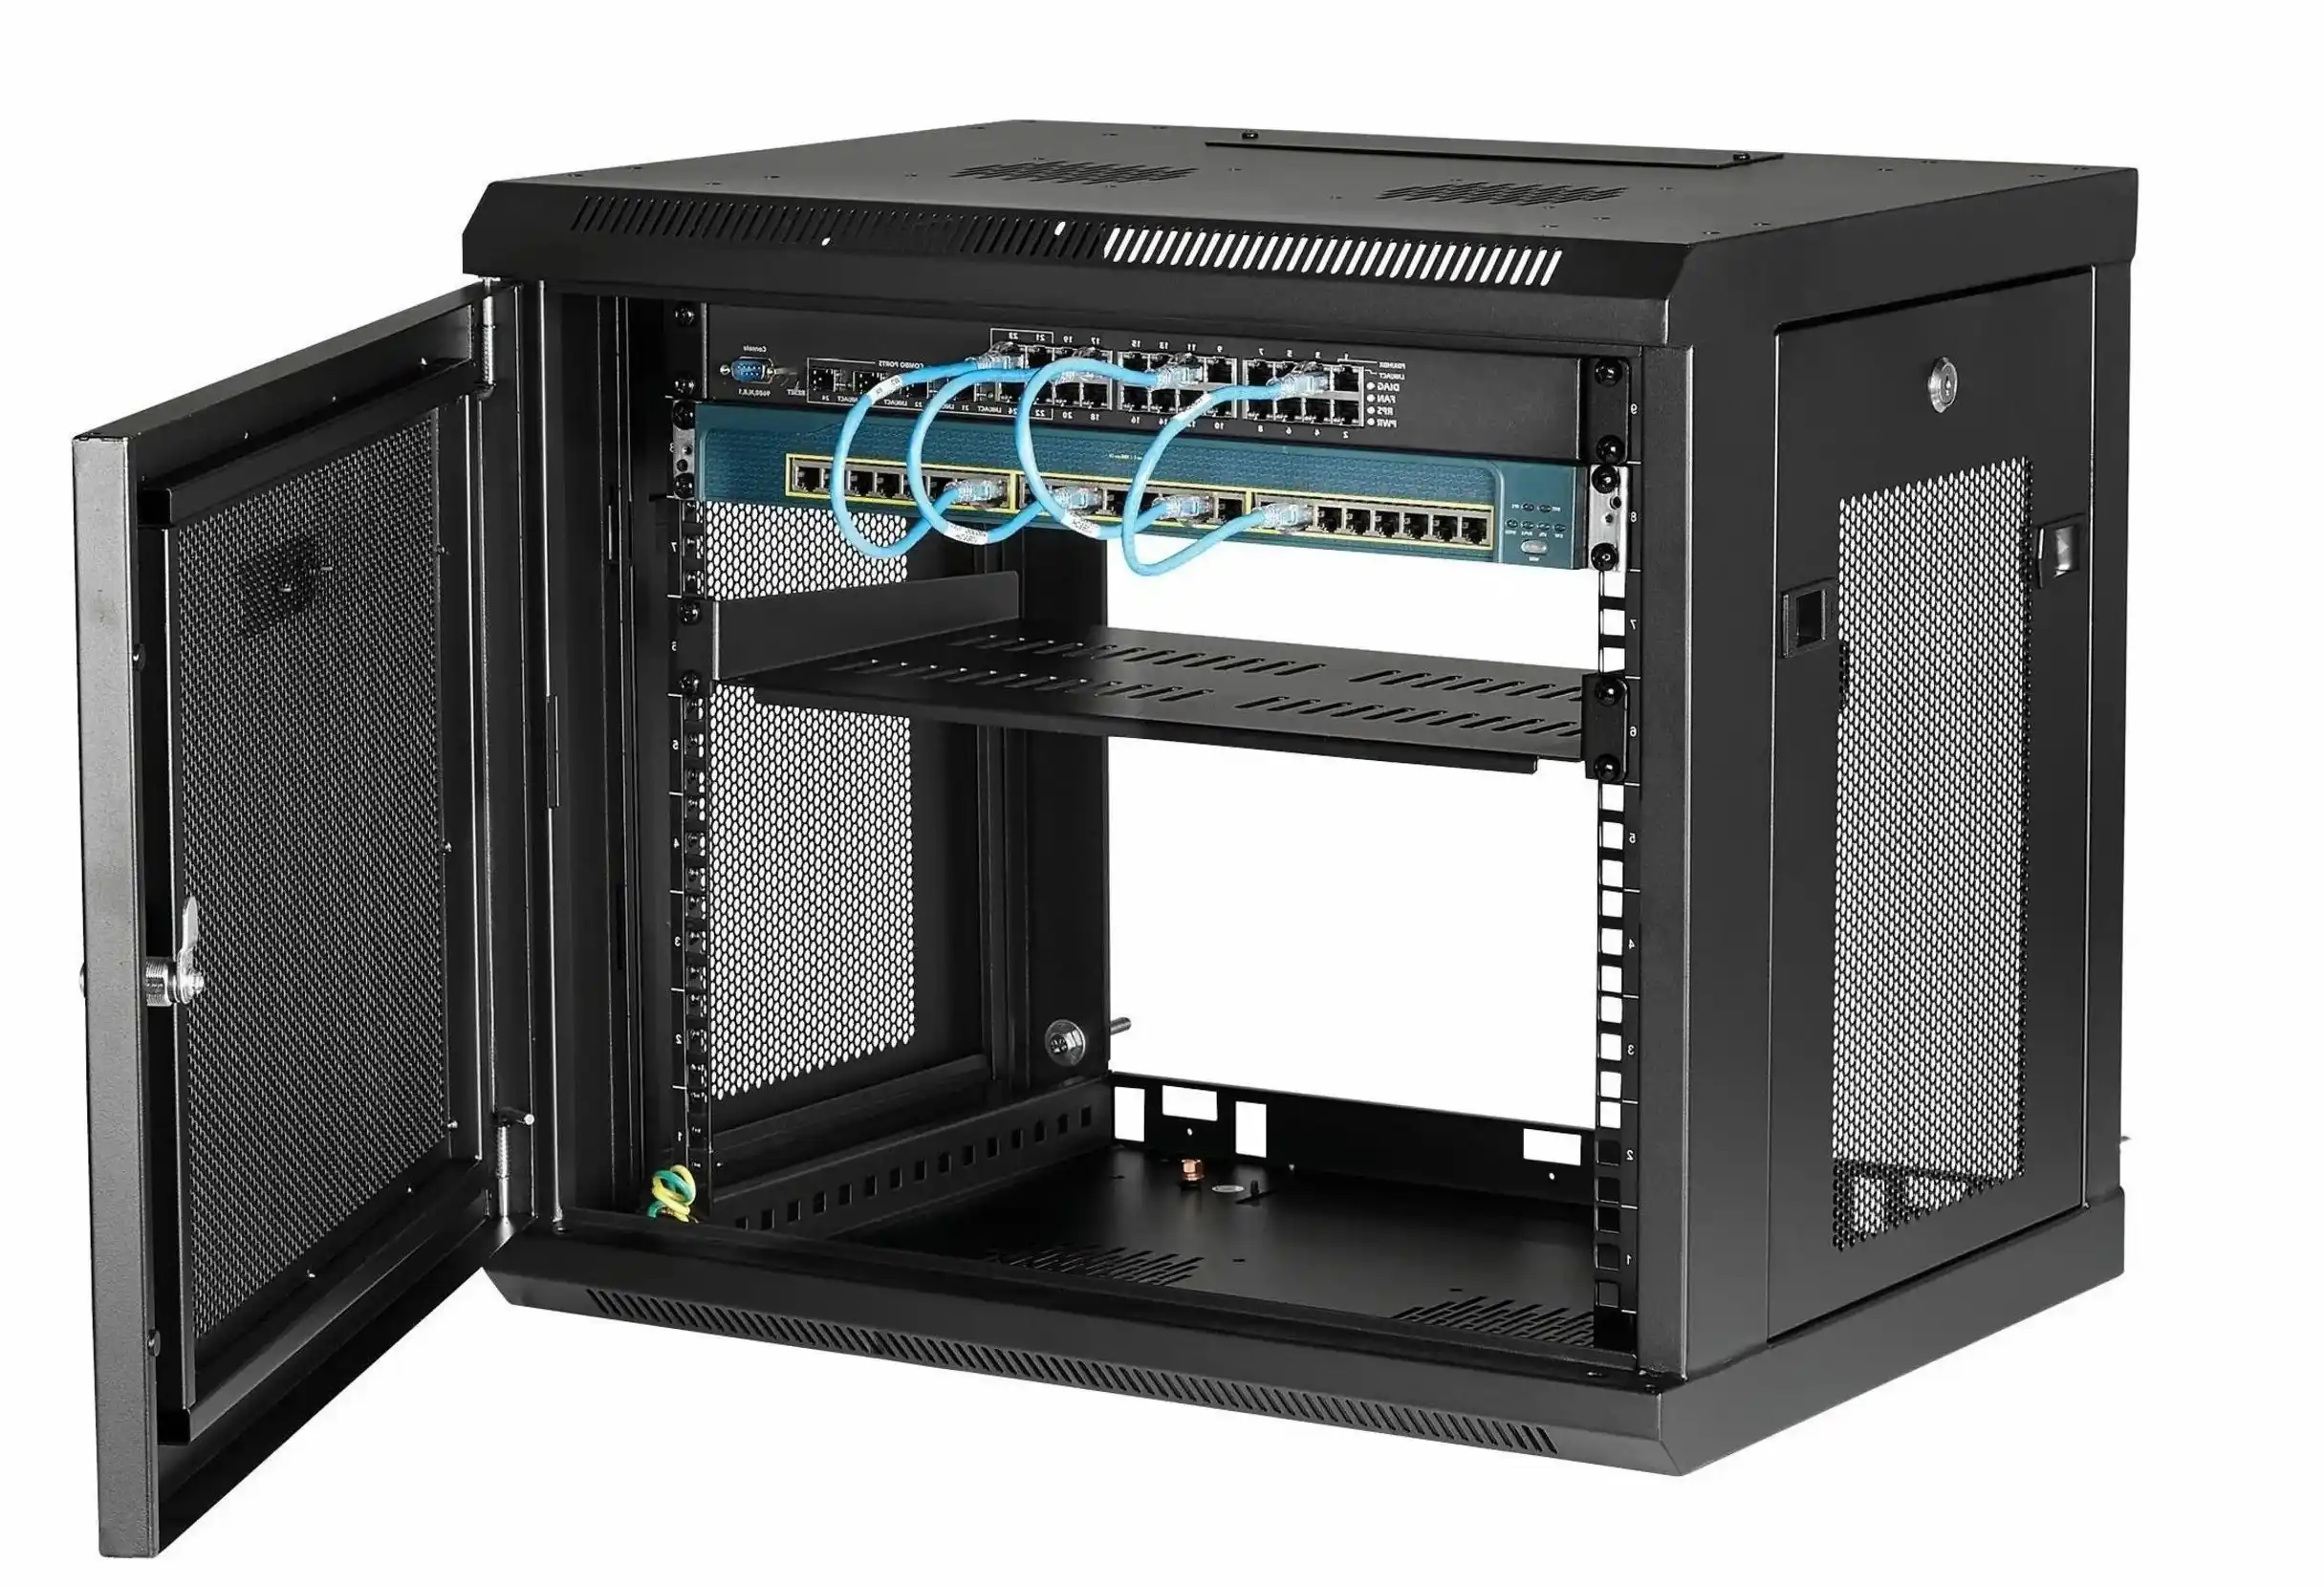
Полевой сценарий: Настенный монтаж серверного шасси без драматизма
Дело: Вы вешаете настенный корпус для краевого искусственного интеллекта. Пустая стальная коробка легкая, а GPU и диски добавляют реальную массу, и центр тяжести смещается немного вперед. Вот разумный план:
- Определите стену: Бетон? Кирпич? Гипсокартон на шпильках?
- Выберите якорь:
- Бетон → клиновые анкеры (1/2 в классе - обычное дело).
- Кирпич/блок → рукав или клей якоря в твердый области.
- Гипсокартон → шпильки + подложка; избегайте чистого гипсокартона для тяжелых блоков.
- Распределите нагрузку: Используйте четыре минимум анкеров, широкая схема. Снижение точечных нагрузок, уменьшение изгиба фланцев шасси.
- Следите за рычагом: Глубокое шасси превращает небольшие удары в большие моменты. Держите тяжелые модули низко и близко к стене.
- Затяжка и повторная проверка: Затяните в соответствии со спецификацией; повторно проверьте после термических циклов или в первую неделю эксплуатации.
- Дополнительно: Добавить сейсмические/антиопрокидывающие ремни если на участке есть вибрация или частый доступ.
Почему это важно для покупателей корпусов для серверных стоек
Прочность крепления - это не “разговоры про аксессуары”. Это время работы. Если ваш краевой узел Падение, потеря данных и поломка грузовика. Именно поэтому мы разработали механический интерфейс и якорный узор вместе.
IStoneCase строится с учетом этой реальности. Как IStoneCase - ведущий в мире производитель OEM/ODM-решений для корпусов GPU/серверов и шасси для систем хранения данных, Мы настраиваем толщину металла, геометрию фланца и внутренние распределители нагрузки чтобы ваши анкеры видели чистую и предсказуемую нагрузку. Нужна более тяжелая дверь со звукоизоляционной пеной? Мы подгоним пластины петель и монтажные бобышки. Нужны направляющие для напольных стеллажей? Мы подберем направляющая шасси профиль на стойки и установите статические/динамические номиналы, которые вам действительно нужны.
Изучите наши линейки и расскажите нам о своей ситуации со стеной/стеллажом:
- серверная стойка корпус ПК - RU-aware designs, cold-aisle friendly, stiff frames.
- корпус серверного ПК - От компактных до глубоких шасси, индивидуальные монтажные ушки.
- компьютерный корпус сервер - Кронштейны OEM/ODM, опорные пластины и шаблоны креплений.
- Корпус сервера atx - Поддержка плат ATX с усиленными стойками и стяжками.
- Корпус для монтажа в стойку - Комплекты рельсов с надлежащей статической/динамической нагрузкой.
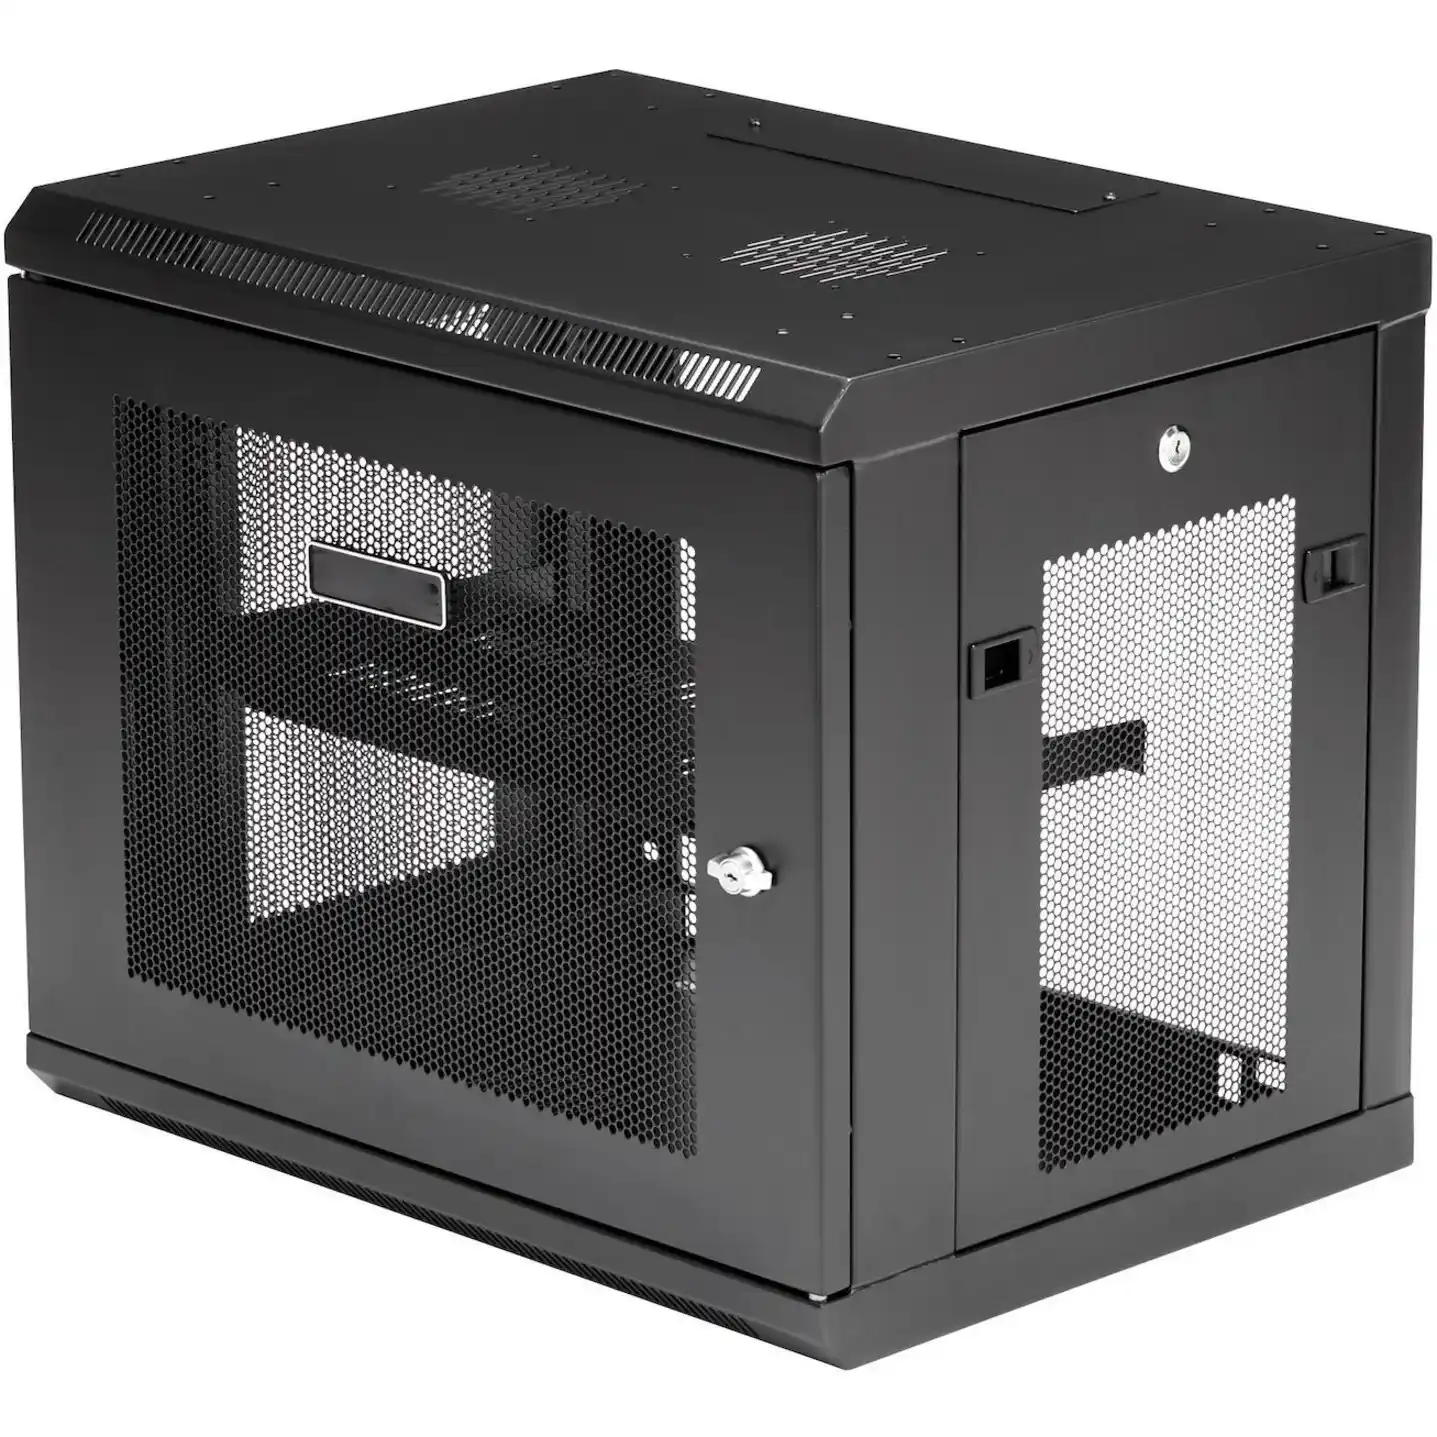
- Настенный кейс - Широкие анкерные крепления для снижения нагрузки на стену; возможность распахивания дверей.
- Устройства NAS - Лотки с защитой от вибрации; кабельное управление, которое не будет с вами бороться.
(Мы также поставляем Корпуса ITX и направляющие; тот же дух OEM/ODM, та же долговечность).
Шпаргалки по выбору якоря для форматов шасси
- Неглубокие настенные боксы (глубина <300 мм): Держите CG близко, четыре анкера по углам. Бетон? Клиновые анкеры 1/2 дюйма, заглубление согласно таблице.
- Глубокие корпуса для графических процессоров: Добавить гроссбух/баклер Сначала закрепите его на шпильках или бетоне, а затем установите корпус. Это опустит рычаг и остановит медленный “наклон”.”
- Стойки стеллажа к бетонной плите (для небольших пристенных стеллажей): Используйте клиновые или клеевые анкеры в зависимости от толщины плиты; соблюдайте расстояние от краев до ступеней, впадин и стыков плиты.
- Ретрофит на кирпиче: Сначала пилот, если есть возможность, проведите буроскоп; если блоки полые, используйте клей с экранами.
- Только гипсокартон: Не для тяжелого серверного оборудования. Если вам нужно, постройте фанерная подложка Вставьте лаги в стойки, затем прикрепите шасси к фанере.
Распространенные подводные камни (увидели, исправили)
- Неправильный размер бита → Якорь вращается или не устанавливается.
- Пыльные отверстия → Массивное падение производительности, даже если все “чувствует себя крепко”.”
- Край слишком близко → Бетонный конус растрескивается при эксплуатационной нагрузке.
- Избыточный крутящий момент → сминает втулки или срывает резьбу; недостаточный крутящий момент → проскальзывает.
- Отсутствие распределения нагрузки → Два верхних анкера выполняют всю работу, нижние просто вибрируют.
Небольшое замечание: если ваша команда впервые использует клейкие якоря, запустите одно испытание на растяжение в полевых условиях. Занимает несколько минут, говорит правду.
Мини-таблица: Весовой класс шасси в зависимости от способа монтажа
| Класс шасси | Типовое крепление | Якорный узор | Дополнительные заметки |
|---|---|---|---|
| Легкий ITX / NAS | Стулья или бетон | 4-точечный, плотный CG | Добавьте разгрузку от натяжения кабеля |
| Средний сервер / искусственный интеллект | Панель из бетона или скрепленная стойками | 4-6 точек, широкая стойка | Рассмотрите возможность использования ремня против опрокидывания |
| Глубокий корпус для GPU | Бетон или каменная кладка + подложка | 6-8 баллов, широкий + низкий | Помогают направляющие или базовые полки |