You’ve got a small server room that suddenly isn’t small anymore.
AI training jobs keep queuing, storage keeps growing, and somebody already stacked one extra switch on top of a chassis “just for now”. You know that “for now” never ends.
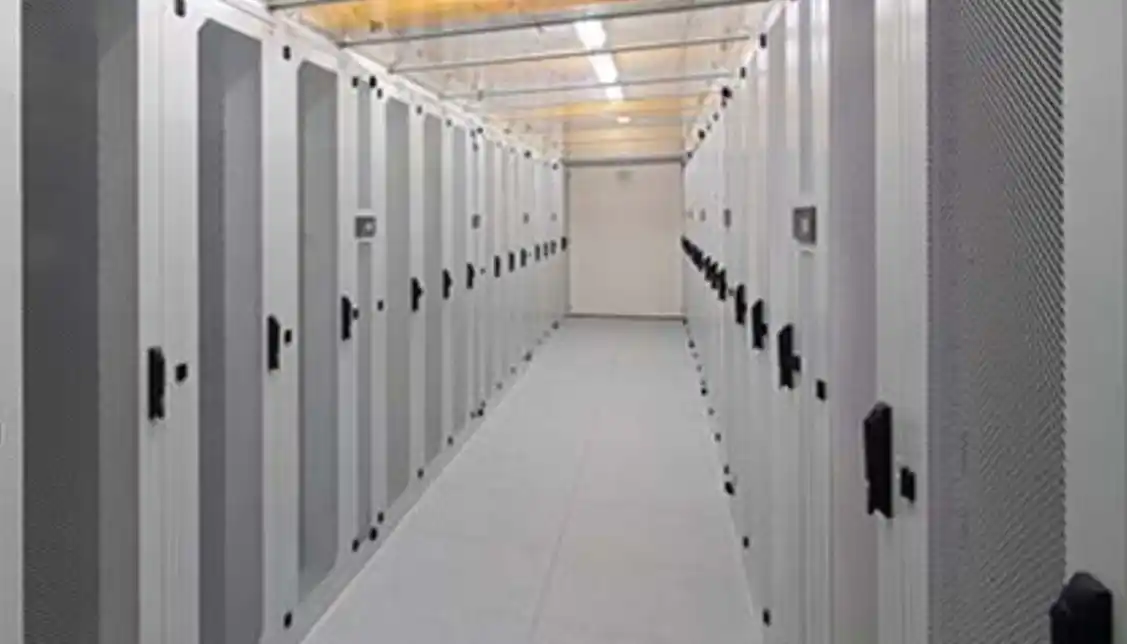
When you scale from a couple of racks to a real enterprise room, chassis layout stops being a cosmetic choice. It decides your uptime, your energy bill, and how angry your on-call team feels at 3 a.m.
Below I’ll walk through the key layout points, use some real-world style examples, and show where IStoneCase hardware actually fits into this puzzle.
Chassis layout basics for scaling your enterprise server room
When you grow, three things usually blow up first:
- Heat – GPU boxes and dense storage cook the room fast.
- Power – circuits that were “fine” yesterday start tripping.
- Ops overhead – nobody remembers which cable goes where and which rack holds what.
So your chassis layout needs to answer a few simple but brutal questions:
- Can air move in a clean front-to-back path across every server pc case?
- Does each rack have sane power density, or is one row a “GPU volcano”?
- Can someone swap a drive or GPU in five minutes without crawling on the floor?
If the layout can’t answer those, buying more boxes only adds chaos.
Airflow and hot/cold aisle planning with server pc case layout
server rack pc case orientation and airflow
Start with the boring part: all chassis must point the same way.
- Front = cold aisle
- Rear = hot aisle
That sounds obvious, but when you add one more server rack pc case in a hurry, it’s easy to flip it “just to fit cables”. Then one unit starts sucking hot air from another, and your fancy GPU rigs start throttling.
Practical airflow tips:
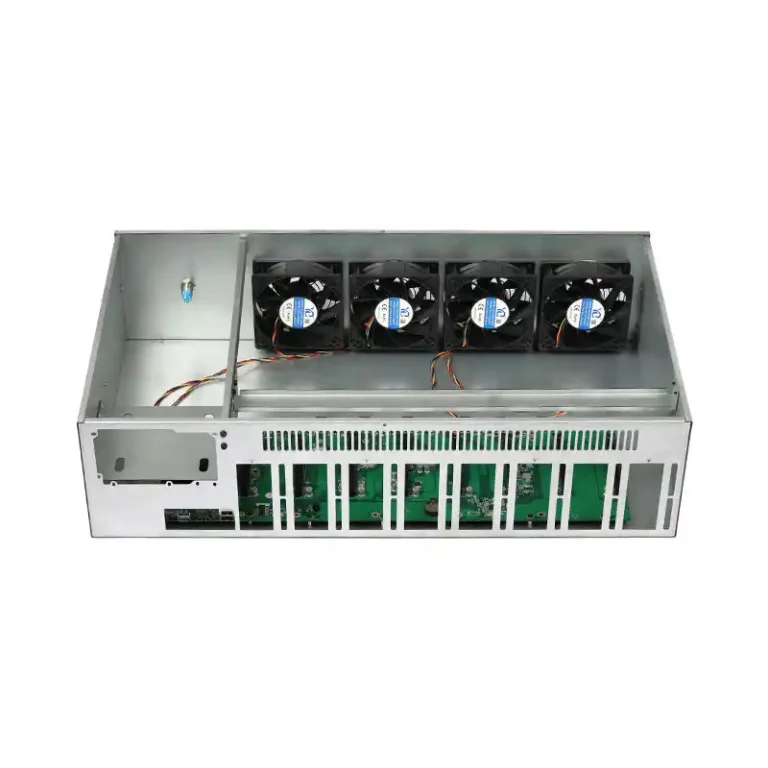
- Standardize on front-to-back airflow for every computer case server.
- Fill empty U-spaces with blanks, not “we’ll use that later”. Hot air loves shortcuts.
- Keep network gear in the same orientation as servers. Sideways stuff is a hotspot magnet.
- Don’t park high-TDP GPU boxes at the very top of a rack unless the cooling design really handle it.
Picture a 4-rack room growing to 10 racks. If you keep a clean hot / cold aisle layout from day one, adding new GPU server case units feels like plugging in Lego. If you mix directions, every new rack feels like surgery.
Power density, GPU loads, and chassis placement in each rack
computer case server density and power per rack
Next, think about power and density, not only total U-space.
A few quick rules of thumb (no hard numbers here, just logic):
- Group your heaviest GPU and storage chassis into “high-density” rows.
- Keep lighter roles (edge services, monitoring, small VMs) in “normal-density” racks.
- Don’t fill every U just because the rack physically allow it. Cooling and power will push back.
Example:
- Rack A: 4× 6U GPU systems for deep learning, 2× 2U storage nodes.
- Rack B: lighter 1U/2U server pc case units for web, API, gateway.
Both racks are “full”, but Rack A demands more chilled air and power backup. When you plan layout, you treat them very different.
IStoneCase’s range (from 1U to 6U server case, plus GPU-optimized models) lets you mix GPU-heavy and storage-heavy boxes in a controlled way instead of random stacking.
Cable management, chassis guide rails, and serviceability
atx server case depth, rails and human-friendly service
Good layout isn’t only about air and watts. It’s also about humans.
If you can’t pull a chassis out to swap a fan because cables are too short or rails missing, that layout is already “broken”, even if everything is technically running.
Key details you dont want to skip:
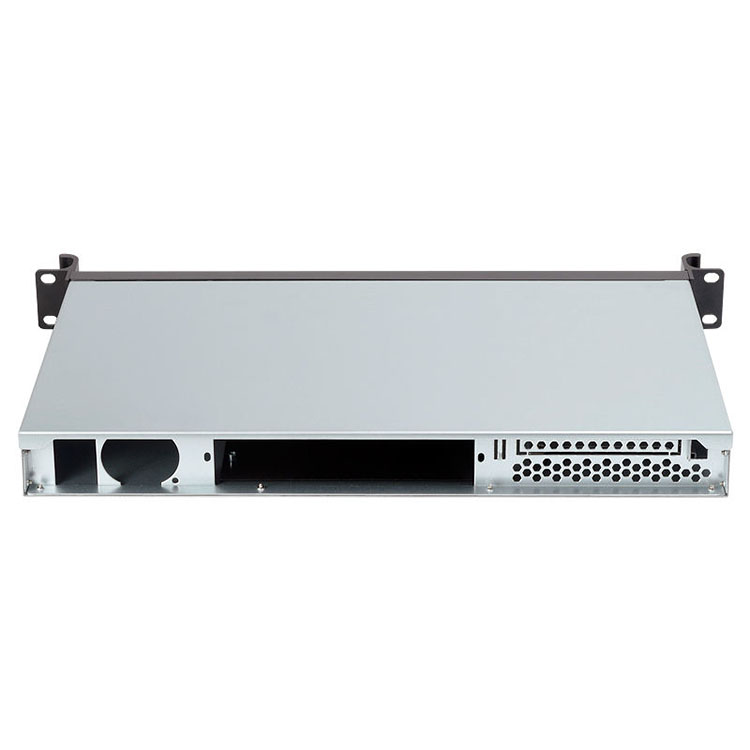
- Match chassis depth and rack depth. A deep atx server case hanging out of a shallow rack is just asking for trouble.
- Use proper chassis guide rail sets so you can slide the box out without re-cabling half the rack.
- Separate power and data paths. Different sides or different vertical managers, especially for dense server rack pc case setups.
- Label cables like you’ll forget everything tomorrow. Because you will.
A small ops story: many teams think “we’ll install rails later”. Later becomes “we can’t take this chassis out without downtime, so we live with it”. Building rails into the initial layout saves you from that pain.
Matching chassis types to real workloads and room layout
You’re not just picking random metal boxes. Each form factor solves a slightly different problem. Here’s a simple mapping you can adapt:
| Layer / Use | Typical chassis type | Layout focus | IStoneCase gear that fits |
|---|---|---|---|
| GPU / AI training nodes | 4U–6U high-airflow computer case server | Front-to-back cooling, strong rails, space in hot aisle for GPU swap | GPU Server Case series (4U/5U/6U) |
| General compute (web, API, VM) | 1U–3U server pc case | High node count per rack, shared PDUs, standard rails | 1U/2U/3U server cases |
| High-capacity storage | 3U–6U front-load hot-swap chassis | Easy disk access from cold aisle, low vibration, plenty of fans | 4U/6U storage-focused chassis |
| Branch / wall space | Wallmount Case styles | Secure, shallow depth, cable entry planning | 2–7 slot wallmount models |
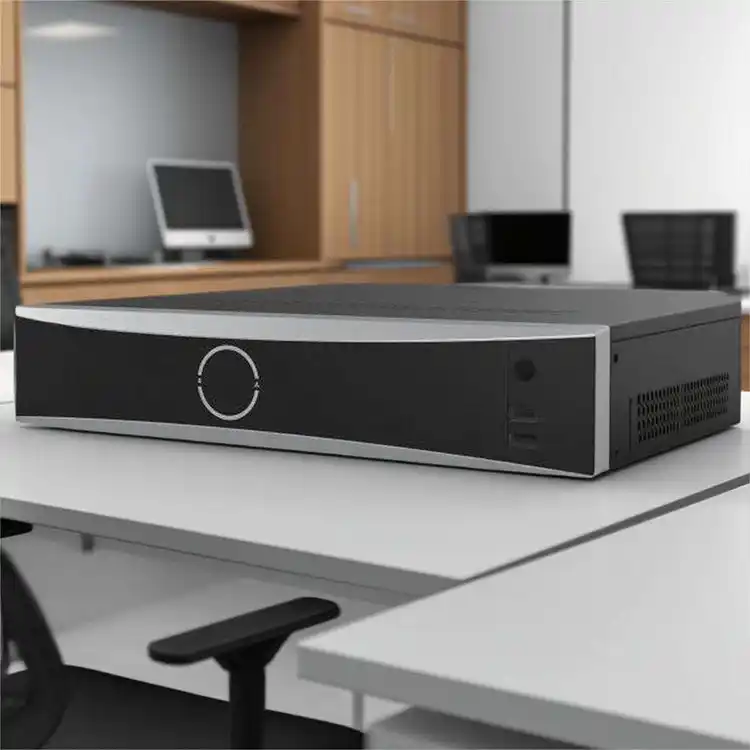
| Edge backup / small office | Compact ITX case + NAS devices | Quiet, easy to place, simple cabling | ITX cases, 4–12 bay NAS chassis |
Because IStoneCase covers GPU server case, server case, rackmount case, wallmount case, NAS devices, ITX case and guide rails, you can stay within one vendor while still mixing formats for different workloads and physical zones.

Example chassis layout checklist for a growing enterprise room
When you plan the next row of racks, run through something like this:
| Question | What you check | Typical fix using IStoneCase |
|---|---|---|
| Is airflow clean? | Are all chassis front-to-back? Any gaps without blanks? | Use matching rackmount models and fill empty U slots to stop recirculation. |
| Is power balanced? | One “GPU rack” pulling way more than others? | Spread GPU boxes across several server rack pc case rows or move lighter gear into that row. |
| Can we service live? | Can you slide out any chassis without disconnecting everything? | Add or upgrade chassis guide rail kits so heavy units are on rails, not just front-mounted. |
| Do form factors match jobs? | Are small services taking up huge 4U cases, while storage is cramped? | Move to denser 1U/2U server pc case for light workloads; keep deep 4U/6U for storage / GPU. |
| Are growth paths clear? | Where do next 6–12 months of nodes go? | Reserve half a rack for extra GPU server case or NAS chassis instead of filling it with random gear. |
Run this checklist before you buy the next batch. It’s cheaper than redesigning the whole room in a year.
How IStoneCase fits into a scalable chassis layout strategy
Let’s link this back to your real buying decisions.
- You need GPU-optimized boxes for AI and HPC? IStoneCase’s computer case server line gives you 4U/5U/6U options with strong airflow and multiple PCIe slots, which fits hot/cold aisle layouts and high-density GPU racks.
- You want “boring but reliable” compute and storage for enterprise workloads? The server pc case and rackmount case ranges cover 1U–6U, so you can match each role to the right footprint instead of over- or under-sizing.
- You’ve got edge rooms, small labs, or dev zones? Use compact ITX case plus NAS devices to keep them tidy without dragging full racks everywhere.
- You care about long-term ops, not just “it boots”? Add proper chassis guide rail so your techs can actually work fast when something fails.
Because IStoneCase focuses on OEM/ODM and bulk orders, you can standardize on one chassis family per role instead of mixing ten brands. That makes your chassis layout repeatable: same depth, same airflow, same mounting pattern, same cable routing. Less surprise, less risk, less “who ordered this weird box?”.