If you’ve ever opened a wallmount server case and seen “spaghetti cabling,” you know the pain. One patch change turns into an outage, you can’t find the right port, and nobody wants to touch that box again.
Good news: with a bit of planning, your wallmount cabinet can stay clean, easy to service, and ready for growth. In this article we’ll walk through practical ways to plan cable routing and access, and we’ll also see where IStoneCase wallmount and rackmount cases quietly make that job easier.
Wallmount Server Case Cable Routing Basics
Wallmount gear lives in tight spaces: corridors, small server rooms, edge closets, even in someone’s office. That means:
- Less depth than a full rack
- Limited front and rear access
- More risk of cables blocking doors or airflow
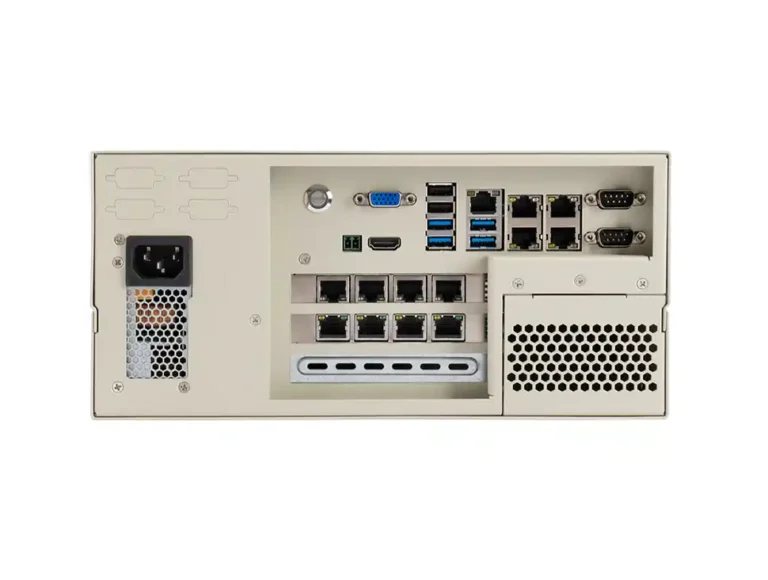
So when you deal with a server rack pc case or a compact computer case server, you can’t just “throw in some patch cords and see how it goes.” You plan:
- Device order by RU (U-space)
- Cable entry points (top, bottom, sides)
- Vertical and horizontal cable paths
- Future RU and spare space
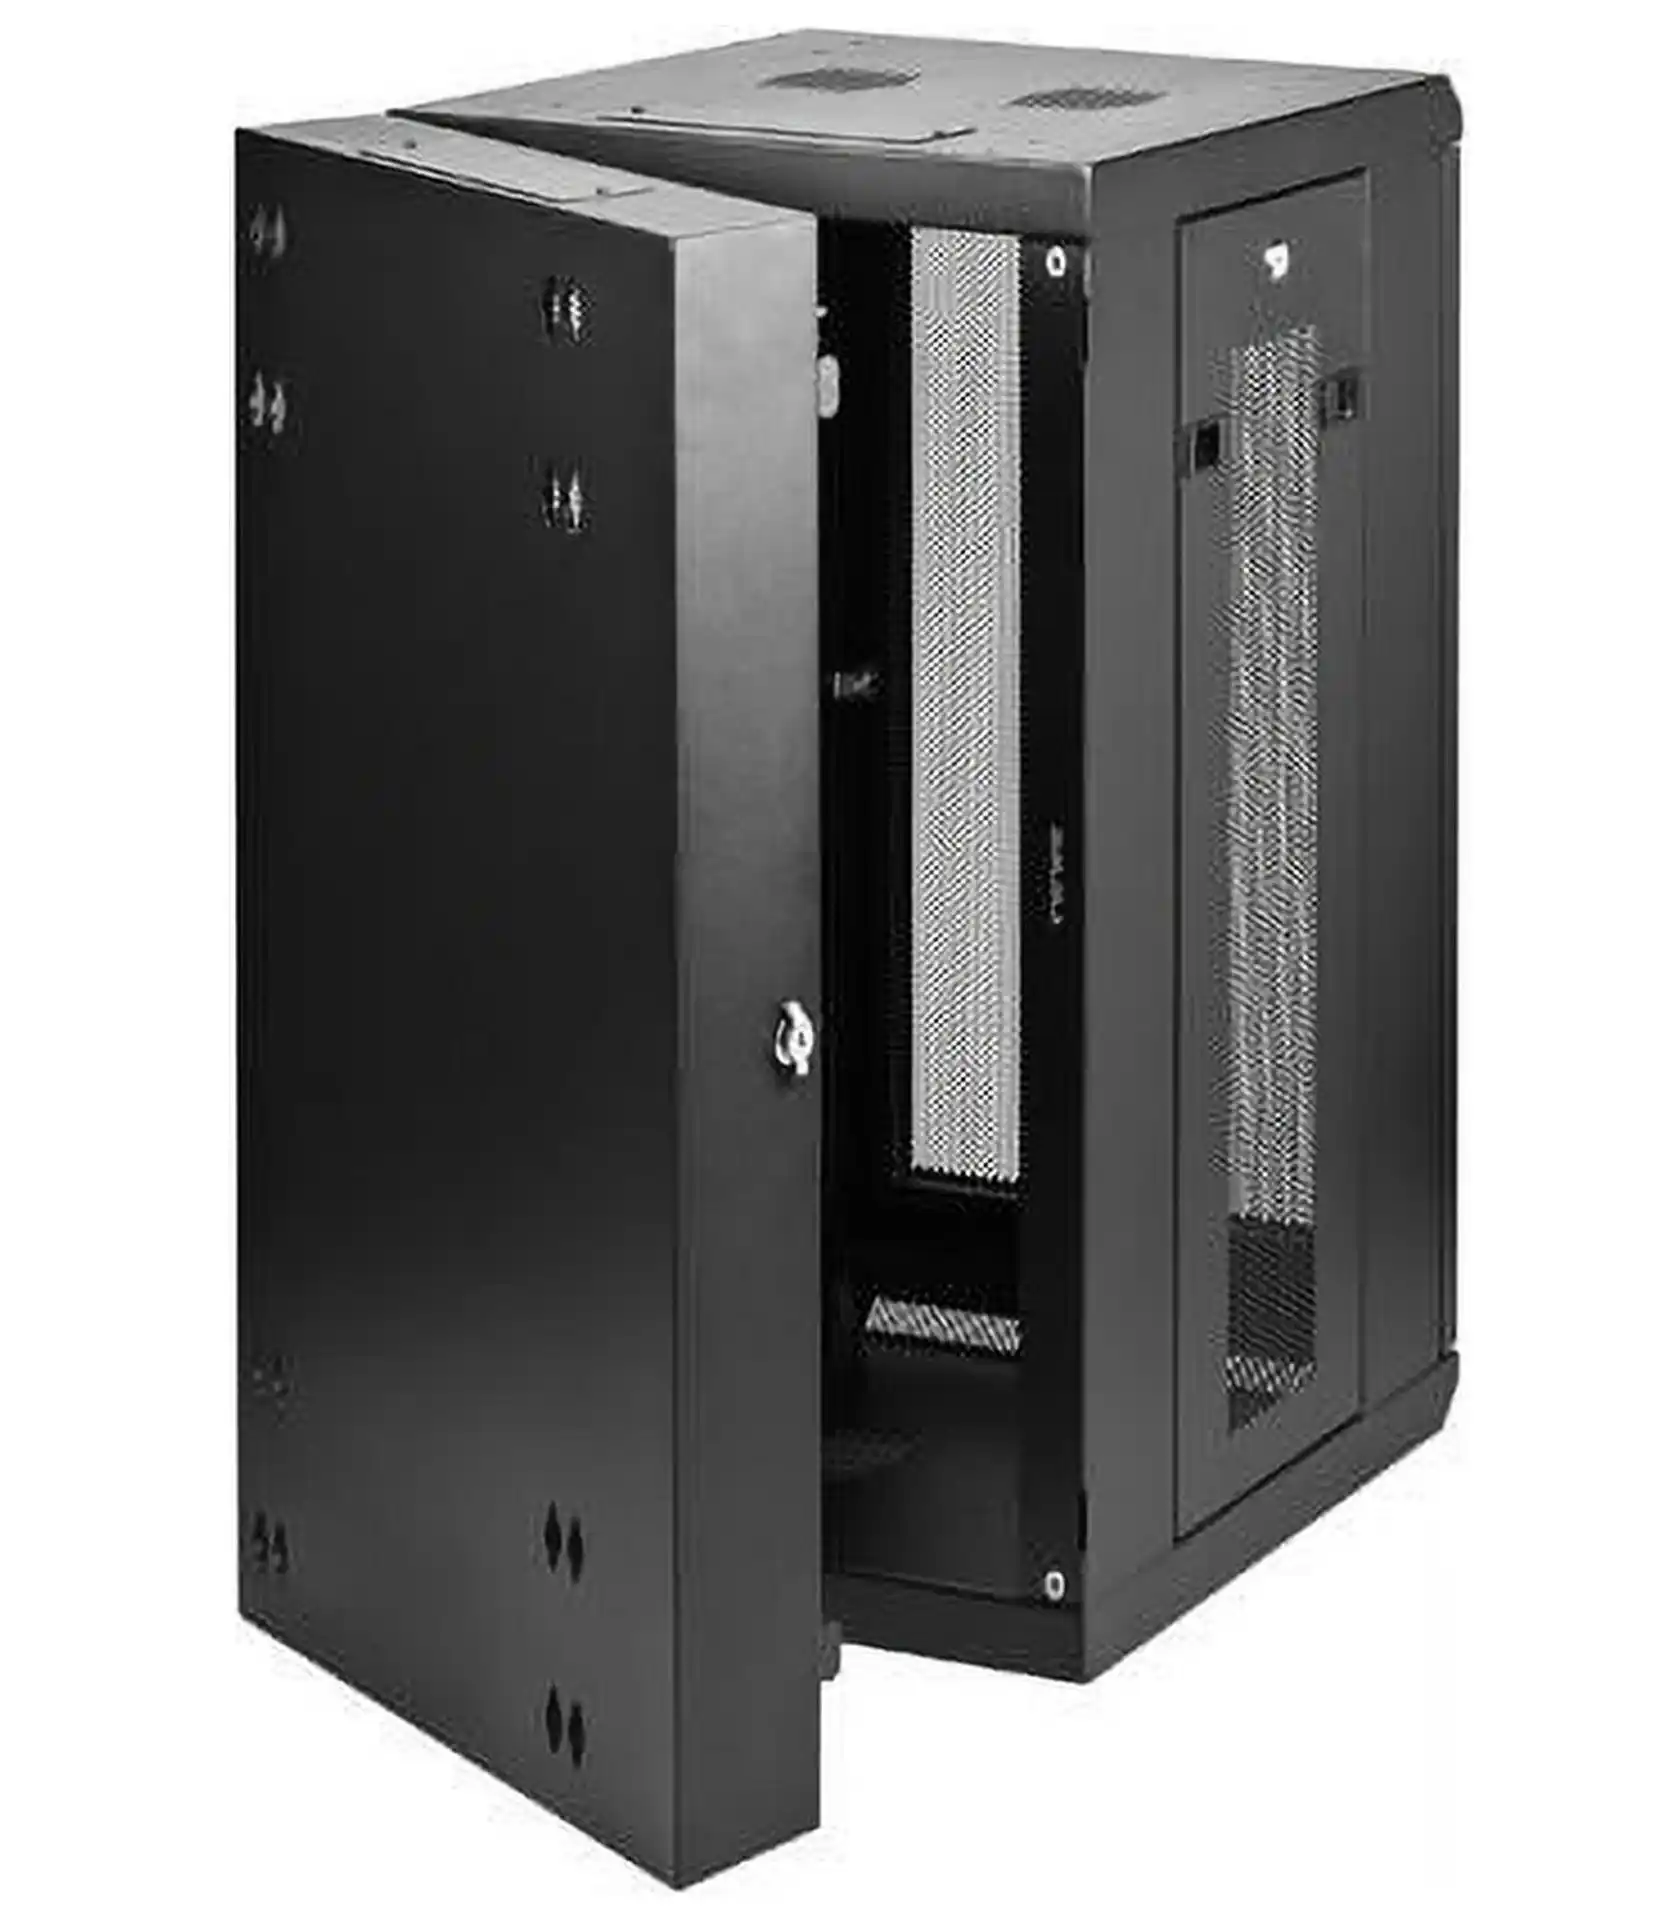
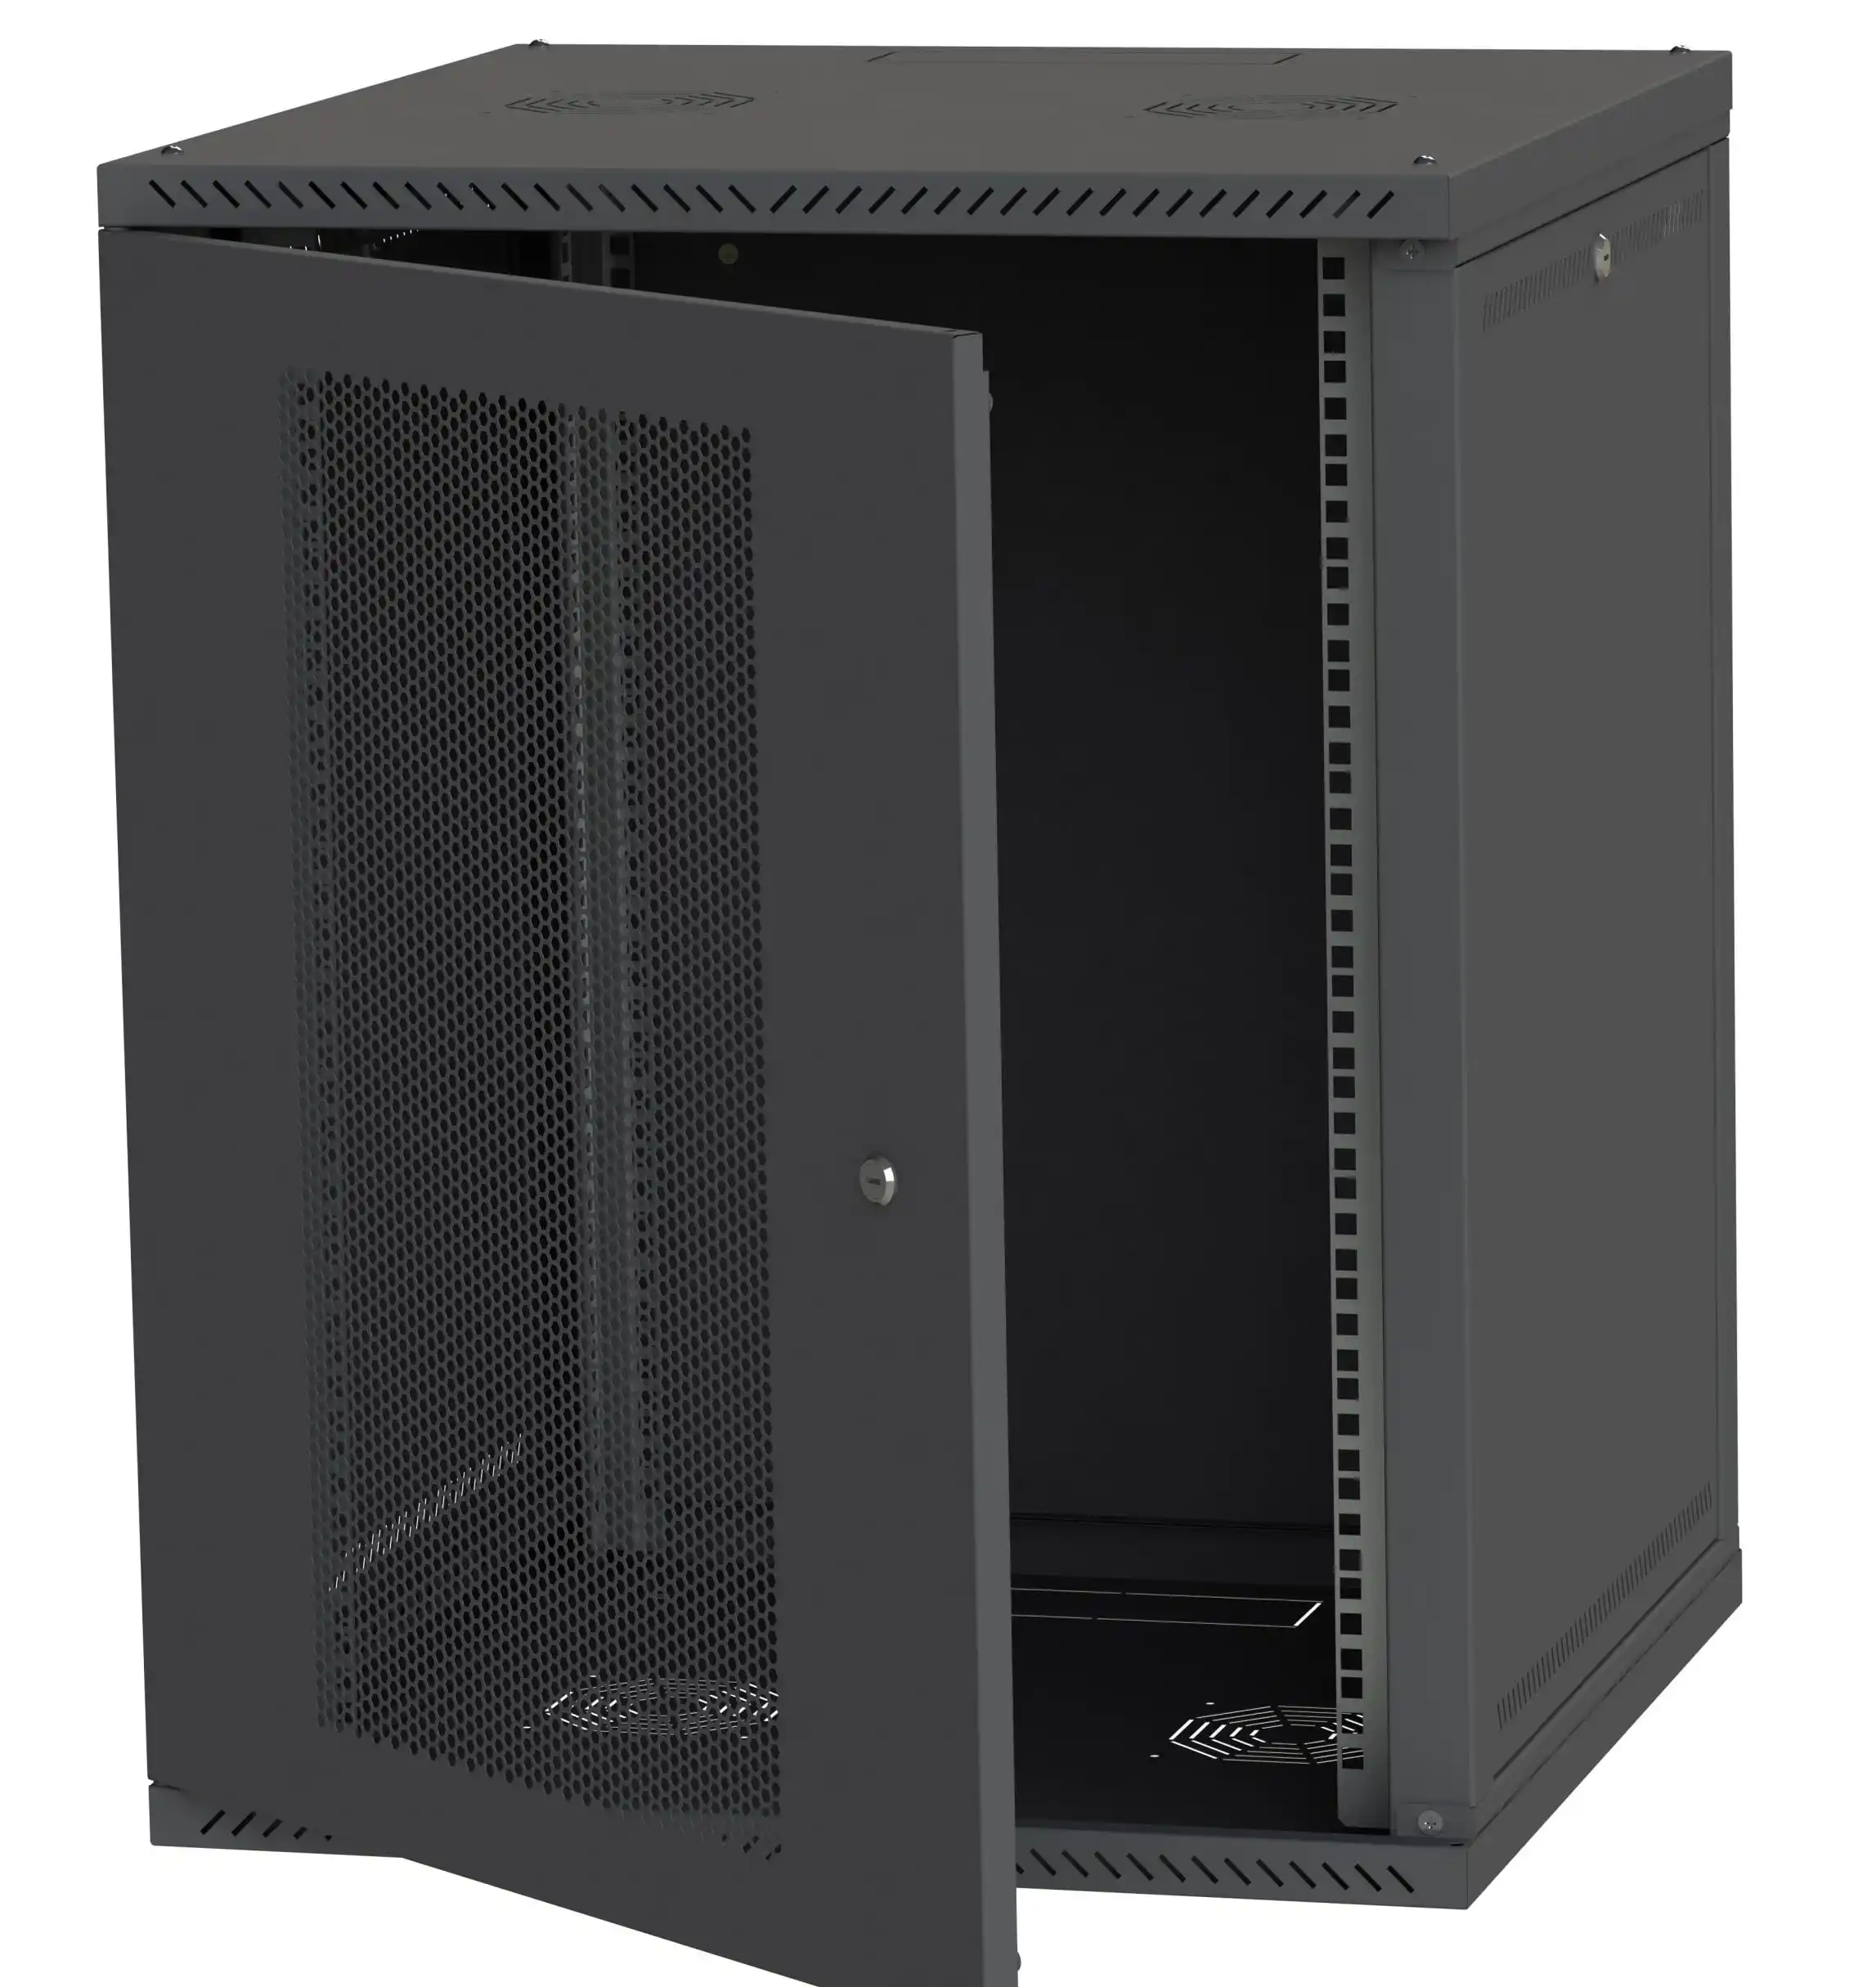
IStoneCase designs wallmount and rackmount chassis with this in mind: cable entry knock-outs, fan placement, and internal space that actually leaves room for patching, not only for metal.
Plan Device Layout and Growth in Your Computer Case Server
Before you pull a single cable, sketch what goes into the case now and what may land there in 6–18 months. Even a rough whiteboard is fine.
Think in this order:
- Core network devices
- Router, firewall, core / ToR switch
- Place them around eye level if possible, even in a small wallmount case.
- Patch panels and NAS / storage
- Patch panel above or below the switch, not random.
- NAS or storage box where front bays stay easy to reach.
- Future gear and GPUs
- Leave RU space for extra switches, a GPU server case, or small NAS devices.
- If you’re doing AI or HPC later, plan power and airflow now.
- Cable managers and guide rails
- Reserve RU for horizontal cable managers.
- Use chassis guide rail when you need to slide heavier gear in and out.
This looks simple, but lots of teams skip it and end up re-cabling when they add one more switch or ATX box.
Cable Management in a Wallmount Server Rack PC Case
In a wallmount enclosure, cables either have a defined path or they slowly become chaos. You want cables to follow a pattern your future self understands at 2 a.m. during an emergency change window.
Vertical and Horizontal Paths in Wallmount Server Cases
Use vertical paths along the sides and horizontal managers around patch-dense areas. Here’s a quick cheat sheet you can adapt.
| Area / Topic | Goal | Practical tips for wallmount cases |
|---|---|---|
| Vertical cable routing | Keep bundles off device ports and doors | Use side channels or rings; run uplinks and copper trunks down one side, power on the other where possible. |
| Horizontal cable routing | Keep patch cords short and tidy | Add 1U horizontal managers near patch panels; avoid long “smiles” of patch cord hanging across the front. |
| Entry / exit points | Control where cables enter the case | Use grommets or brush plates on top / bottom knock-outs; don’t let cables squeeze against sharp metal. |
| Separation of power / data | Reduce noise and “mystery” issues | Route power on opposite side from copper data; cross at 90° if you must cross. |
| Serviceability | Make “day-2” changes quick | Leave small gaps between devices; keep quick-change ports in the easiest reach zone. |
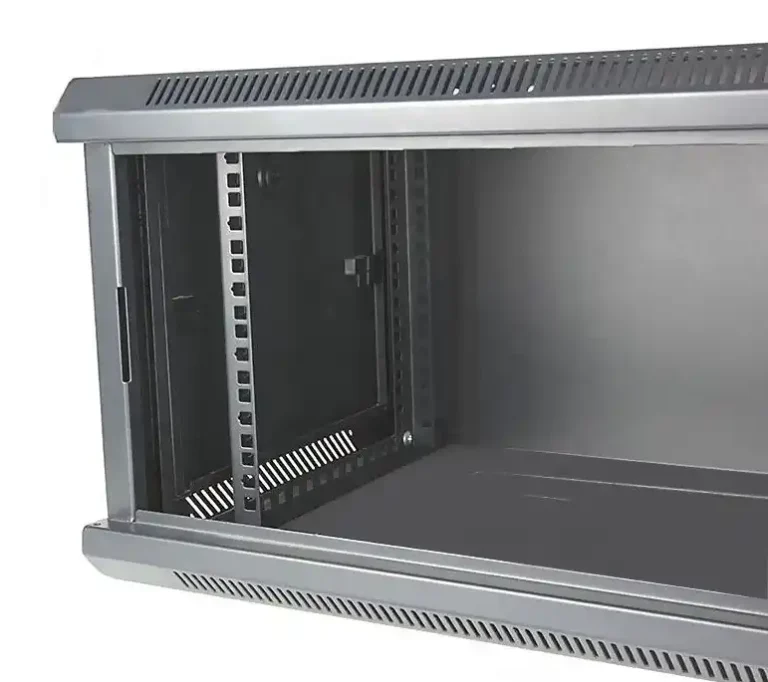
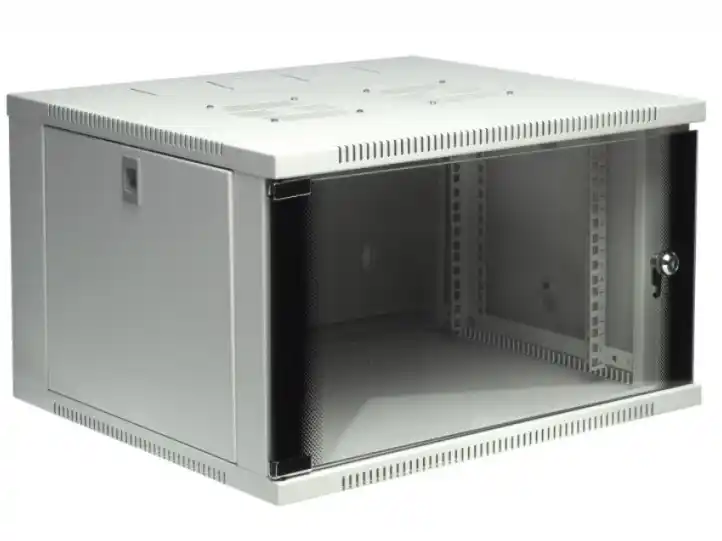
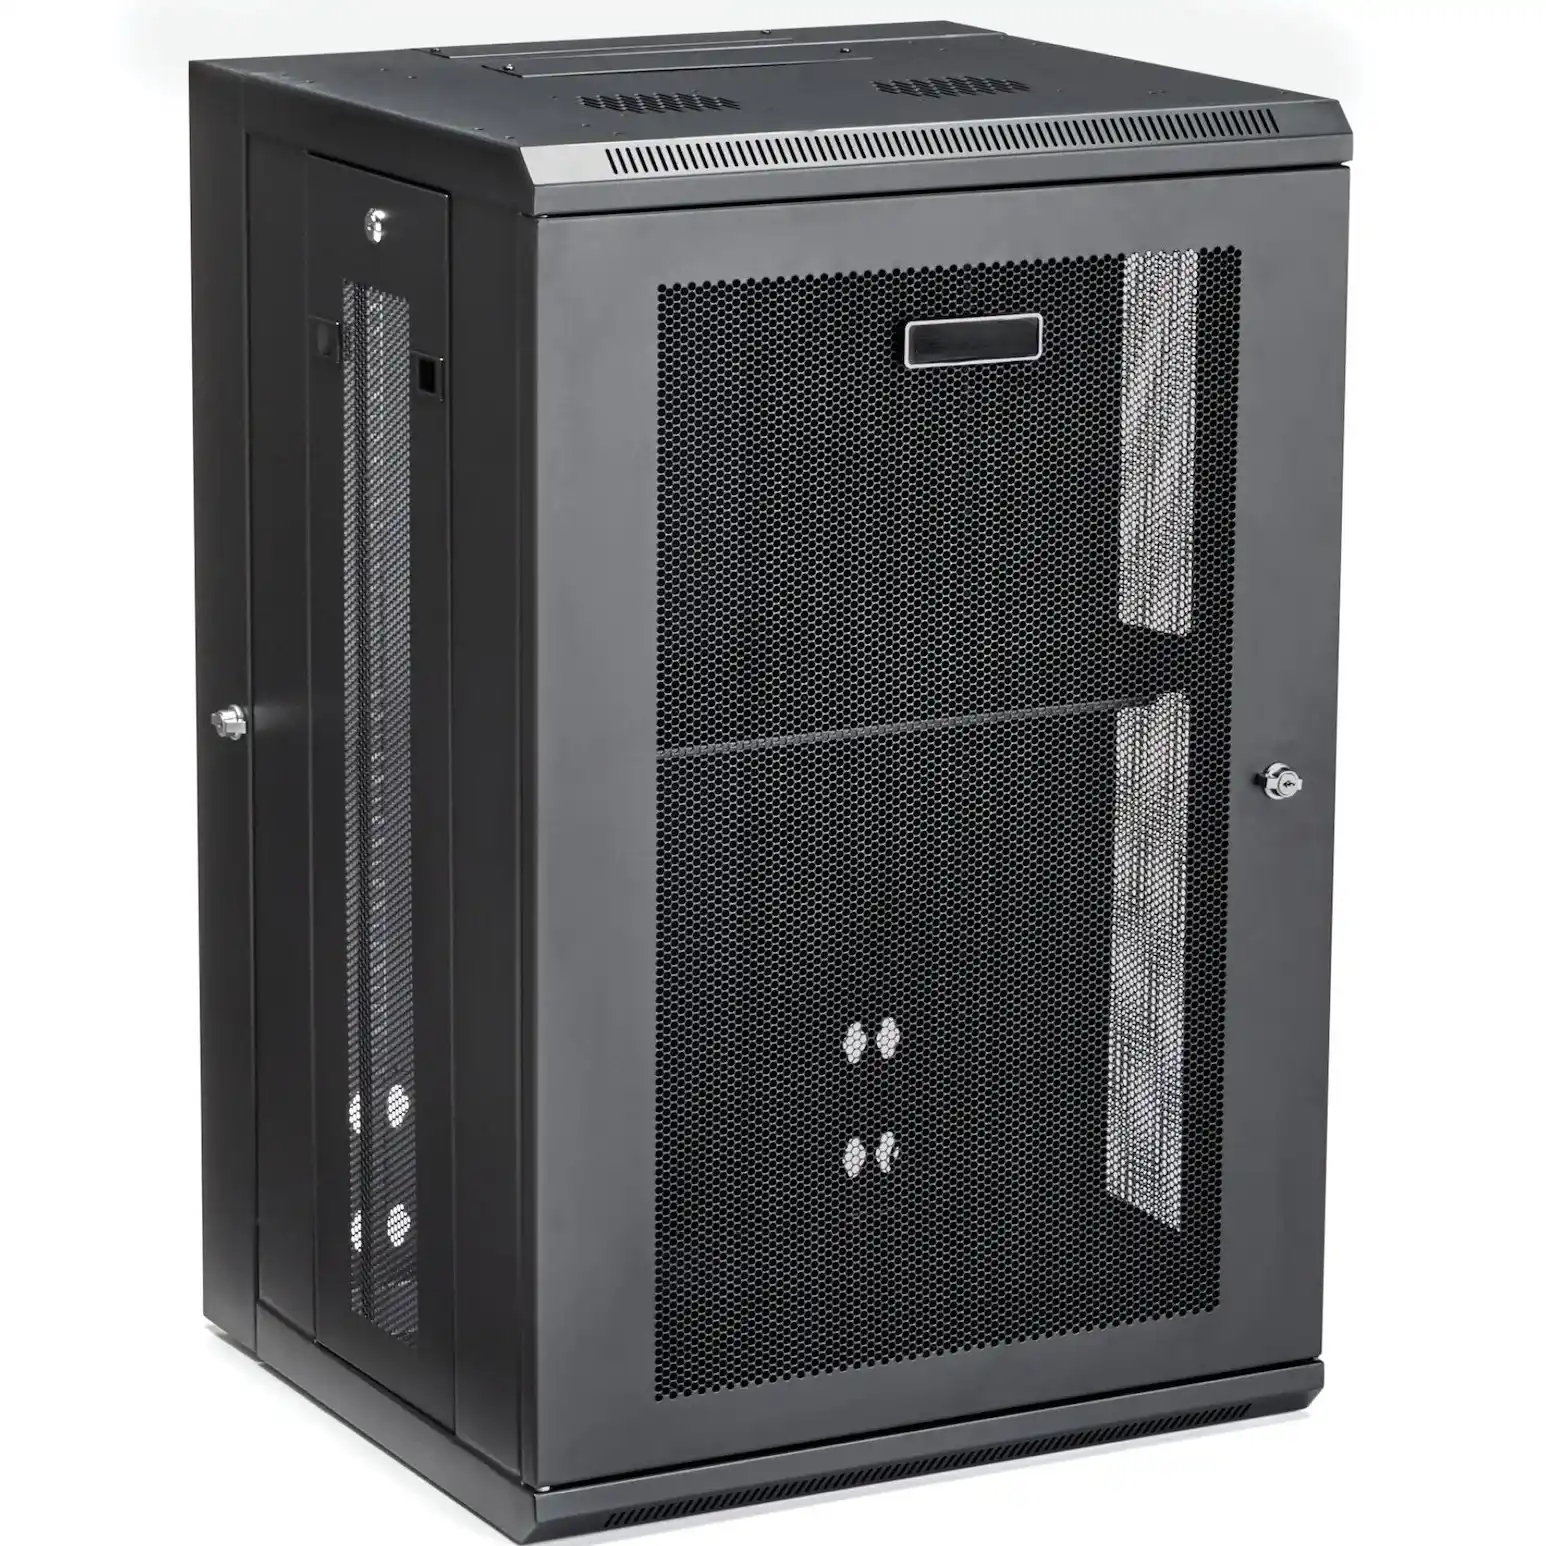
With a good server pc case or rackmount case from IStoneCase, you get proper mounting points for these paths, so you don’t end up zip-tying everything to random holes.
Bend Radius, Slack and Access in ATX Server Case Layout
Tight cabinets make it very tempting to fold cables too hard. That’s how you get flaky links that pass basic tests but fail under load.
In any atx server case or wallmount chassis:
- Keep gentle curves on copper and fiber
- Avoid sharp folds right at the connector
- Store a small service loop (slack) so you can pull a device forward
Think about access from three sides:
- Front access
- Patch cords shouldn’t block LEDs, power buttons, or drive bays.
- Rear access (or cable side in swing-frame designs)
- Bundles should run along the frame, not across the middle.
- Door clearance
- Check that the door closes without pushing cables sideways.
Many IStoneCase wallmount products use swing-open or removable side panels so you can reach the back of patch panels, not just stare at a beautiful front and cry later.
Labeling and Documentation in a Server PC Case
Neat cables without labels still mean long downtime. Field techs call this “pretty but useless.”
At minimum, do this in each computer case server install:
- Label both ends of every cable (panel side and device side).
- Use a simple naming pattern: rack/cabinet ID + RU + port.
- Put a printed “port map” inside the door or right next to the case.
You don’t need fancy tools. Even basic printed labels or decent hand-written tags are better than nothing. The point is:
- New staff can understand the layout in minutes
- Remote “smart hands” can follow instructions over chat
- You avoid tracing cables by hand when something breaks
For customers like data centers, algorithm centers, and research labs, this small step saves real money in truck rolls and lost time. For small and mid businesses, it just avoids that painful “nobody knows how this thing wired” moment.
Weight, Wall Strength and Chassis Guide Rail Planning
Wallmount cabinets aren’t magic. The wall, anchors, and case all have limits. Add heavy power strips, dense cabling, and a big storage unit, and suddenly the load is not funny.
When you plan:
- Check wall type (concrete, brick, drywall with studs)
- Spread heavy gear across the cabinet, don’t stack every heavy box in one spot
- Use rear support or chassis guide rail where sliding gear is needed
- Don’t hang huge cable bundles directly from device ports
IStoneCase focuses on robust steel structure, proper mounting points, and rails that handle real-world load, not only lab spec. That’s why OEM / ODM customers and wholesalers like to standardize on one platform: less surprise in the field, less rework.
Real Use Cases for Wallmount and Rackmount Case Cabling
Let’s look at a few typical scenarios and how planning cable routing helps.
Small Office Wallmount with NAS and VoIP
- 12–16U wallmount cabinet near the office core switch
- One router, one PoE switch, one NAS device, maybe a small UPS
- Patch panels for office desk ports and IP phones
If you route vertical bundles on one side, reserve RU for a horizontal manager, and keep power separated, you can:
- Replace the switch without touching the patch ports
- Add one more PoE switch later without redesign
- Keep acoustic noise and cable mess low, even if the box sits in someone’s office
Edge AI Node with GPU Server Case
Maybe you’re running a compact server rack pc case with GPUs in a branch site or edge closet. Here the pain point is heat and power density.
- Place the GPU server case or high-power server in the best airflow zone
- Route power cables cleanly, no heavy bundles hanging on the PSU
- Route high-bandwidth links (25/40/100G) with safe bend radius and clear labeling
Because IStoneCase builds GPU-optimized chassis and wallmount options, you can keep the same vendor and still get consistent mounting, airflow and cable entry style across locations.
Research Lab or Dev Rack with Frequent Changes
In labs, people re-patch things a lot. If your wallmount or server pc case layout assumes “set and forget,” you’ll get chaos after a few weeks.
So you:
- Oversize cable managers from day one
- Use Velcro, not cheap hard zip ties
- Keep a simple change log taped inside the door (“port 12 → AI node 03”)
Even if the grammar in that log is bad, the structure saves the day.
Planning Cable Routing with IStoneCase Wallmount Case Solutions
Cable routing and access aren’t just “nice to have.” They decide how fast you recover from problems and how often you need to rip things out and start over.
When you choose IStoneCase as your chassis partner, you get:
- Wallmount, rackmount, NAS, ITX and server pc case platforms designed with airflow and cable space in mind
- OEM / ODM options so you can align cut-outs, mounting points and depth with your own best-practice playbook
- Consistent builds across data centers, algorithm centers, SMEs, IT service providers, and research labs
You care about uptime, clean installs, and low “mean time to repair.” A well-planned wallmount case, with smart routing and clear access, is one of the easiest wins you can get.
It doesn’t have to look perfect for Instagram. It just needs to be simple, predictable, and friendly to the next person who opens that door — maybe future you, at midnight, during a tight change window.